
Kameleoon’s latest GA4 integration is a powerful end-to-end solution that not only tracks events but also aligns perfectly with Google’s recommendations for tracking experiments. This enhanced integration now automatically creates GA4 audiences whenever an experiment is launched, eliminating manual setup and streamlining audience management.
By adhering to Google’s best practices, Kameleoon ensures that the tracking of experiments and personalizations is efficient and accurate, providing reliable data for data-driven decision-making. When an experiment is stopped, Kameleoon takes care of the entire process, neatly archiving the corresponding GA4 audience. This seamless integration simplifies your workflow, allowing you to focus on insights and outcomes, rather than managing technical details.
Take advantage of Kameleoon’s end-to-end GA4 integration to effortlessly track your experiments, create targeted segments, and deliver highly personalized experiences to your website visitors. With this robust solution, you can confidently optimize your website and drive better results, all while following Google’s recommended tracking practices.
If you want to use Google Analytics 4 Audiences in Kameleoon, please read this documentation.
- Key benefits
- Use cases
- Considerations
- Limitations
- Setup
- Server-side tagging for GA4
- Following Google’s best practices
- Beginner’s Guide to Google Analytics 4
- Troubleshooting
- Frequently Asked Questions
- What is the GA4 Integration by Kameleoon?
- What’s the significance of automatic audience creation?
- Can I use the integration’s automatic audience creation feature with Personalization campaigns?
- What’s the difference between “Google Analytics 4” and “Google Analytics 4 (recommended by Google)” on the Integrations page?
- Can I manage my audiences after they are archived?
- What happens if I reach the audience limit?
- What rights does my Google account need for the integration?
- Can I update the rights for my Google account after integration setup?
- Where can I get support or assistance for the integration?
- What is a Measurement ID?
- Where can I find my Measurement ID?
- What is a Property ID?
- Where can I find my Property ID?
- How many Audiences are created per experiment?
- What happens if multiple Measurement IDs are present on the page and the Measurement ID field is left unspecified?
- References
Key benefits
- Precise Behavior Insights: The integration captures specific events for visitors targeted by experiments or personalizations. This detailed tracking provides a clearer understanding of how different variations influence user actions. For instance, you can see which variation leads to more clicks, conversions, or other desired outcomes, helping you identify what works best.
- Effortless Audience Creation: With automatic audience creation, the integration takes the hassle out of audience segmentation. When an experiment launches, relevant audiences are generated instantly. This means you can quickly focus on analyzing and acting upon the data, rather than spending time on manual audience setup.
- Segmented Variation Analysis: Creating an audience per variation is a game-changer. It allows you to dissect each experiment’s impact on distinct audience segments. This level of granularity helps you understand not only which overall campaign performs better but also which specific elements resonate with certain segments.
- Real-time Decision Making: The integration provides data in real time, enabling on-the-fly decision making. Armed with up-to-date insights into ongoing experiments, you can swiftly adjust strategies if a variation isn’t performing as expected or allocate resources to capitalize on a successful one.
Use cases
Personalized Product Recommendations for E-commerce
Use Case: Imagine an e-commerce website that wants to enhance its product recommendation strategy. By integrating GA4 with Kameleoon, they can create an experiment with a variation for each product category and target visitors based on their browsing history. When a visitor interacts with the experiment, an event is sent to GA4. The integration then automatically creates an audience for that specific product category. This audience data provides insights into which product categories resonate most with their audience and helps tailor future campaigns.
Benefit: The e-commerce website gains a comprehensive view of visitor preferences and can make real-time adjustments to recommendations. This data-driven approach can lead to higher conversion rates and increased customer satisfaction.
Optimizing Content Engagement for Publishers
Use Case: A content-focused website aims to improve reader engagement. With the integration, they create a Kameleoon experiment for different content types (articles, videos, infographics) and variations (layout A, layout B). Events are triggered when visitors interact with specific content. The automatic audience creation feature generates audiences for each content type and variation. By analyzing engagement metrics across these audiences, the website can discern the most effective content formats and layouts.
Benefit: The website can optimize its content strategy, creating more of what resonates with their audience. This can lead to longer on-site durations, increased page views, and better reader satisfaction.
Form Conversion Enhancement for SaaS Companies
Use Case: A SaaS company wants to improve its lead generation form conversions. By integrating GA4, they set up experiments for different stages of the form process (started, completed) and form variations (short form, long form). Events are triggered as users interact with form elements. The integration’s automated audience creation establishes audiences for each stage and form version. Analyzing these audiences provides insights into where users drop off and which form layout is most effective.
Benefit: The SaaS company can refine its forms based on real-time data, reducing friction and improving conversion rates. This can result in more qualified leads and increased revenue.
Considerations
Keep these things in mind when using this integration:
- Integration Selection: On the Integrations page, you’ll find two GA4 integrations listed: Google Analytics 4 and Google Analytics 4 (recommended by Google). Ensure you choose the correct integration (Google Analytics 4 (recommended by Google)) for the desired features. Don’t be confused by the similar names.
- Audience Management: Keep track of the number of audiences you’re creating to avoid hitting the audience limit for your GA4 plan (standard or Analytics 360). Archive audiences that are no longer relevant to make space for new ones, but note the 48-hour waiting period before reusing a name.
- Experiment Launch Method: When planning experiments, be aware that audiences will be automatically created for each variation, regardless of whether the experiment is launched from the Code Editor, Graphic Editor, or as a Personalization.
- Personalization Campaigns: Understand that audience creation won’t happen when using the integration on a Personalization campaign. This limitation affects the automated audience setup described for experiments.
- Google Account Permissions: Ensure that the Google account granting permissions to Kameleoon has sufficient rights to create and archive Audiences on your GA4 Properties. This step is crucial for the proper functioning of the integration.
- Account Updates: If you need to modify the rights granted to Kameleoon, keep in mind that updating permissions might require restarting the OAuth process. Plan for any potential disruptions during this process.
Limitations
Relevant limits for this integration are the following:
- Archived Audiences: Once an audience is archived, it cannot be accessed or restored. This limitation means you should carefully decide which audiences to archive, as you won’t be able to retrieve or work with them later.
- Automatic Audience Creation: While the integration can automatically create audiences for variations launched from the Code Editor, this feature is limited and won’t function when experiments are launched from the Graphic Editor or for Personalization campaigns.
- Audience Number Limit: The number of audiences you can create depends on your GA4 plan (standard or Analytics 360). If you’ve reached your plan’s limit, this may impact your ability to create new audiences, requiring management and potential archiving of older audiences.
- Audience Name Reuse: After archiving an audience, you must wait up to 48 hours before you can create a new audience with the same name. This limitation affects your ability to recycle audience names quickly.
- Google Account Rights: The integration relies on Google OAuth, so ensure that the Google account granting permissions to Kameleoon has the necessary rights. If these rights need to be updated, restarting the OAuth process might be necessary, leading to potential disruptions.
Setup
Prerequisites
To configure this integration, you should have done the following actions:
- Create a Google Analytics 4 account and property
- Create a web data stream for your website
- Place the Google tag on your website
- Your Google tag has to be added as a property of the window variable so that Kameleoon can use it (window.gtag). Do not rename your Google tag.
Step 1 – Activate the integration on your projects
- Log in to your Kameleoon account.
- Navigate to the Integrations page: click on Admin and then Integrations in the sidebar.
- Click on Google Analytics 4 (recommended by Google).
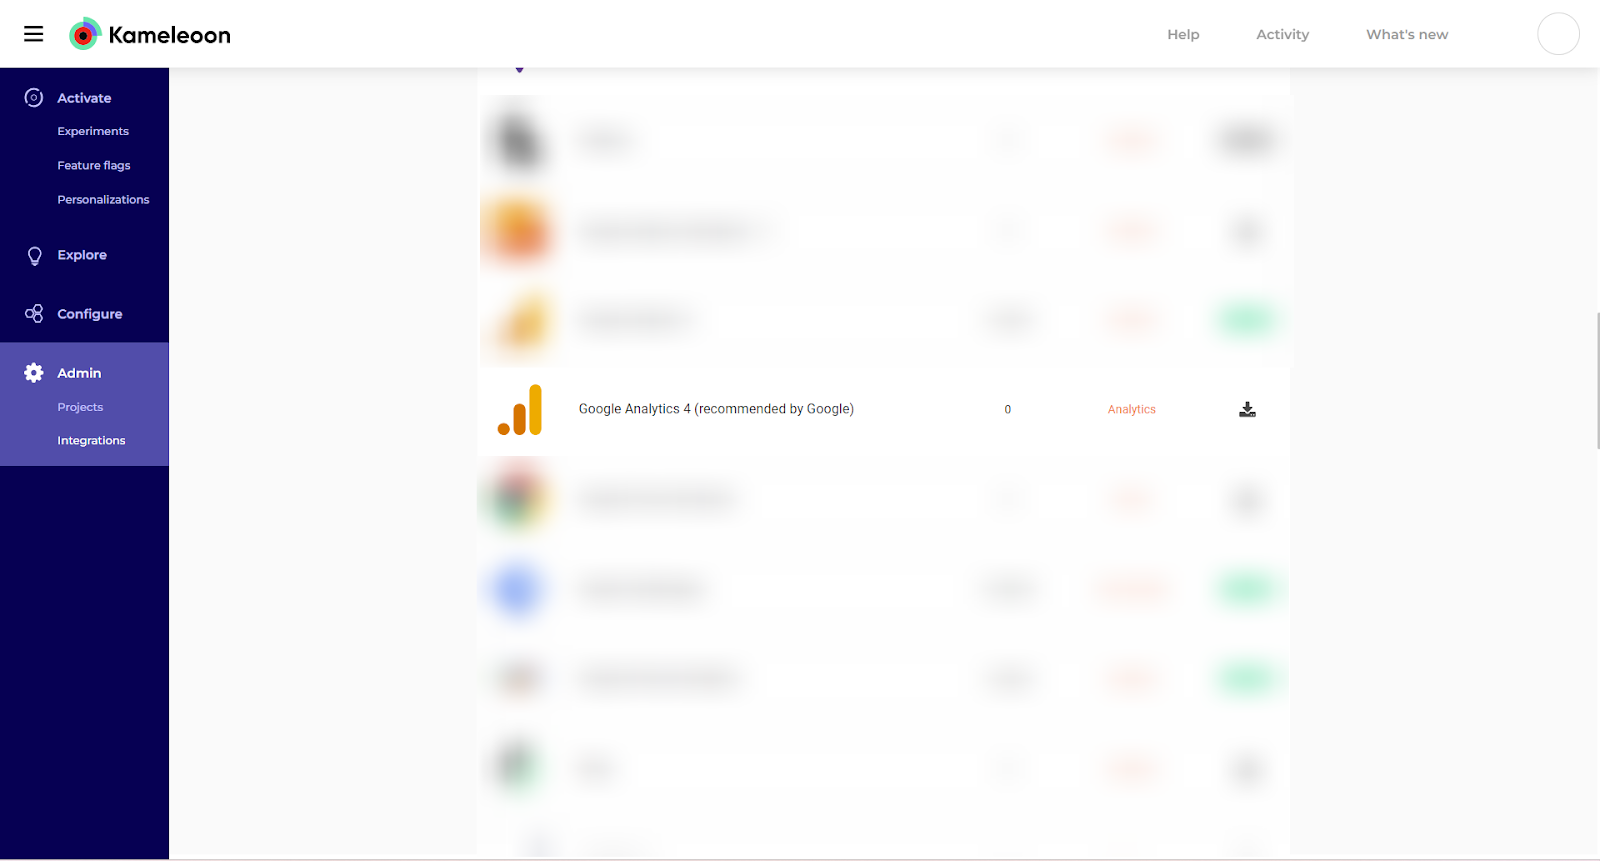
On the Integrations page, you’ll find two GA4 integrations listed: Google Analytics 4 and Google Analytics 4 (recommended by Google).
Ensure you choose the correct integration (Google Analytics 4 (recommended by Google)) for the desired features. Don’t be confused by the similar names.
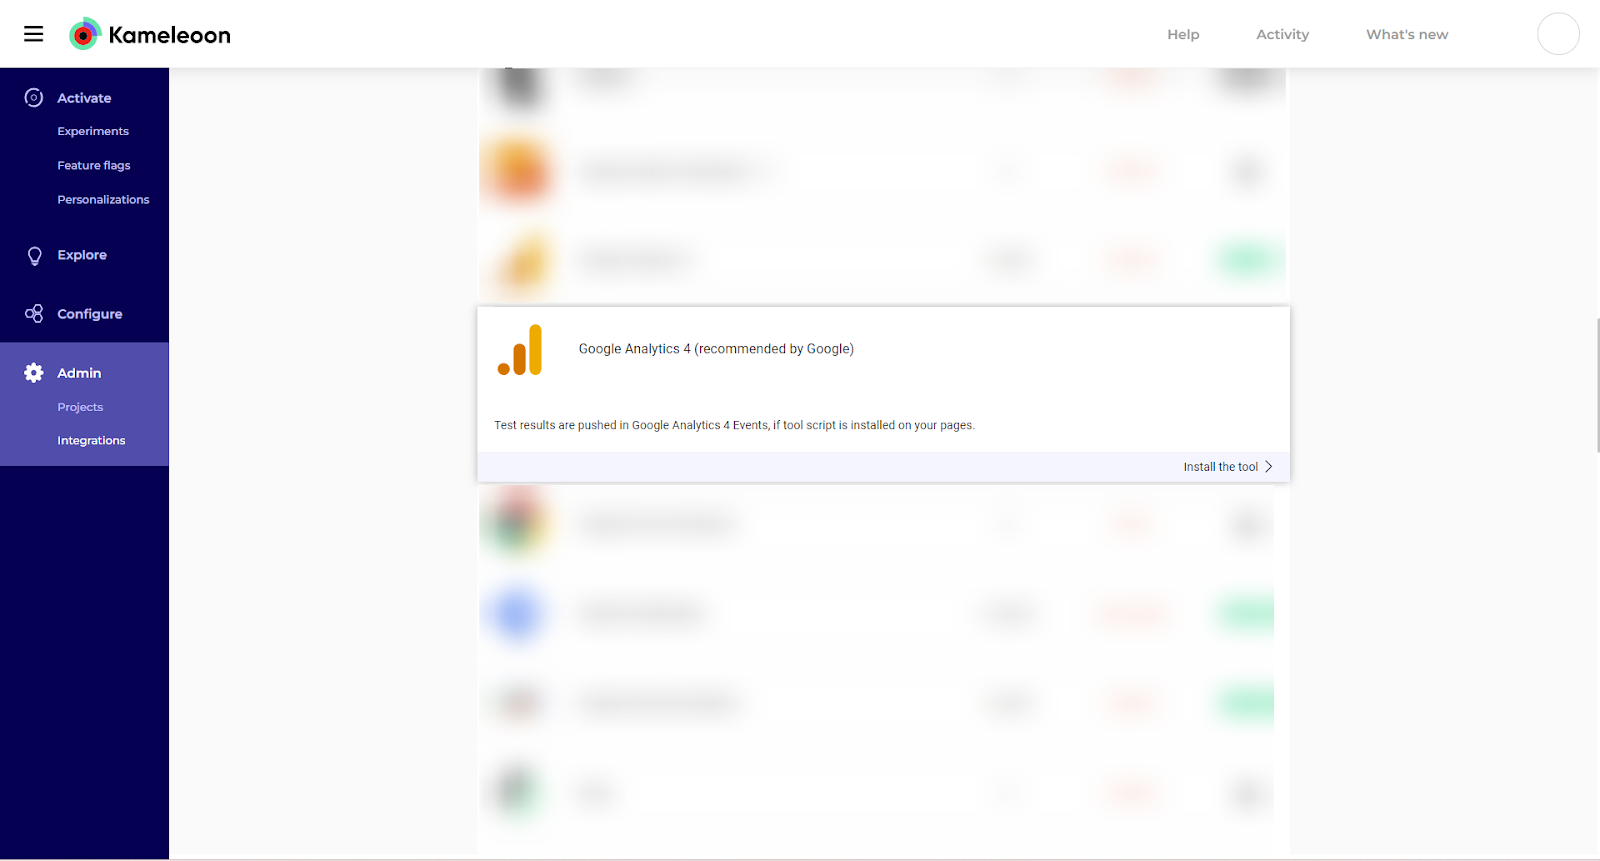
- Click on Install the tool.
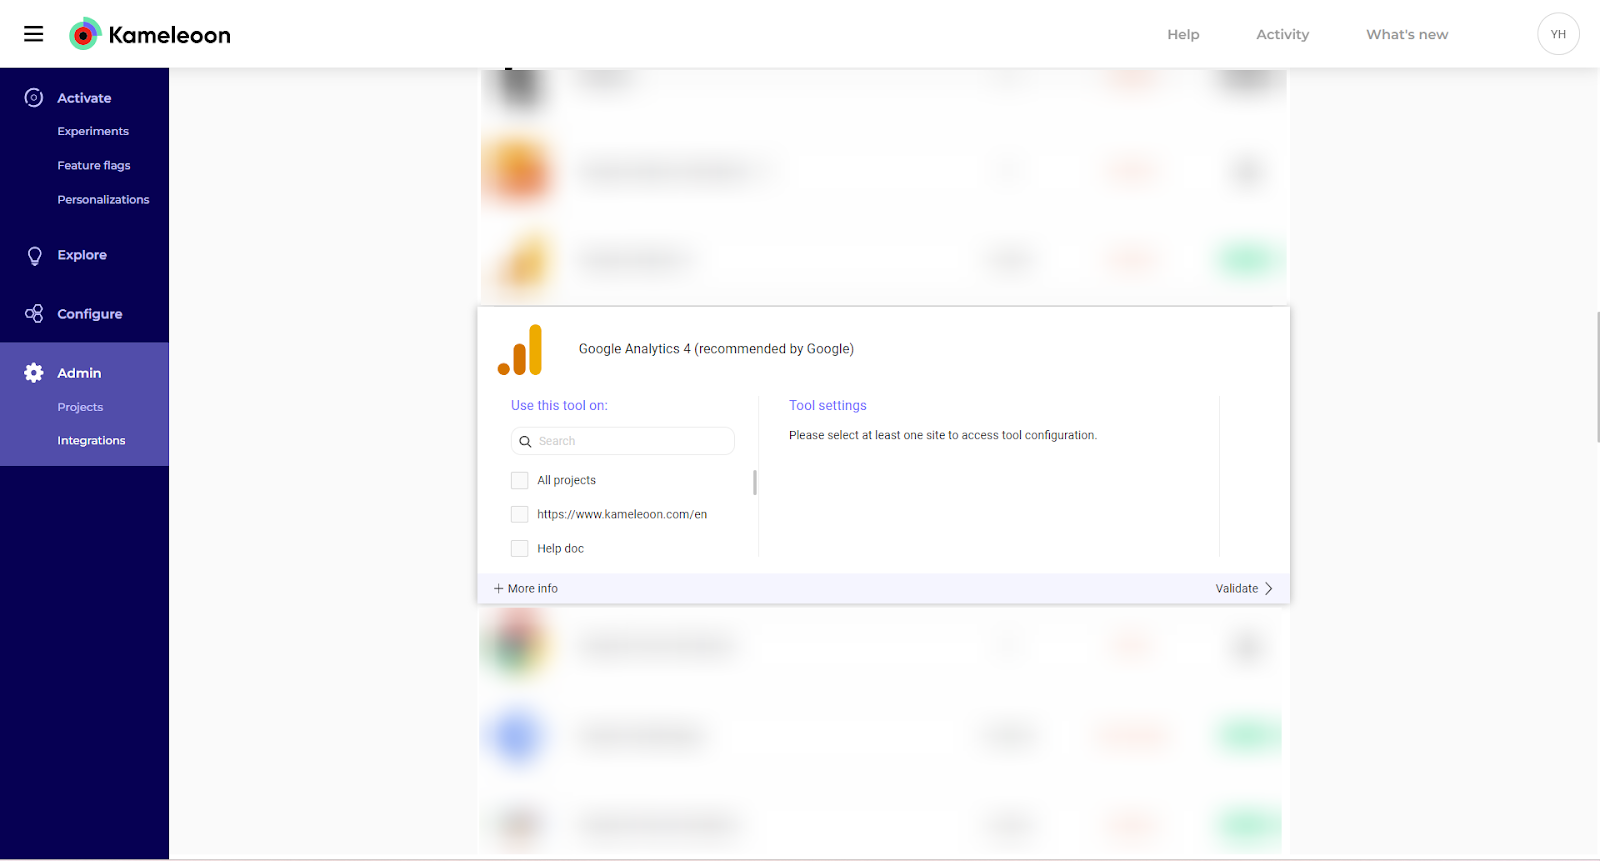
- Select the projects you want to use the integration with. You can select more than one project. Each project has its own configuration. Use the dropdown menu to switch between projects.
In the Tool settings, select Method: Google tag (gtag.js). This option is selected by default.

- Optional – To provide a specific Measurement ID, click on Send events through Measurement ID and enter the Measurement ID in the dedicated input. Even though this step is optional, we highly recommend providing the Measurement ID to make sure events are sent to the correct web data stream, guaranteeing accurate tracking and analysis in GA4.
- Optional – To automatically generate a GA4 Audience upon experiment launch, click on Create Audiences. Then:
- Click the Continue with Google button to grant Kameleoon access to your Google account. Log in to your Google account if prompted.
- Provide the Property ID of your project. These steps are required to activate automatic Audience creation.
- After configuring the settings, review your selections and configurations.
Make sure you repeat steps 5 to 8 for each project you selected.
- Click the Validate button to save and activate the integration.
Please note that if you need to slightly change the behavior of our native bridge, you can create a custom analytics bridge and use our GA4 sample code you can take from our Github repository.
Step 2 – Associate the GA4 integration with a Kameleoon campaign
With the integration successfully activated, you can now utilize it within all campaigns associated with projects where the integration has been enabled.
From the Code Editor
When finalizing your experiment from the Code Editor, click the Tracking and Goals step to configure Google Analytics 4 as a tracking tool.
In the Other tracking tools tab, click on Google Analytics 4 (recommended by Google) to select GA4 as your tracking tool.

Google Analytics 4 will be mentioned in the summary before going live. Kameleoon will automatically transmit the data to Google Analytics 4 and you will be able to view your results directly in the tool if you have successfully configured the “Create audience” option during the setup.
From the Graphic Editor
Heads up! Be aware that audiences will only be automatically created for each variation if the experiment is launched from the Code Editor. For experiments launched from the Graphic Editor, this automatic audience creation won’t occur. This is planned in our short-term roadmap.
When finalizing your experiment from the Graphic Editor, click the Integrations step to configure Google Analytics 4 as a tracking tool.
Click on Google Analytics 4 (recommended by Google) to select GA4 as your tracking tool.

Google Analytics 4 will be mentioned in the summary before going live. Kameleoon will automatically transmit the data to Google Analytics 4 and you will be able to view your results directly in the tool.
From the Personalization Builder
Heads up! Be aware that audience creation won’t happen when using the integration on a Personalization campaign. Audiences will be automatically generated only when the integration is set up from the Code Editor during experiment launch.
In the same way as the Graphic Editor/Code Editor of your experiments, you can select Google Analytics 4 among the reporting tools for personalization.

From the Results page
Heads up! Please note that automatic audience creation won’t take place when integrating from the Results page. Audiences will be automatically generated only when the integration is set up from the Code Editor during experiment launch.
Once Google Analytics 4 is set as a reporting tool for an experiment, you can select (or unselect) it via the Kameleoon results page. To do this, click on Reporting Tools in the panel on the right to open the corresponding menu.
The reporting tools associated with the experiment are displayed. Click Edit to edit this selection.
You can then select or unselect Google Analytics 4. Then click on Validate and continue to finalize or update your campaign.
On a feature flag
Learn how to manage third-party analytics integrations
That’s it!
Congratulations! The GA4 integration in your Kameleoon account is now active. It will send events, create audiences, and provide valuable insights for your experiments and personalizations.
Please note that these steps are provided as a guide and might change over time. Refer to the latest documentation or support resources from Kameleoon for the most up-to-date instructions.
Last step – Stopping the Experiment: Archiving of Audiences
When it comes to concluding an experiment in your Kameleoon account, it’s essential to be aware of how the GA4 integration manages audiences. As you stop an experiment, the integration takes care of certain aspects, particularly the archival of audiences created during the experiment’s lifecycle.
Under specific conditions, the audiences that have been automatically generated by the GA4 integration will be archived. This automatic archival process comes into effect only when you stop an experiment from the Code Editor. This ensures that audiences associated with variations within the experiment are preserved and cataloged for reference.
However, it’s important to note that this automated archival doesn’t apply to experiments that are halted from the Graphic Editor or to campaigns involving Personalizations. In these cases, audiences will not be archived automatically upon experiment termination.
Server-side tagging for GA4
If you’re utilizing GA4 with server-side tagging, it’s essential to ensure seamless integration and accurate data tracking. To achieve this, it’s recommended to follow the instructions provided on this page: Integrating Kameleoon with Google Analytics 4 – Method Recommended by Google Using GTM. These guidelines offer comprehensive insights and best practices endorsed by Google for integrating Kameleoon with GA4 through Google Tag Manager (GTM), ensuring optimal performance and data consistency.
Following Google’s best practices
Experience the power of seamless data integration with confidence. Our integration with Google Analytics follows Google’s recommended best practices for creating experiment integrations. This means that you’re not only gaining the benefits of a streamlined connection between your experiments and Google Analytics, but you’re also aligning with industry-leading standards. Rest assured that your data tracking and analysis are in line with Google’s recommended practices, ensuring accurate insights and actionable results for your optimization efforts.
How it works
When you configure the integration in Kameleoon, you choose the Google Analytics 4 property you want to associate with the project’s experiment and consent to the integration.
When the experiment begins, Kameleoon creates an audience for each experiment variant. Then, the Experience-variant ID dimension surfaces the data associated with each user in an experience variant.
Before an experiment ends, you can analyze the results of the experiment using the Experience-variant ID dimension. When the experiment ends, Kameleoon deletes each audience so you don’t exceed the audience limit. But, you can still access the experiment variant data in Explore and BigQuery.
Sending events
This integration will send events to Google Analytics 4 using the Google tag (gtag.js) installed on your website.
As recommended by Google, the event is called “experience_impression” and contains a parameter called exp_variant_string.
gtag('event', 'experience_impression', {
   exp_variant_string: "KAM-F2948574-3495F49"
 });
To avoid duplication across experiments and other partners, we use the format KAM-YYYYYYYYY-ZZZZZZZZ for the exp_variant_string parameter value, where:
- KAM is the ID for Kameleoon
- YYYYYYYYY is the ID of the experiment
- ZZZZZZZZ is the ID of the variation
Creating Audiences
Audiences allow you to group users who have been added to a variant, based on the exp_variant_string parameter. By using this parameter as the membership condition for an audience, users are added to the appropriate audience based on the variant they have been added to.

These Audiences are automatically generated when the experiment is launched from the Code Editor. Remember that this feature works only if the experiment is launched from the Code Editor.
An automatically generated Audience will be named using the following format:
“Audience KAM – experiment YYYYYYYYY variant ZZZZZZZZ”
where:
- KAM is the ID for Kameleoon
- YYYYYYYYY is the ID of the experiment
- ZZZZZZZZ is the ID of the variation
Archiving Audiences
When managing your experiments and leveraging the GA4 integration by Kameleoon, it’s important to note a key feature related to audience management. Specifically, when an experiment is stopped, it will automatically trigger the archival of the GA4 Audiences that were automatically generated by the integration.
This archiving process occurs exclusively when an experiment is stopped from the Code Editor. Audiences created for variations within the experiment will be seamlessly archived, ensuring that historical data is retained for analysis and comparison.
It’s essential to understand that this automatic archival process doesn’t apply to experiments stopped from the Graphic Editor or to Personalization campaigns. If you choose to halt an experiment from the Code Editor, rest assured that the associated audiences will be archived, providing you with a clear record of the audience’s engagement during the experiment’s active phase.
By automatically archiving audiences, the GA4 integration simplifies your workflow, helps manage your audience data effectively, and ensures that you maintain a historical perspective on experiment outcomes for future reference and analysis.
Beginner’s Guide to Google Analytics 4
If you’re new to Google Analytics 4 and looking for a comprehensive guide to get started, we recommend the following resource:
Ultimate Beginner’s Guide to Google Analytics 4
This guide provides step-by-step instructions and valuable insights for beginners who want to harness the power of Google Analytics 4. Whether you’re a website owner, marketer, or just curious about web analytics, this guide will help you understand the basics and start making data-driven decisions.
Troubleshooting
How to make sure events are correctly sent to GA4?
When someone performs the action that triggers the custom event, the event will appear in the Realtime report and DebugView. You can also click the name of an event in the Realtime report and DebugView to see its event parameters.
Frequently Asked Questions
What is the GA4 Integration by Kameleoon?
The GA4 Integration by Kameleoon allows you to seamlessly connect your Kameleoon experiments and personalizations with Google Analytics 4 (GA4). It enables the tracking of targeted visitor events, automatic audience creation, and deeper insights into experiment performance.
What’s the significance of automatic audience creation?
Automatic audience creation generates GA4 audiences for each variation in your experiments. This helps you understand how different variations impact visitor behavior. However, remember that this feature works only if the experiment is launched from the Code Editor.
Can I use the integration’s automatic audience creation feature with Personalization campaigns?
No, the integration’s automatic audience creation feature is not available for Personalization campaigns. It’s currently limited to experiments launched from the Code Editor.
What’s the difference between “Google Analytics 4” and “Google Analytics 4 (recommended by Google)” on the Integrations page?
“Google Analytics 4 (recommended by Google)” is the integration you should select for enhanced functionality. Choose this option to ensure proper event tracking, audience creation, and integration features.
Can I manage my audiences after they are archived?
Once audiences are archived, they cannot be restored or accessed. It’s crucial to carefully manage your audiences and archive those that are no longer relevant to free up space for new ones.
What happens if I reach the audience limit?
GA4 Properties have different audience limits based on the plan: standard or Analytics 360. If you reach your plan’s limit, consider archiving older audiences to create new ones. Note that it may take up to 48 hours before you can reuse an archived audience name.
What rights does my Google account need for the integration?
Your Google account needs sufficient rights to create and archive audiences on your GA4 Properties. Make sure the account you grant access to meets these requirements.
Can I update the rights for my Google account after integration setup?
Yes, you can update rights, but you might need to start the OAuth process again. Plan for potential disruptions when making these updates.
Where can I get support or assistance for the integration?
If you need help or have further questions, you can reach out to Kameleoon’s support or consult their documentation for guidance on using and troubleshooting the GA4 integration.
What is a Measurement ID?
A Measurement ID is an identifier (e.g., G-12345) for a web data stream. You can use the Measurement ID to send data to a specific web data stream.
Where can I find my Measurement ID?
To find your Measurement ID, please follow the instructions described in Google’s documentation.
What is a Property ID?
A Property ID is a unique identifier assigned to each property in your Google Analytics 4 (GA4) account. It helps distinguish and organize data collected from different sources, such as websites or apps. Each Property ID corresponds to a specific digital asset you’re tracking, enabling GA4 to accurately aggregate and analyze data for that asset.
Where can I find my Property ID?
To find your Measurement ID, please follow the instructions described in Google’s documentation.
How many Audiences are created per experiment?
Audiences are automatically created per variation for experiments launched from the Code Editor. Each variation in an experiment will have its own corresponding audience. However, remember that this automatic audience creation won’t occur if the experiment is launched from the Graphic Editor or for Personalization campaigns. This setup provides granular insights into the performance of each variation by segmenting your audience based on their interaction with the experiment.
What happens if multiple Measurement IDs are present on the page and the Measurement ID field is left unspecified?
When sending an event, Google tag will always use the current local target (identified by the Measurement ID), configured using the config command, set using the set command, or passed using the event command.
To ensure accurate and reliable tracking, it’s crucial to specify the correct Measurement ID in the designated field. This step eliminates any uncertainty and guarantees that events are accurately sent to the intended web data stream for precise analysis and insights.
References
Setup using the Google tag (gtag.js)
Measurement ID
See your events in Analytics
- https://support.google.com/analytics/answer/12229021?hl=en
- https://developers.google.com/analytics/devguides/collection/ga4/events
[GA4] Integrating with a third-party experiment tool
Create an experiment integration with Google Analytics
