
You can track Shopify checkout conversions with Kameleoon. This integration will help you optimize your store’s performance by giving you deeper insight into your customer’s purchasing behaviors.
Prerequisites
Before you start, make sure that you have:
- A Kameleoon account with an active project.
- The site code of your Kameleoon project.
- The goal ID that you want to track in Kameleoon.
Connect Shopify Checkout Extensibility to Kameleoon
Shopify has announced that on August 13, 2024, it will no longer support its checkout.liquid layout on its clients’ information, shipping, and payment checkout pages. Furthermore, on August 28, 2025, it will no longer support checkout.liquid on its clients’ “Thank You” and order status pages as well as turn off apps using script tags and additional scripts under the post-purchase and order status pages. Therefore, any Shopify Plus client that customizes its checkout flow using checkout.liquid must upgrade to Shopify’s checkout extensibility platform features suite.
See Shopify’s checkout extensibility upgrade documentation for the prerequisites and steps to upgrade from checkout.liquid to checkout extensibility.
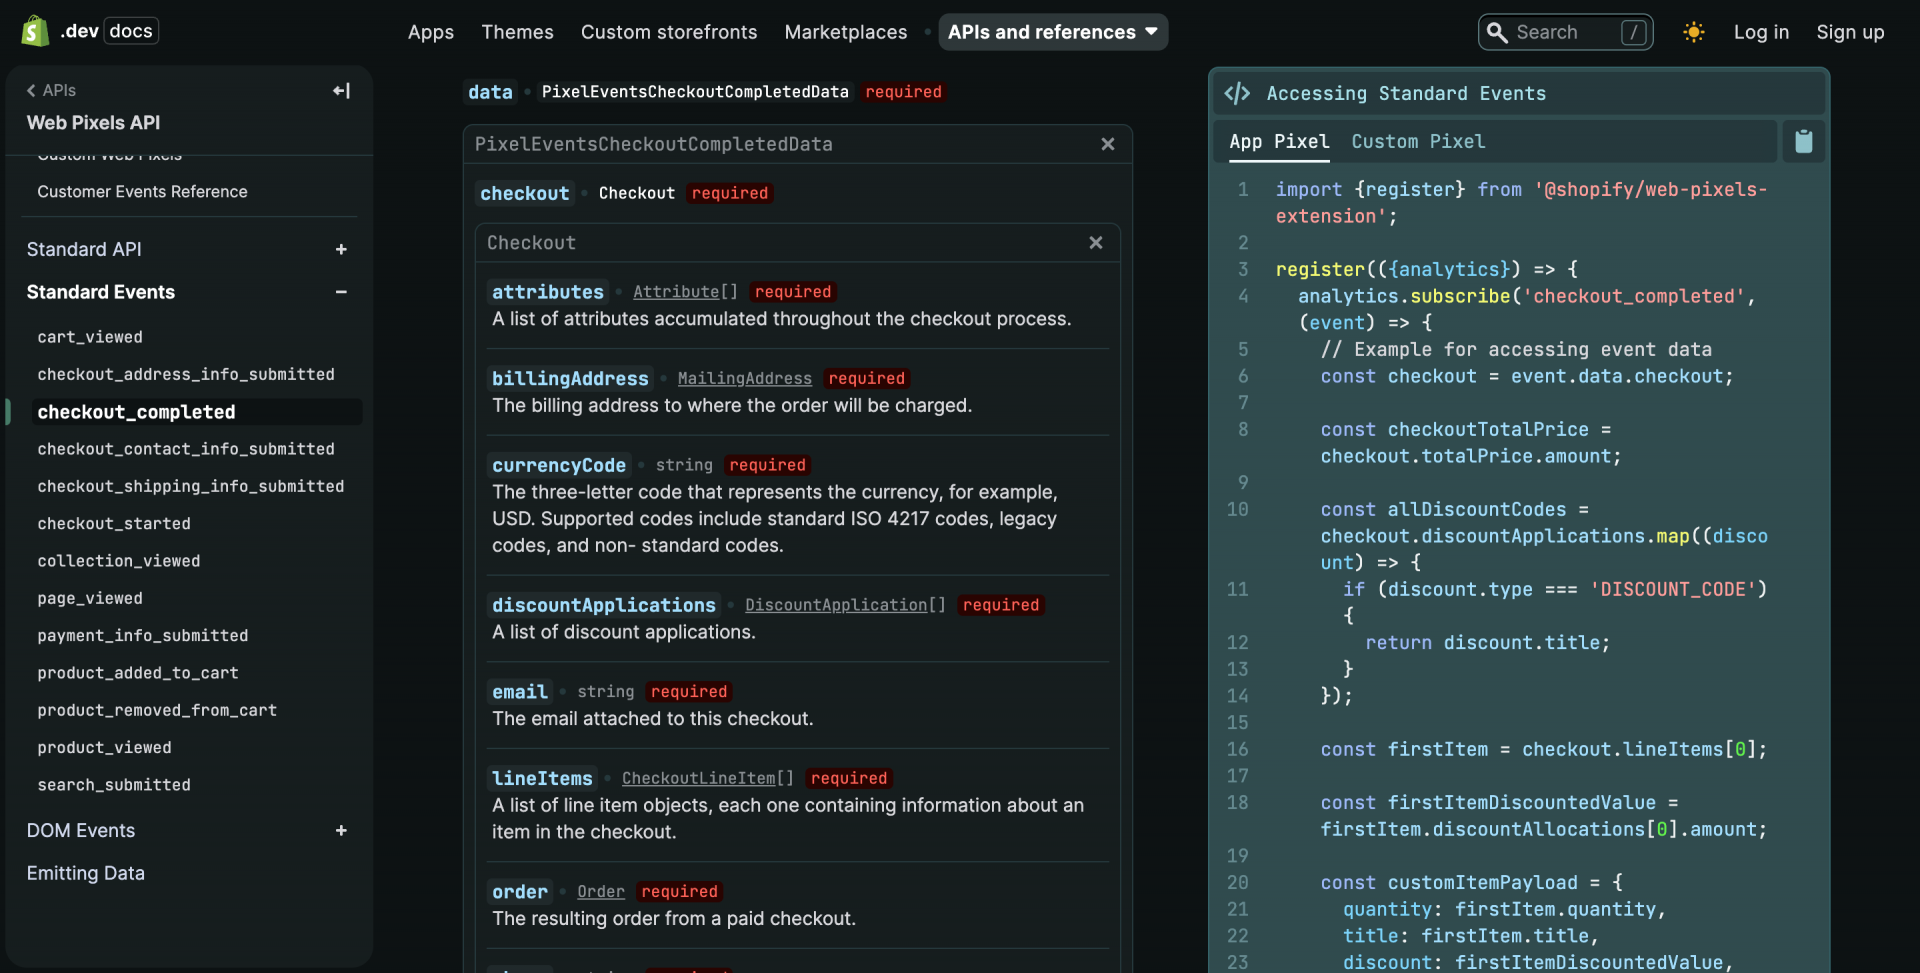
In addition to moving its checkout flow customizations from checkout.liquid to checkout extensibility, you must create a custom pixel that will allow you to track Shopify events and send the appropriate data to Kameleoon. The list of possible Shopify events is documented here. Additionally, Shopify also exposes the cart or transaction details in the object event.data.checkout. For instance, to track the transaction revenue, you can use the event.data.checkout.totalPrice.amount variable.
Before publishing your draft checkout profile created using checkout extensibility, follow these steps to create a custom pixel containing code to send customer data from Shopify to Kameleoon.
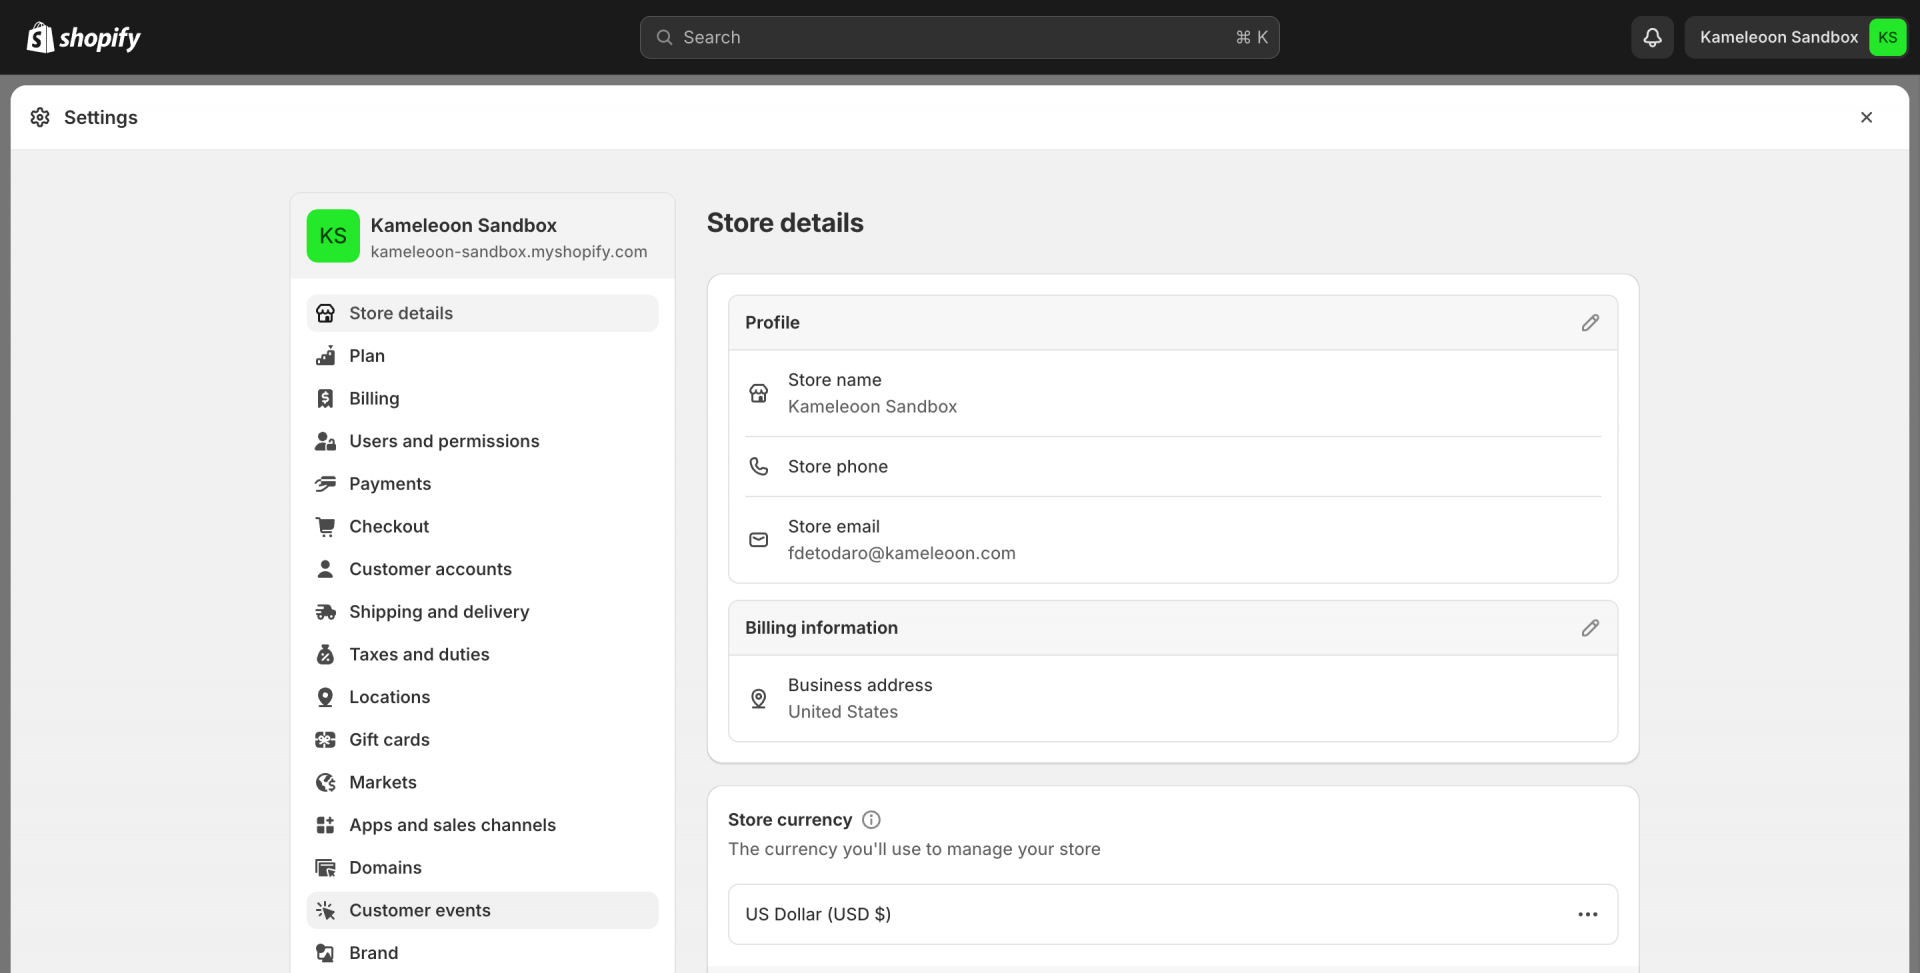
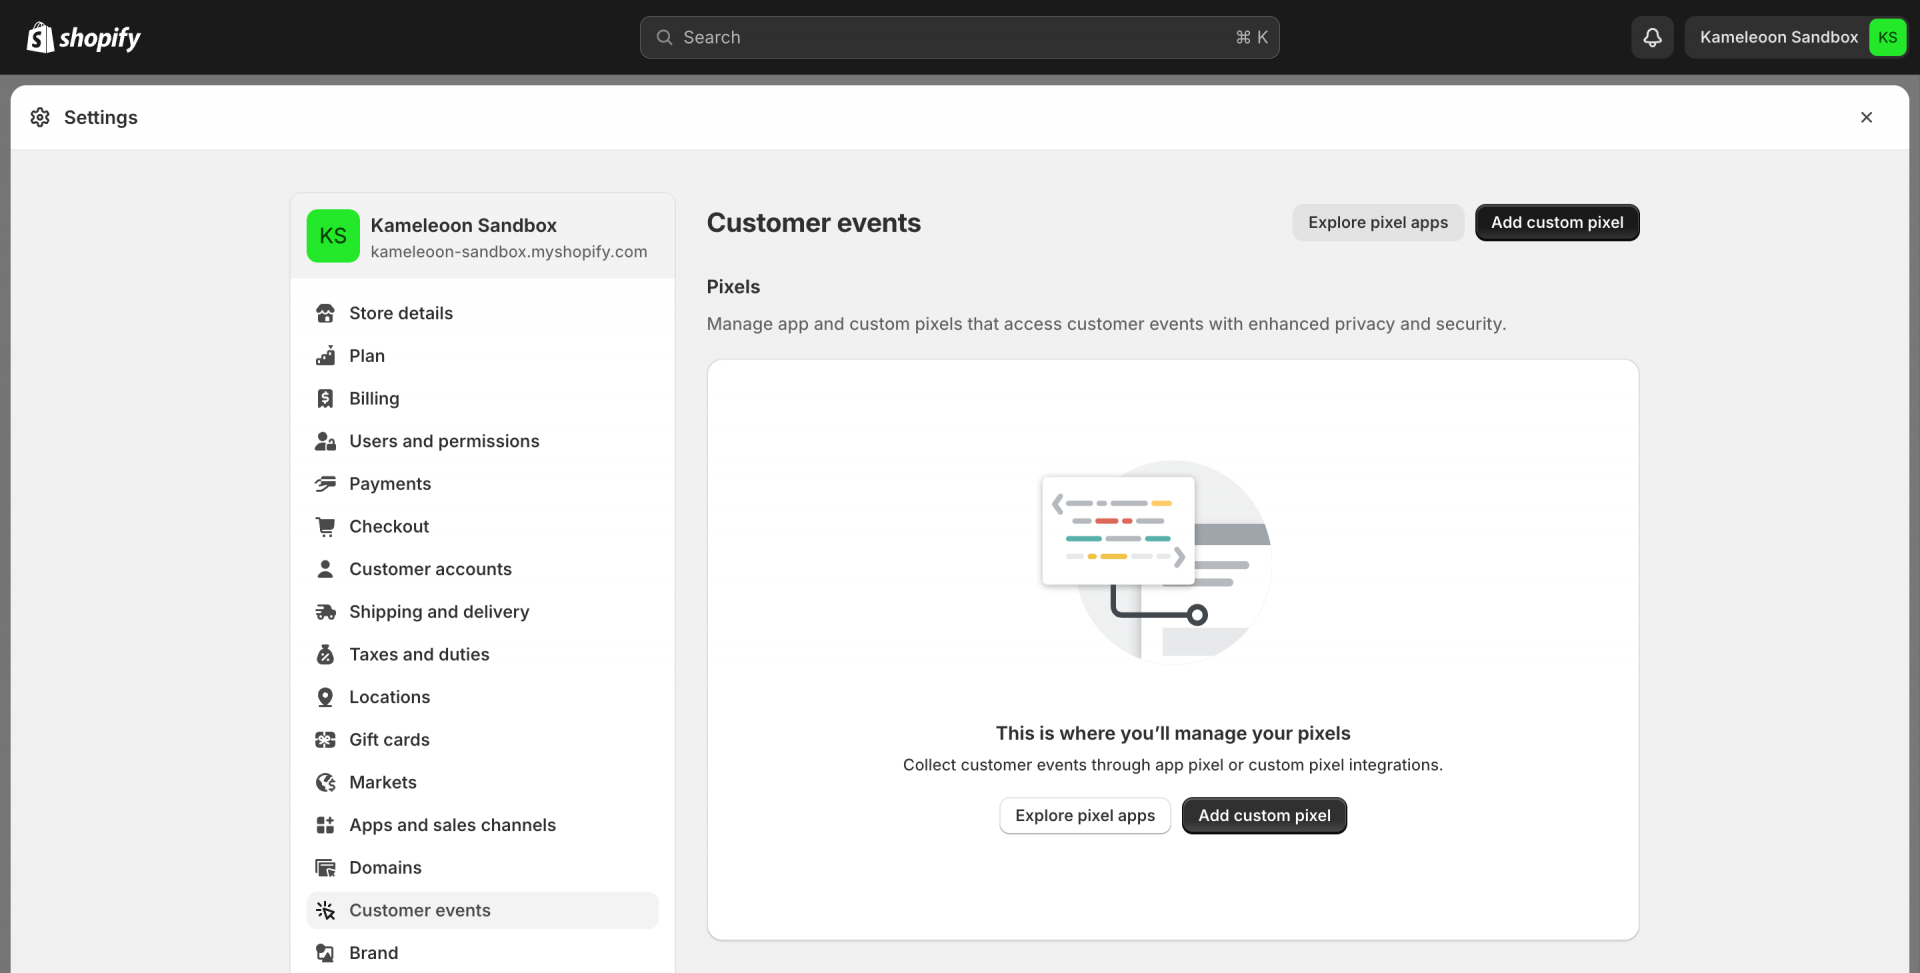
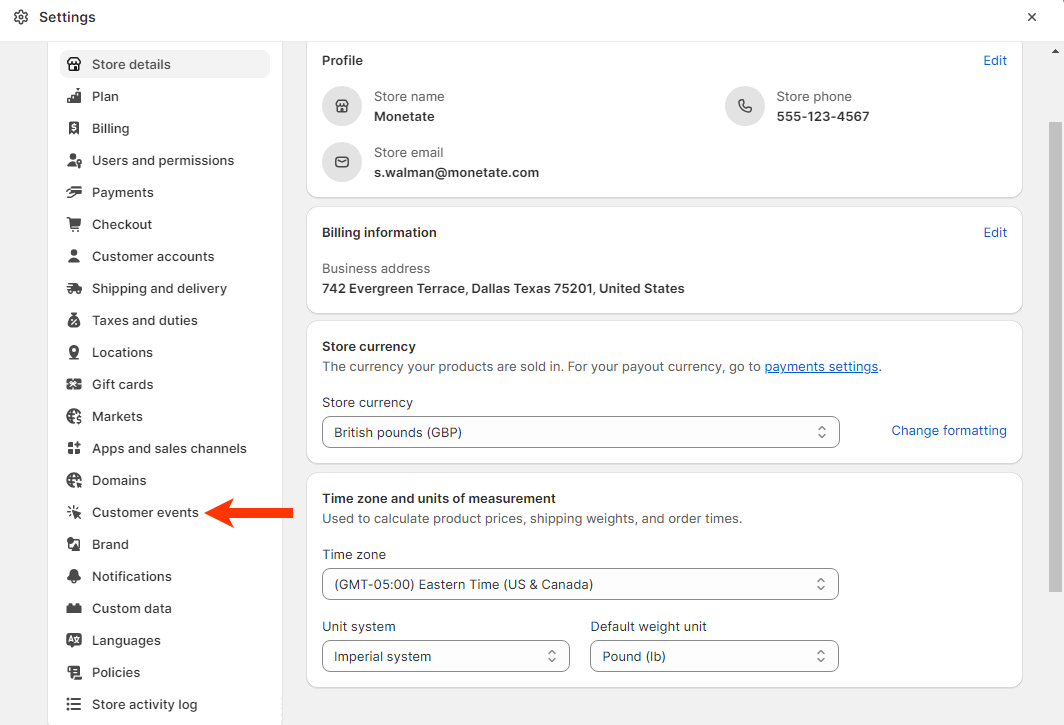
2. Click Customer events on the Settings panel.
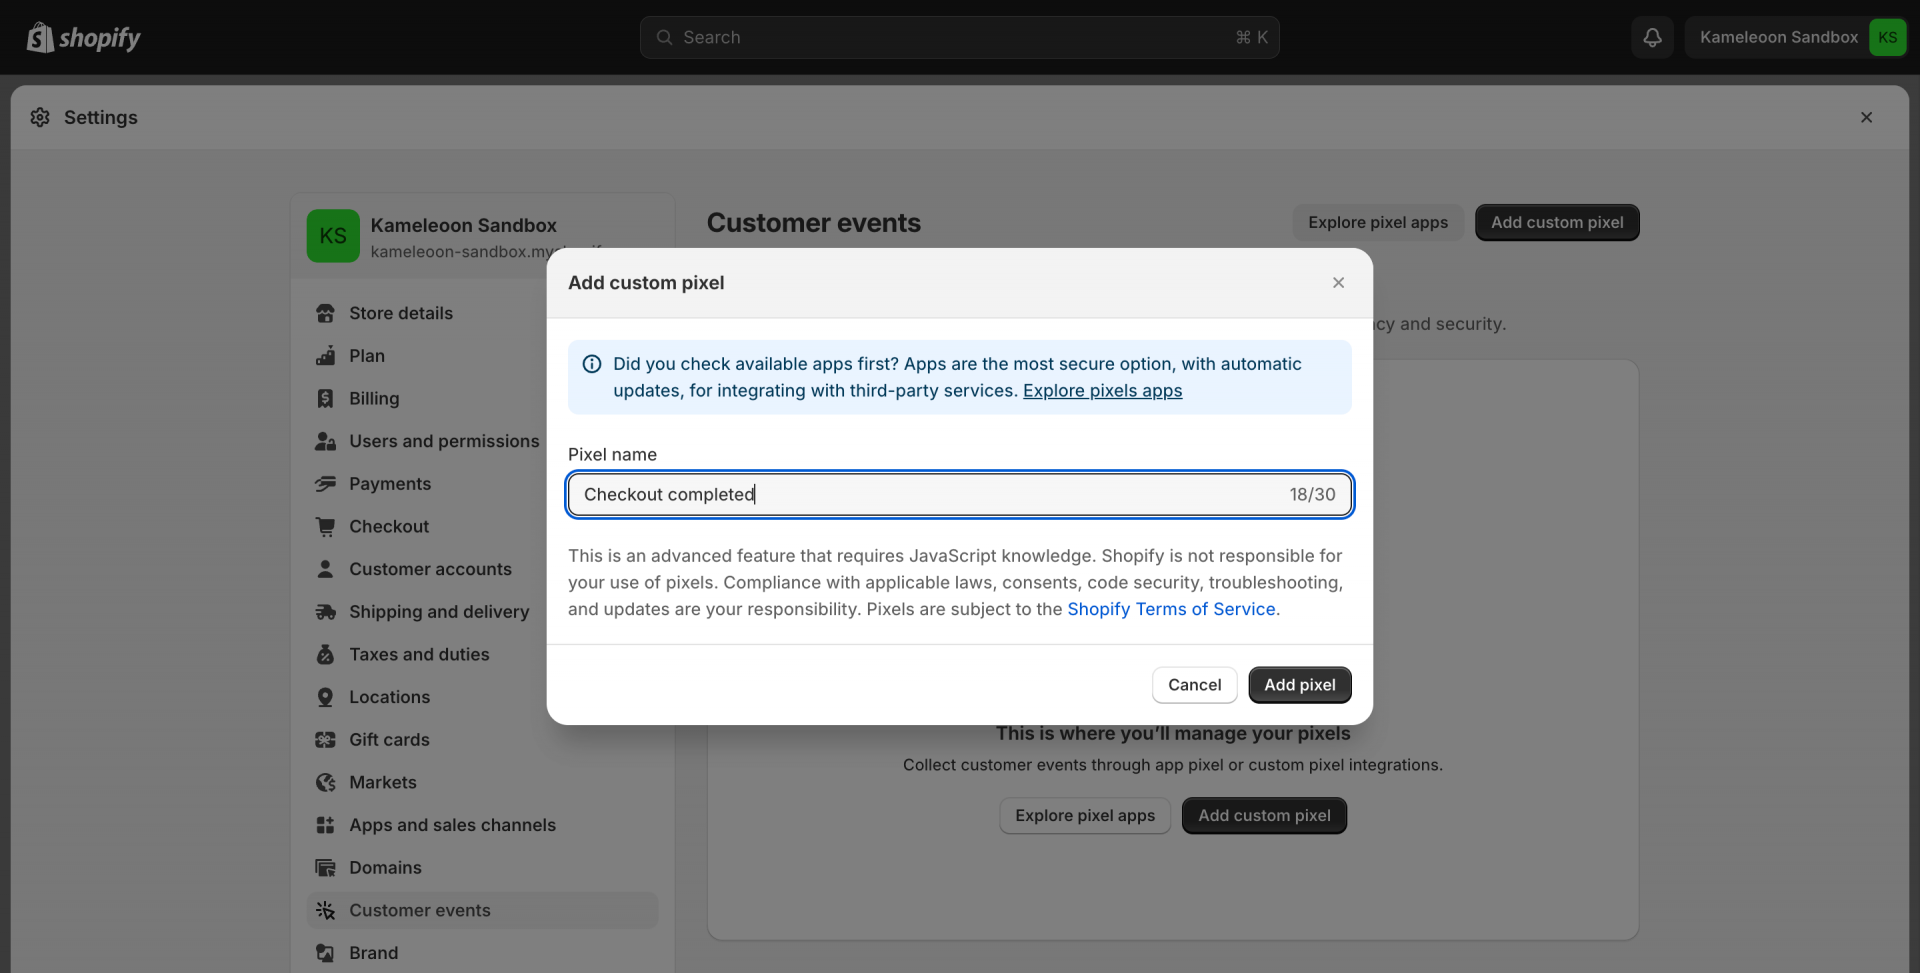
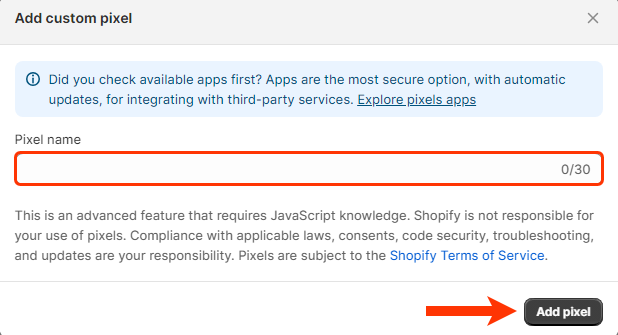
4. In the Add custom pixel modal, type a descriptive name into Pixel name, and then click Add pixel.
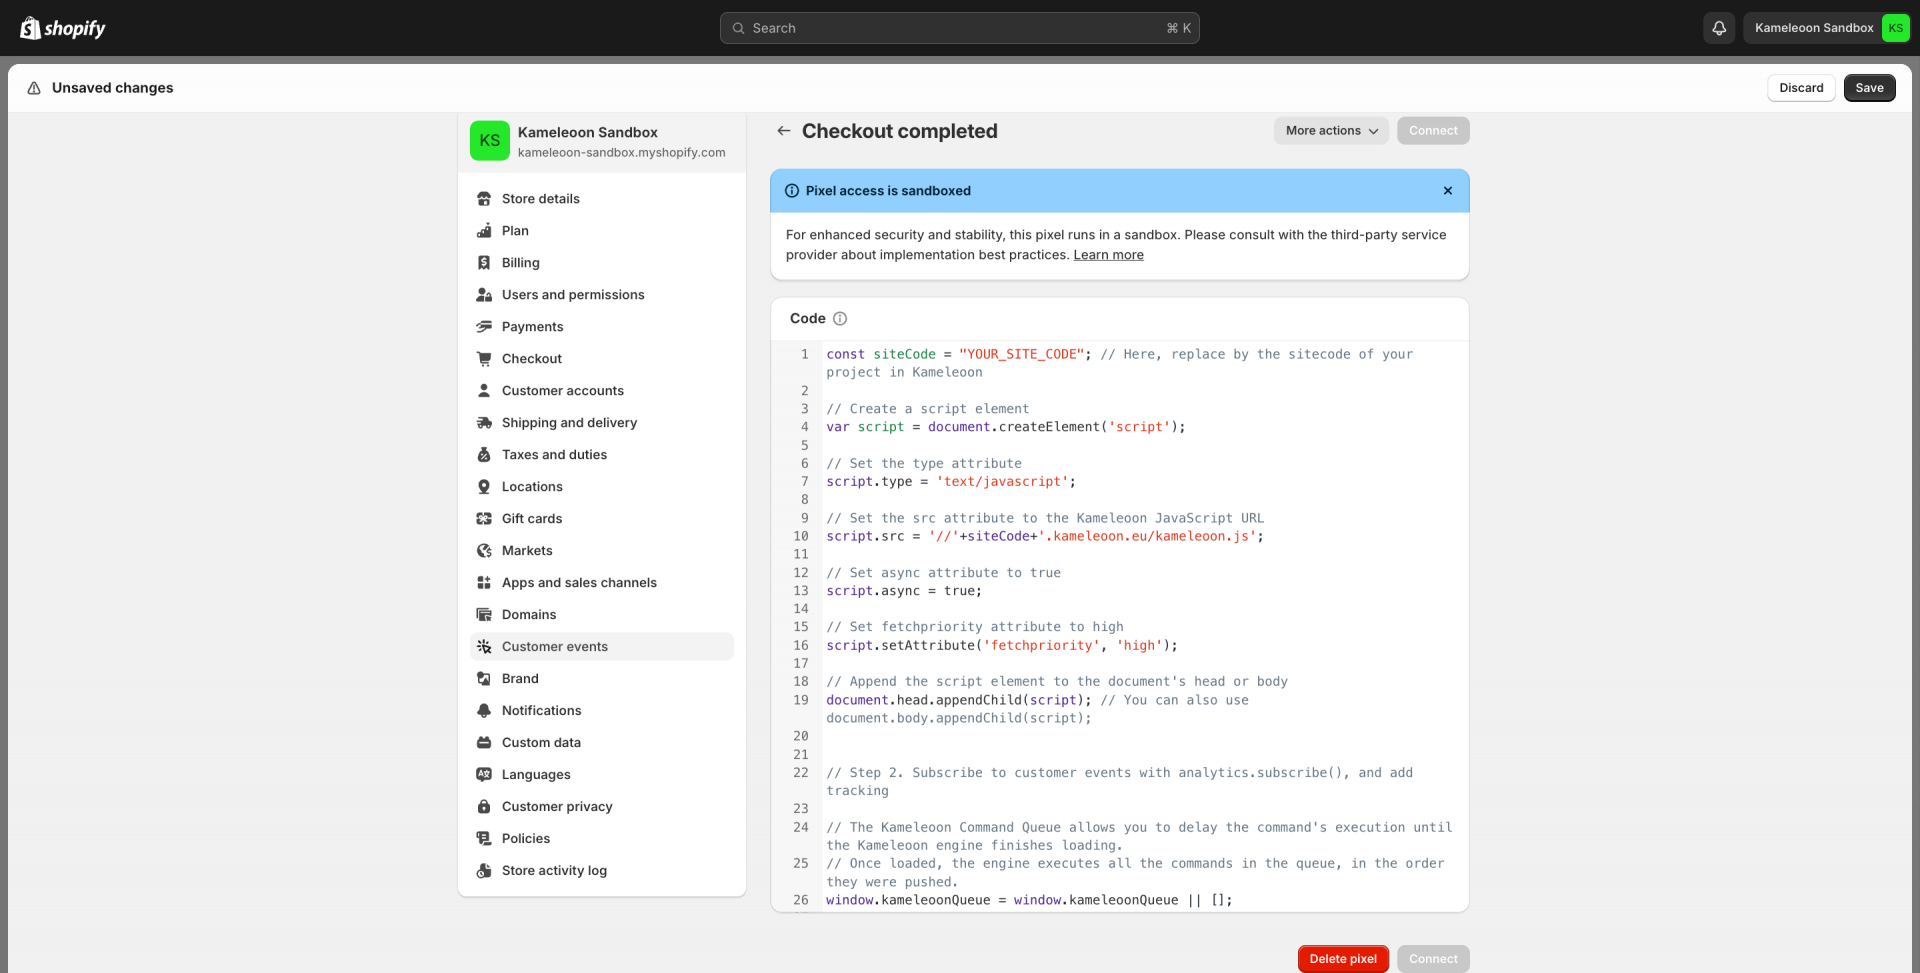
You will need this code. Make sure to replace placeholder texts like “YOUR_SITE_CODE” and “YOUR_GOAL_ID” with the actual values from your Kameleoon project.
Note: The domain for snippet scripts may vary from one project to another. Projects can be hosted on either “kameleoon.eu” or “kameleoon.io” depending on their creation date. Please use the snippet displayed in your project/account.
Note: If you need to track events on other pages in the checkout, such as the cart page, you can subscribe to additional events like ‘cart_viewed’ by adding the following code in the pixel:
analytics.subscribe('cart_viewed', event => {
 //Your code here
});
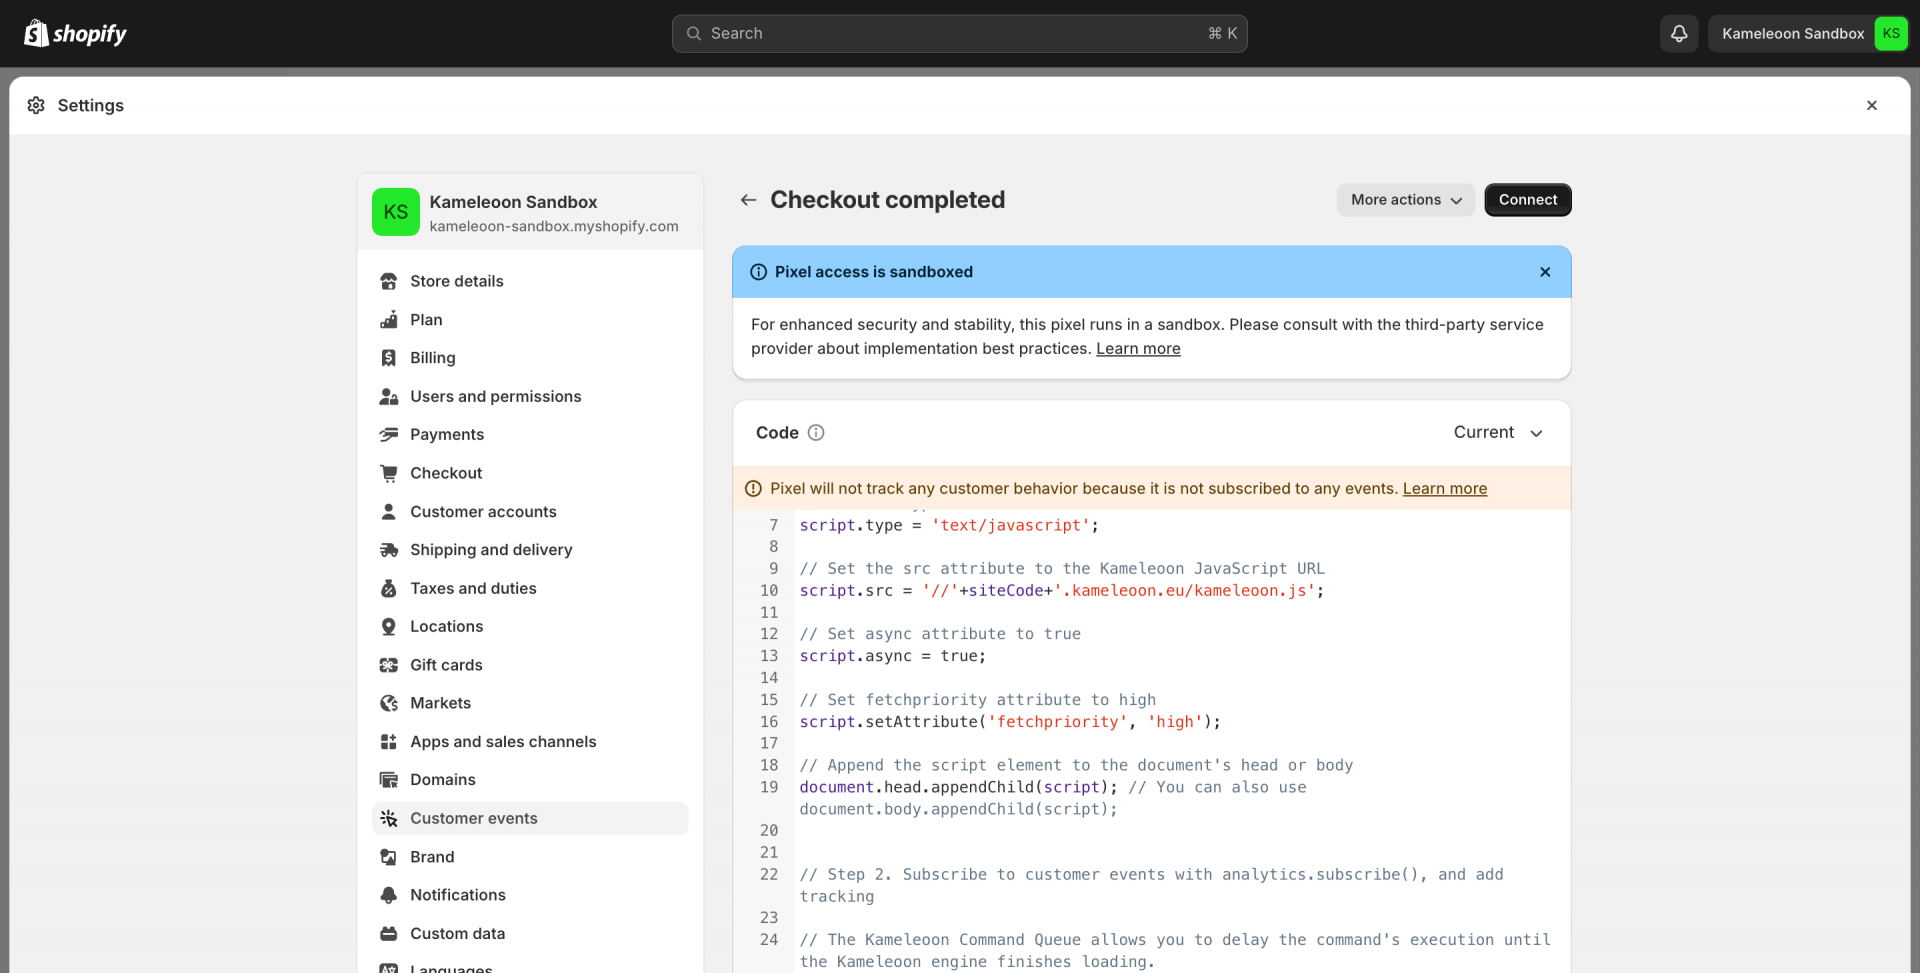
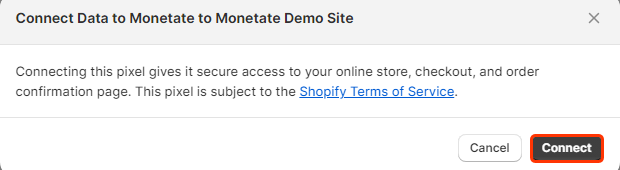
6. Click Save > Connect, then click Connect in the advisory modal.
Validate if your goals trigger on the checkout
Because Shopify’s custom pixels operate within a sandbox environment, our Kameleoon x Shopify integration is presently restricted to tracking Shopify Events. Experimentation, including the use of our graphic or code editor and simulation panel, is not feasible in this environment.
To verify if the pixel tracking works for any of your Kameleoon goals triggered during checkout, we recommend either using our simulation panel on your main domain or utilizing our Activation API. Simply try the following code snippet in your browser’s developer console:
Kameleoon.API.CurrentVisit.conversions["GOAL_ID"]; // Here, replace by the id of the goal you created in Kameleoon This will help you confirm if the pixel tracking is functioning as expected for your specific goals triggered during the checkout process.
We are actively engaged in discussions with Shopify to explore potential solutions for enabling A/B testing in this context. It also means that you cannot use there our graphic or code editor, including the simulation panel.
How to convert revenue currency in custom pixels
Key considerations
- Goal creation: Create a revenue goal in your Kameleoon Goals dashboard, then replace
GOAL_IDin the code below with the ID of your goal. - Output currency: The output currency is set to USD (
outputCurr=USD) in this code template. You can change this value as needed. - Custom data: Create a custom data field named “revenueConvertedError” in Kameleoon to store any errors in case the conversion fails. The custom data configuration is a single type, string format and page scope, with the Kameleoon Activation API as acquisition method.
window.kameleoonQueue = window.kameleoonQueue || [];
analytics.subscribe("checkout_completed", (event) => {
    const originalRevenue = event.data.checkout.totalPrice.amount;
    const originalCurrency = event.data.checkout.totalPrice.currencyCode;

    if (!isNaN(originalRevenue) && originalCurrency) {

        const myCurrencyConversion = async (revenue, currency) => {
            if (revenue == 0) return 0;
            const response = await fetch(`https://customers.kameleoon.com/kameleoon/currencies/convert?inputCurr=${currency}&outputCurr=USD&amount=${revenue}`, {
                method: 'GET',
                headers: {
                    'Content-Type': 'text/plain'
                },
            });
            return response.json();
        };

        myCurrencyConversion(originalRevenue.toString(), originalCurrency)
            .then((convertedRevenue) => {
                kameleoonQueue.push(['Kameleoon.API.Goals.processConversion', GOAL_ID, convertedRevenue]);
            })
            .catch((error) => {
                // Save error in custom data
                Kameleoon.API.Data.setCustomData("revenueConvertedError", error);
            });
    }
});
Track goals outside checkout while keeping logic in your Pixel code
To track goals on pages other than the checkout—where engine.js isn’t injected—you can use our Data API while keeping your conversion logic within the custom pixel.
To keep the goal conversion logic within your custom pixel, we recommend using the Data API.
For example, to track the "product_added_to_cart" event from Shopify
Data API usage for specific Shopify Pixel use cases
If we were to rely solely on window.kameleoonQueue to track conversions on pages other than checkout, conversions would not be tracked because engine.js is not loaded from the pixel on these pages. Here’s why:
Why this happens: Shopify Custom Pixels run in sandboxed environments
- The
windowobject inside the pixel sandbox is isolated from thewindowobject of the main Shopify page. - When you set
window.kameleoonQueueinside the custom pixel, it only affects the sandboxed environment. This means it’s not accessible to the main page whereengine.jswould normally run. - As a result,
engine.jsis not initialized within the Shopify pixel sandbox, and cannot process the queue.
Why this works
- A direct API call does not depend on
engine.jsbeing loaded on the page. - The sandbox does not restrict outbound API requests, allowing you to send data directly to our Kameleoon’s server.
Code template using the Data API
    const siteCode = "YOUR_SITECODE";
    //your goals id list to track
    const goals = {addToCart: "YOUR_GOAL_ID_AS_A_NUMBER_TYPE"};

    const sendKameleoonEvent = goalID => {
    const generateHexa = () => Array.from({ length: 16 }, () => "0123456789abcdef"[Math.floor(Math.random() * 16)]).join("");

      const getCookie = name =>
        document.cookie
          .split(";")
          .map(c => c.trim())
          .find(c => c.startsWith(name + "="))
          ?.split("=")[1] || "";

      const visitorCode = getCookie("kameleoonVisitorCode");
      const endpoint = `https://data.kameleoon.io/visit/events?siteCode=${siteCode}&visitorCode=${visitorCode}&json=true`;

      const data = [
        {
          nonce: generateHexa(),
          eventType: "CONVERSION",
          goalId: goalID,
        },
      ];

      fetch(endpoint, {
        method: "POST",
        headers: {
          "Content-Type": "*/*",
          "User-Agent": navigator.userAgent,
        },
        body: JSON.stringify(data),
      })
        .then(response => {
          console.log("Response Status Code:", response.status);
        })
        .catch(error => {
          console.error("Fetch error:", error);
        });
    };

    analytics.subscribe("product_added_to_cart", () => {
      sendKameleoonEvent(goals.addToCart);
    });
You can track any event or KPI on any page using the code template above. Simply add additional goals to the goals object as needed. You can also reuse sendKameleoonEvent whenever you need to track other goals.
