Zuko
Integrate Kameleoon with Zuko and automatically send events when users are targeted by your Kameleoon campaigns.
Key benefits:
- This integration allows you to run experiments and address form-fill and checkout flow bottlenecks, resulting in improved conversion rates and a smoother customer journey.
- Leverage comprehensive analytics, optimize conversions, ensure seamless data flow, gain cross-platform insights, and make informed decisions for website optimization.
Setup
Prerequisites
To configure this integration, you must create a new form into Zuko and define the slug.
Create a new custom analytics integration for Zuko
First, you must create a new custom analytics integration for Zuko. To do this:
- Log in to your Kameleoon app.
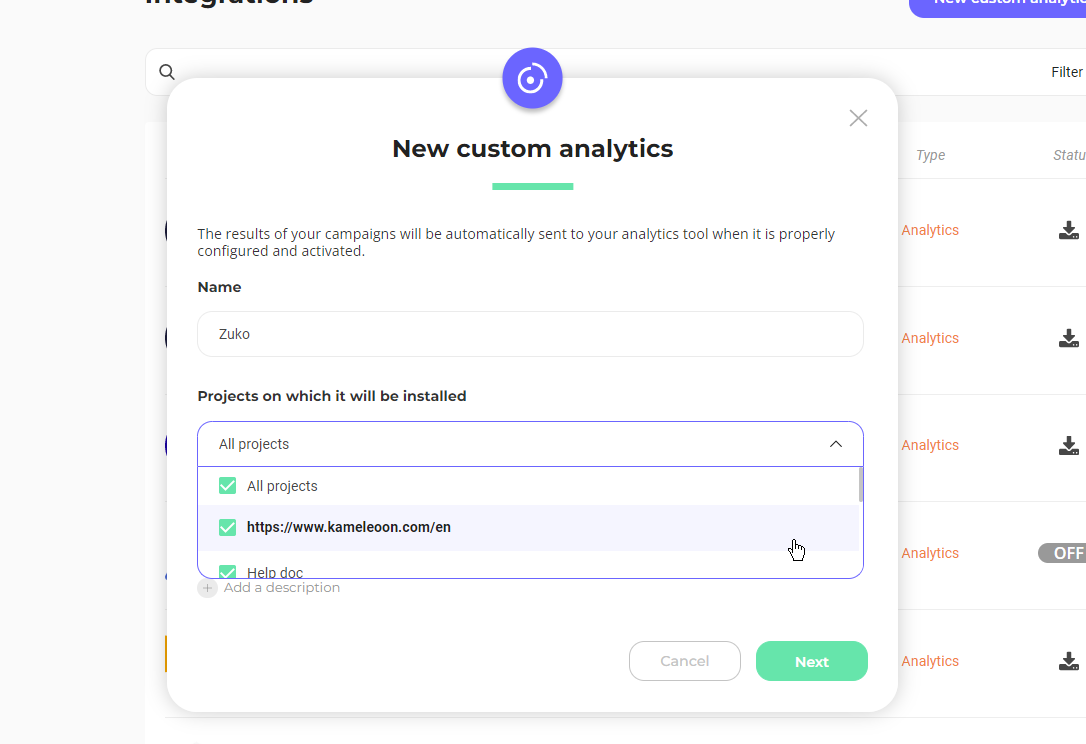
- Click Admin > Integrations > New custom analytics.
- Name your custom integration and select the projects on which it will be active.
- Click Next.
If you want to know more about custom analytics, please read the dedicated documentation.
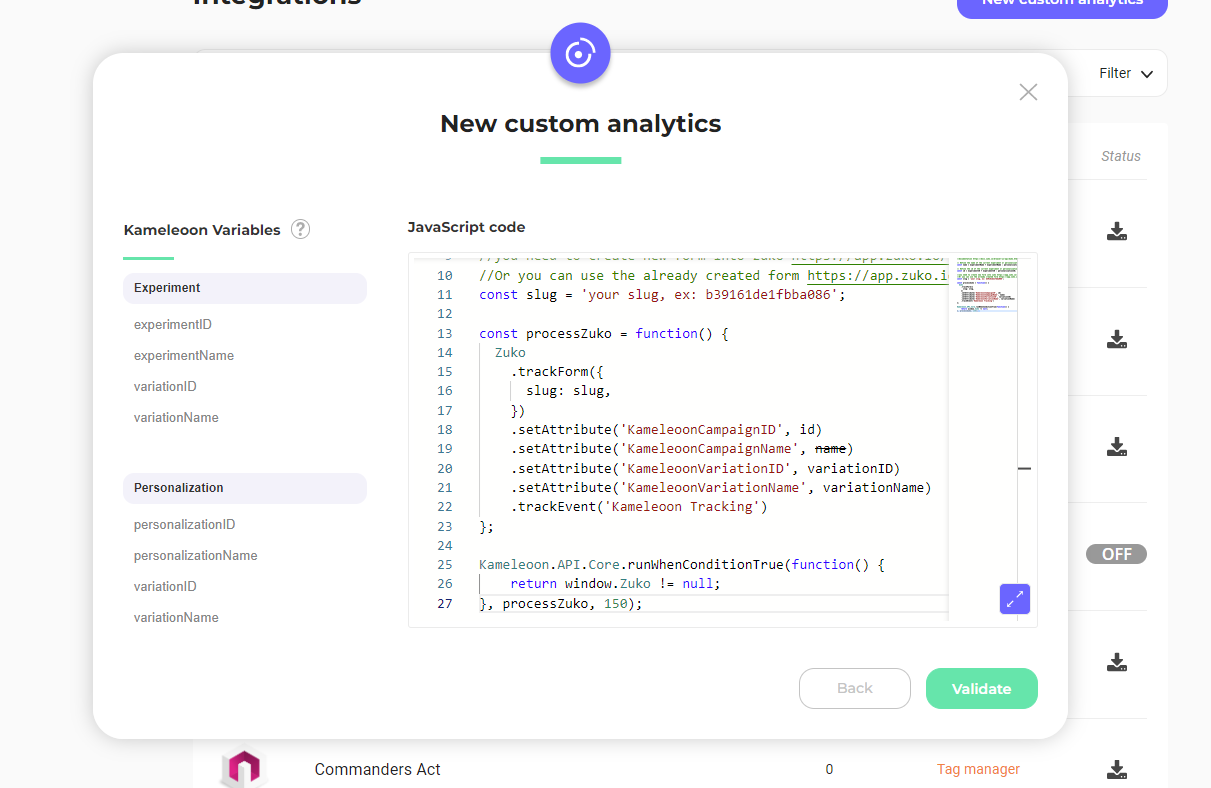
- From the dropdown list, choose the Zuko integration and click Add new script. The corresponding script will automatically populate the JavaScript code insert.
- You can adapt the sample code to your needs. Don’t forget to add your own slug in the code.
Any custom code added here will be exposed in the kameleoon.js file and available publicly. Please do not put private API keys or passwords in this section.
- Click Validate.
Your analytics solution is added to the list of your integrations.
You can modify the installation code later if needed, deactivate the tool, or delete the integration.
Associate your Zuko integration with a campaign
In the Graphic/Code editor
When finalizing your experiment:
- Click Integrations > Zuko.
Your analytics tool will be mentioned in the summary pop-in before going live.
Kameleoon will automatically transmit the data, and you can view your results directly in the analytics tool.
On the personalization creation page
You can select your custom analytics as a reporting tool for a personalization the same way you would in an A/B test.
On the Results page
Once your custom analytics integration is defined as a reporting tool for a campaign, you can select (or unselect) it via the Results page. To do this:
- Click Reporting Tools > Edit.
- Select or deselect the tool.
- Click Validate.