Mouseflow
Mouseflow helps marketers understand their visitors' behavior by combining session replays, heatmaps, funnels analysis and user feedback tools.
With our Mouseflow integration, Kameleoon will automatically flag all heatmaps and session replays with additional tags, letting you segment your analysis based on each experiment variation.
Key benefits:
- Understand the results of A/B tests with Mouseflow’s session replay and heat maps and more.
- Build experiments and personalization based on user behavior insights from Mouseflow.
Activate Mouseflow on Kameleoon
You should either activate the Mouseflow extension in Kameleoon OR the Kameleoon extension in Mouseflow. Activating both may result in sessions being double-tagged.
First you must enable Mouseflow:
- Log in to your Kameleoon App.
- Click Admin > Integrations > Install the tool.
- Select the projects on which you want to configure Mouseflow.
- Click Validate.
You will then see an ON toggle on the right of the tool’s line, and the number of projects the tool is configured on.

Data will be automatically sent to Mouseflow if the tool's script is installed on your pages.
If you need to change the behavior of our native bridge, you can create a custom analytics bridge and use the Mouseflow sample code in our Github repository.
Associate Mouseflow with a Kameleoon campaign
In the Graphic/Code editor
When finalizing your experiment:
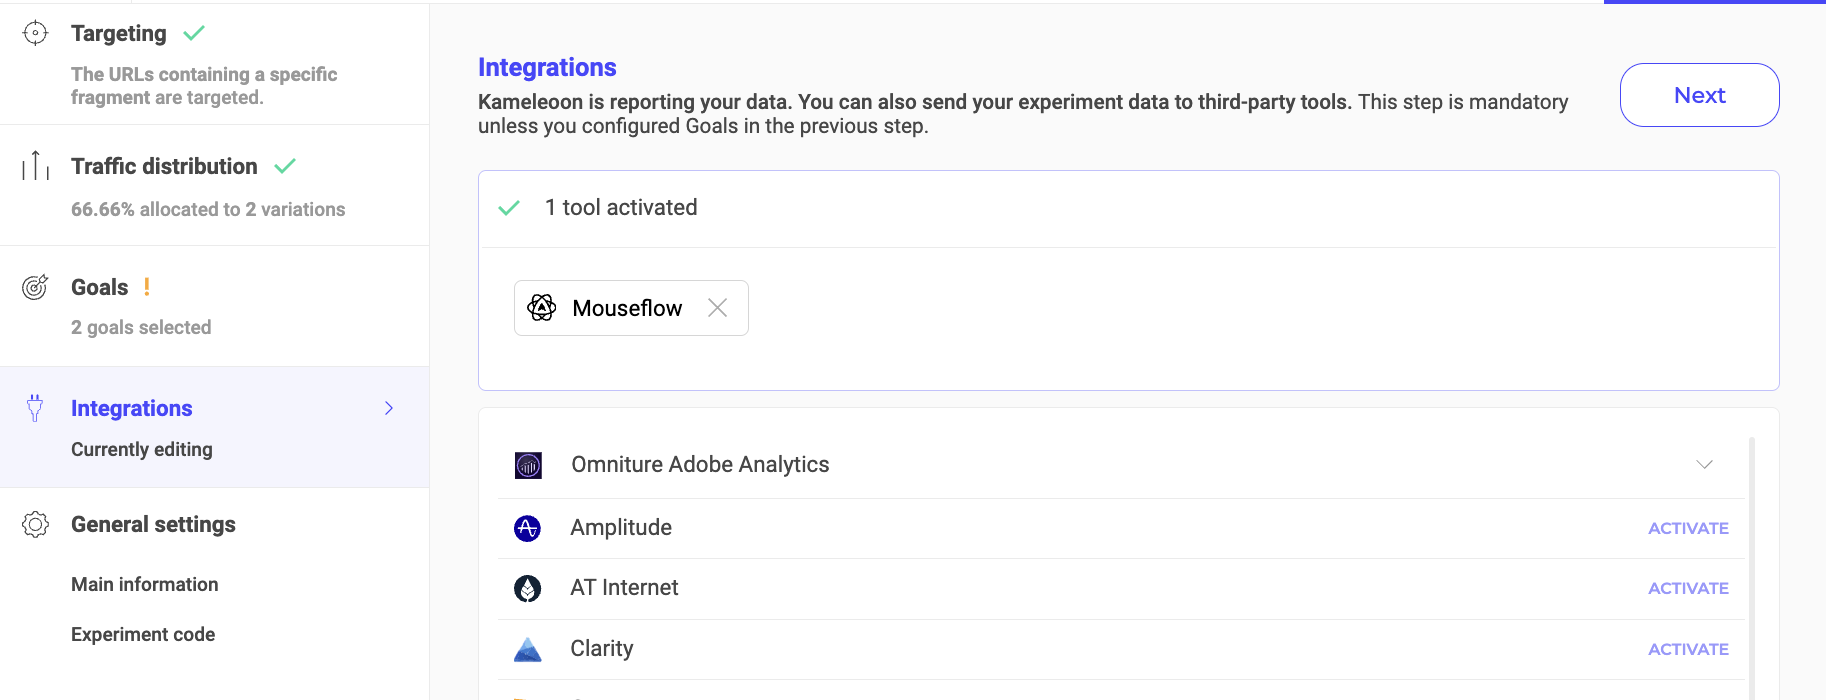
- Click Integrations > Mouseflow.

Mouseflow will be mentioned in the summary pop-in before going live. Kameleoon will automatically transmit the data to Mouseflow and you can view your results directly in the tool.
On the personalization creation page
You can select Mouseflow as a reporting tool for a personalization the same way you would in an A/B test.

On the Results page
Once Mouseflow is set as a reporting tool for an experiment, you can select (or unselect) it via the Kameleoon Results page. To do this:
- Click Reporting Tools > Edit.
- Select or deselect Mouseflow.
- Click Validate.