
Once you have designed the elements of your form widget, established rules and set up the sending of the data, you can create additional screens to inform your visitors about the success or error in sending the form.
Design your screens first, then set up Events to choose when they should be displayed.
Design your screen
At the top left of the Widget Studio, click on the name of your widget to display the list of screens. Click (twice) on Add screen to create a validation screen and an error screen.

Then design your new screens as you want.
You have to create events to configure the display of the screens. We will see this in the Configure Events part of this article.
Use case
We have created a success screen and an error screen.


The error screen provides a button which redirects to the default screen so that the form can be resubmitted.
Configure Events
Now that your screens are created, you will have to set up events so that one screen or the other is displayed according to the success or failure of the sending of the data entered by the visitor.
Use case
Click on the Event section in the left menu, and then create a new event.
The condition that will trigger the display of your success or error screen is the status of the HTTP Response following the submission of the form by the user.
Thus, in the Add event pop-in, select HTTP Response.

You don’t find the HTTP Response in the Add event pop-in?
This event only appears once a HTTP Request action has been added. If it is not the case, you should first define what happens when a user submits your form (your trigger) by adding a HTTP Request (your action) that will send the form data to the specified URL.
Then we select On success or On error, depending on the screen you will display.

On the next screen, select the name of the request linked to your HTTP Response.
In other words, when the user submits the form, the data of the form is sent with a HTTP Request action you previously specified. You were requested to give a name to this HTTP request. This is the name of this request that you need to choose here.
In our use case, we named our HTTP Request “MyRequest” so we select it in the dropdown.

We now need to specify what happens when your event is triggered.
To do so, click on Add action.
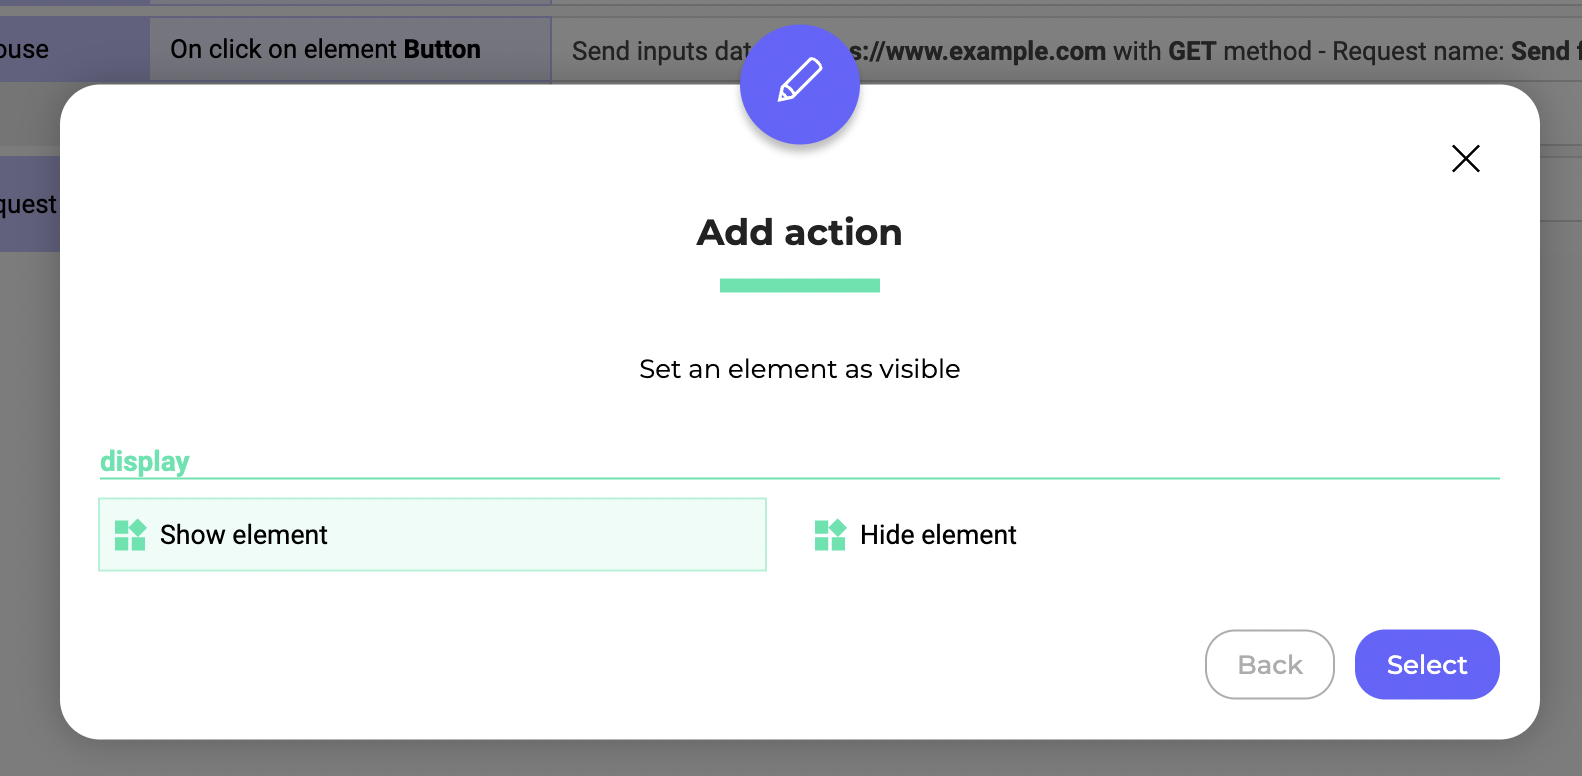
Our goal here is to display a dedicated screen, depending on success or error. A screen is an element, thus select Elements on the Add action pop-in.

We click on Show element.
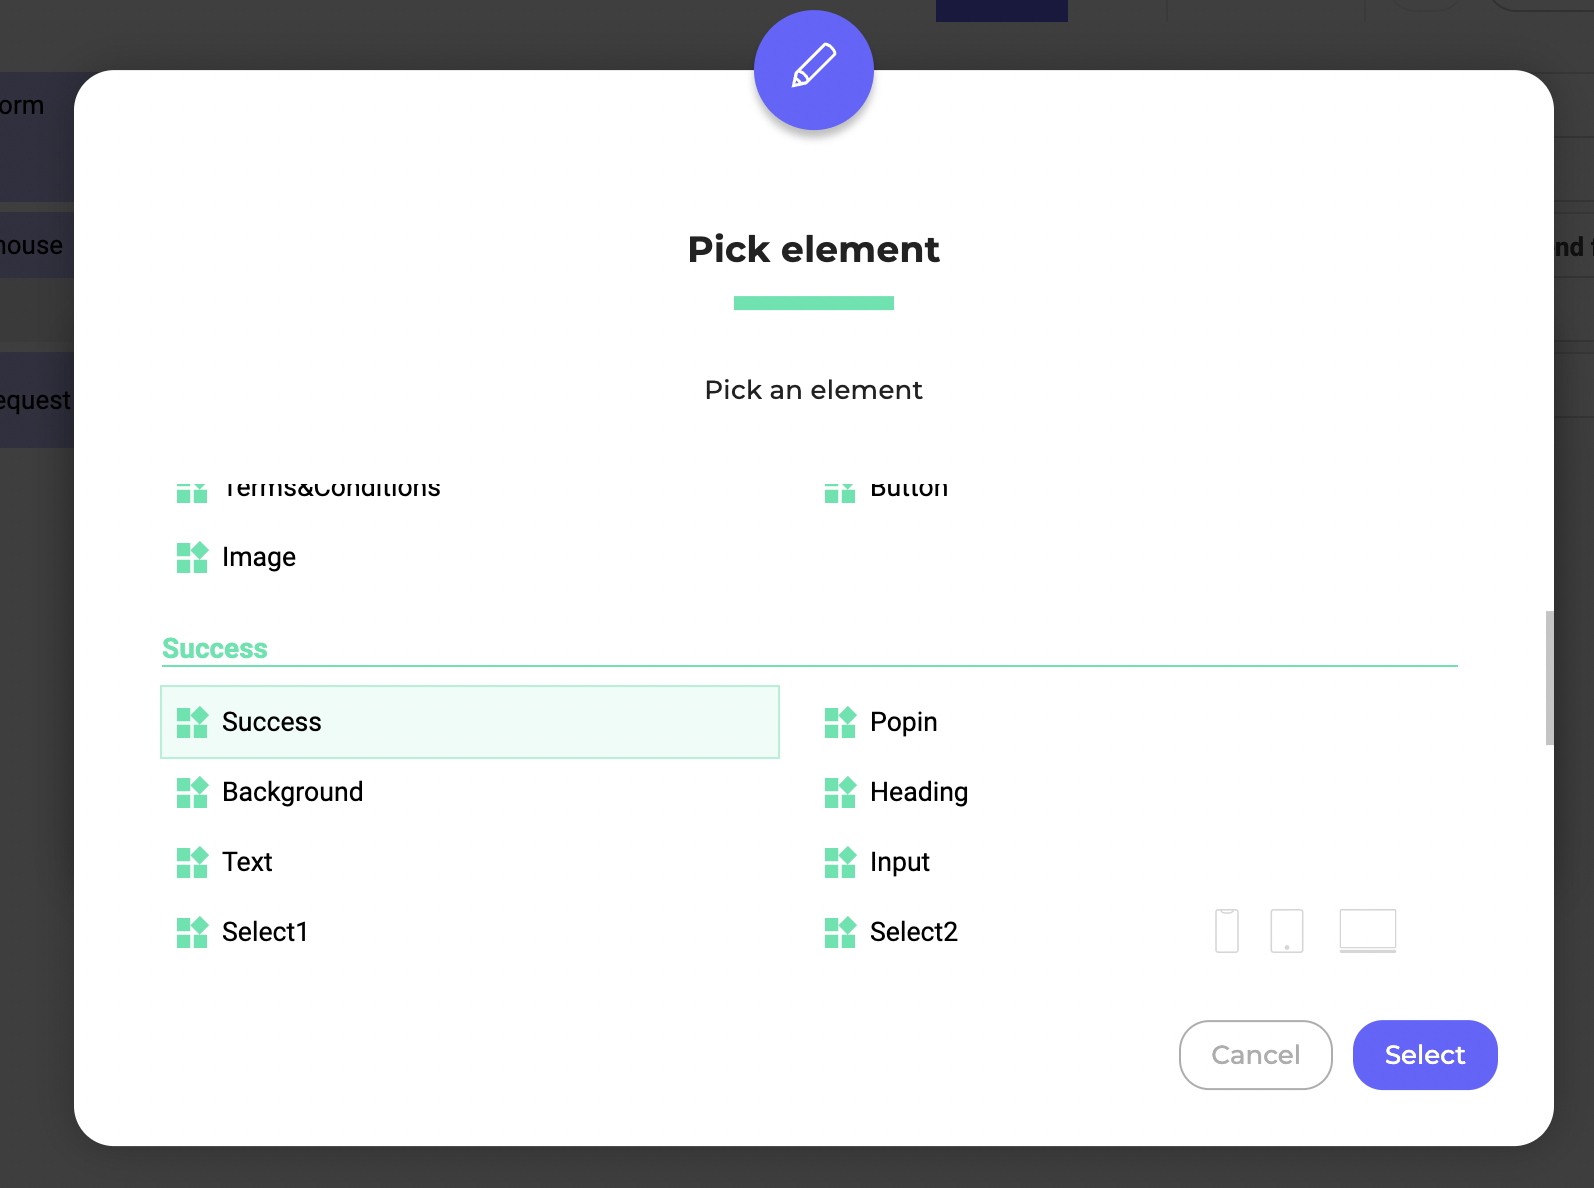
If you trigger is based on the success of the HTTP Response, pick your Success screen. On the contrary, for the failure of the HTTP response, pick your Failure screen.
Note: You don’t find your success or failure screen in the elements list? Scroll down the list, and you will finally end up on the name of your desired screen.
Our event is created! When the request is successful, the success screen will be displayed. If an error is detected, it will be the error screen.

