
We offer a library of widgets to use into experiments. You can integrate these widgets inside your pages or above them. For more information on these predefined elements, read our documentation.
You can also create your own widget templates by coding them and use them in experiments and personalizations. This way you can make sure that the widgets perfectly fit your needs, as you create and customize them yourself. This expands experimentation and personalization possibilities.
Note: If you’re not comfortable with coding, use one of our ready-to-use widgets or ask your developer!
How to start the creation of a new template
To access the widget template interface, you must first be connected to your Kameleoon App.
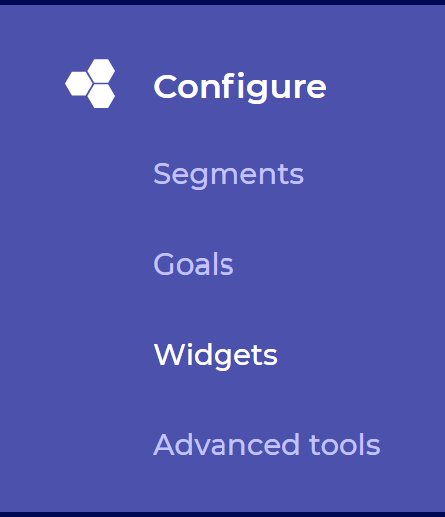
Pull down the Configuration menu and click on Widget templates:
At the top right of the page that has just opened, click on New widget.

Select the Using code option to access the creation pop-in.

How to complete the creation pop-in
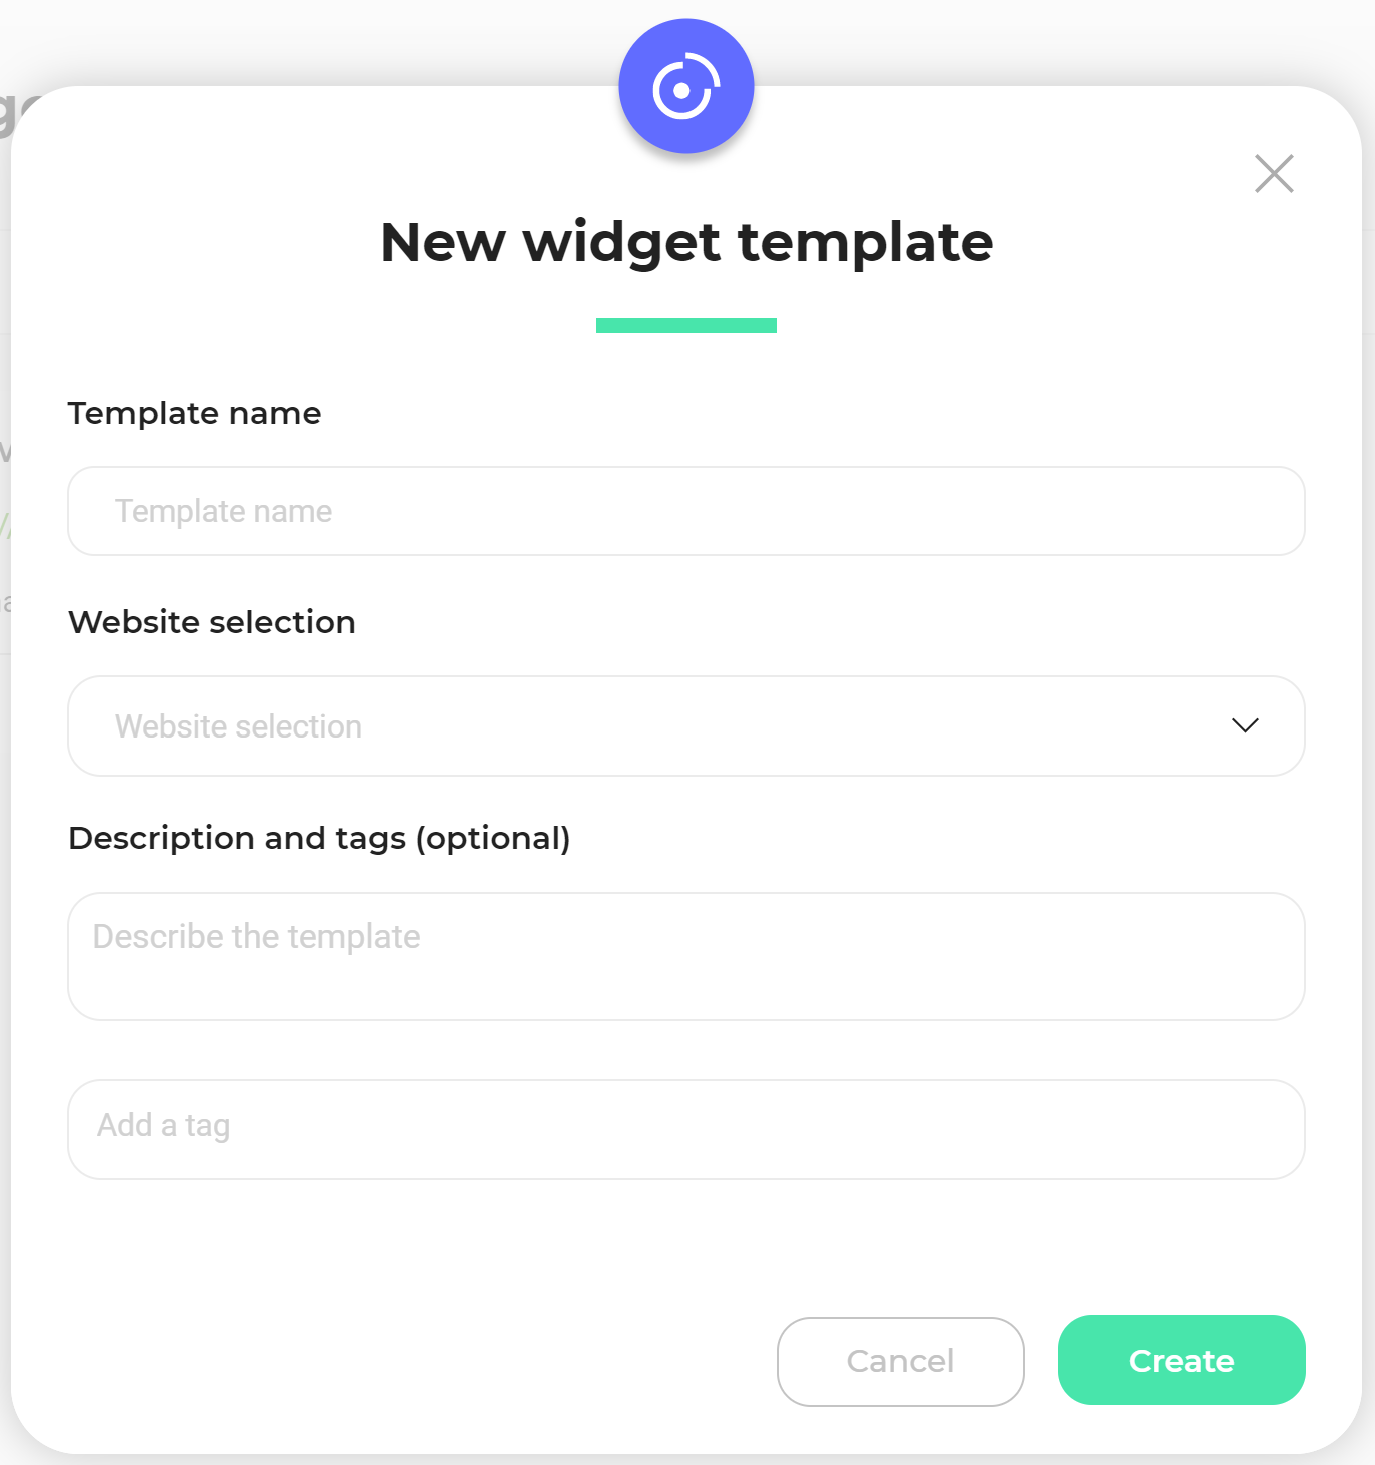
In the pop-in you can to name your template, associate a website and optionally write a description and add tags.
Then click on Create to go to the next step.
The template editor
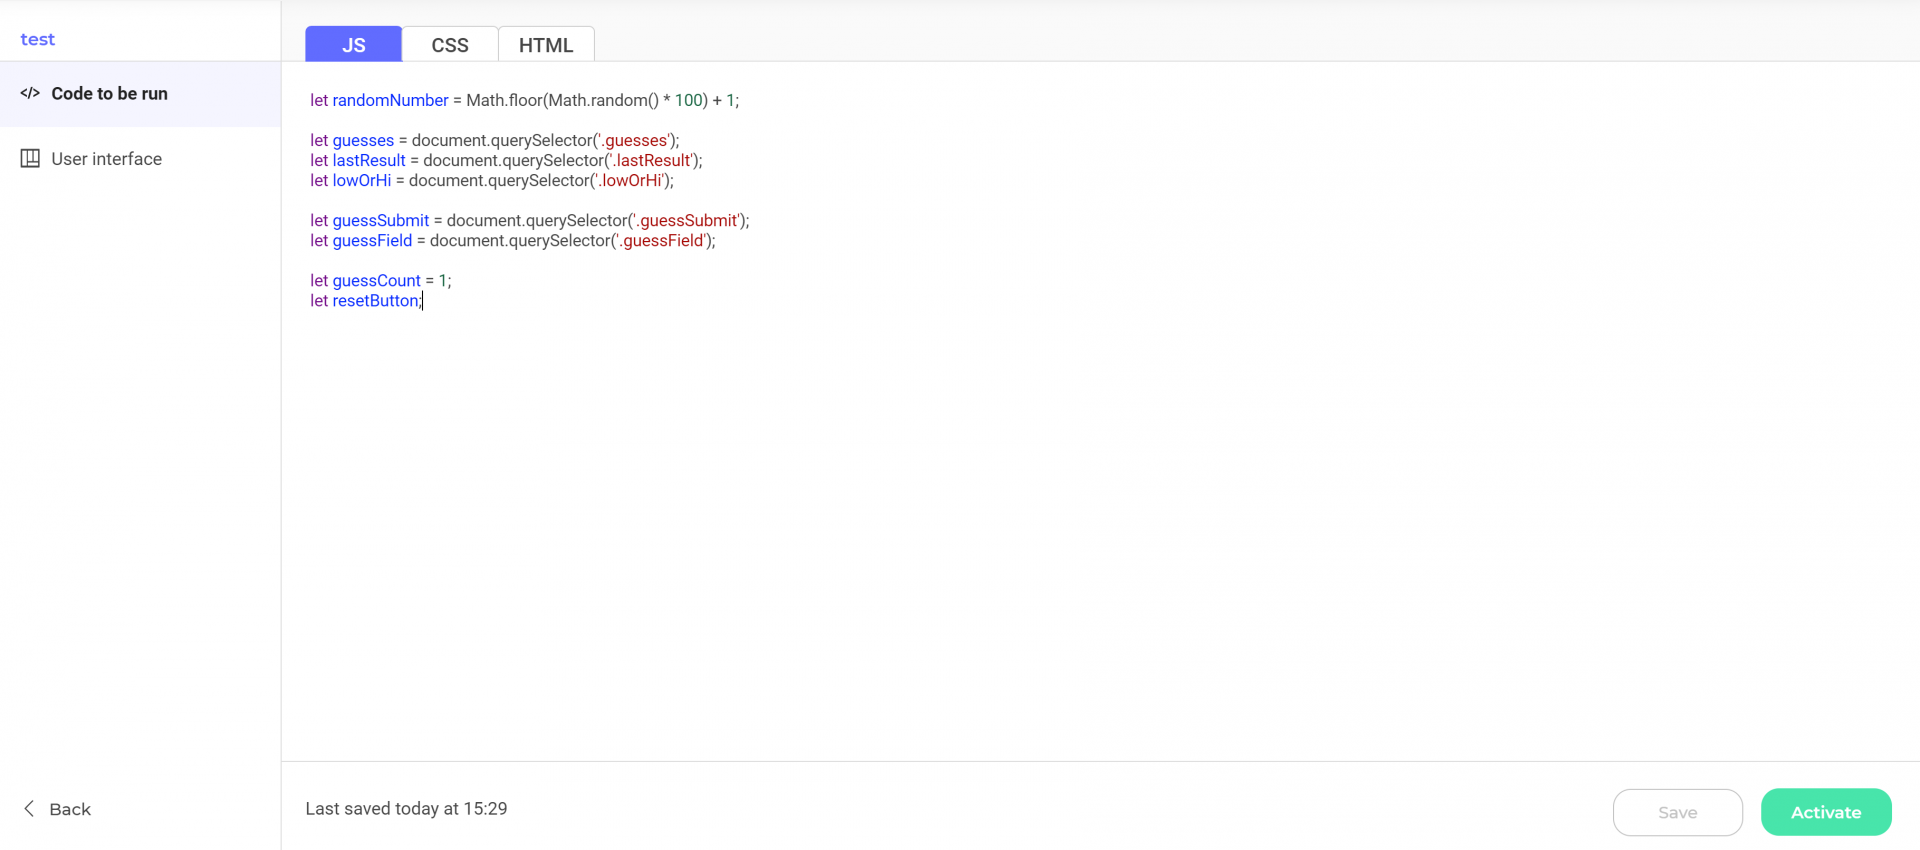
The template editor is made up of three distinct areas.
Left panel
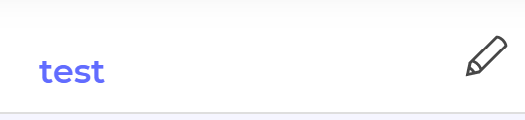
The title of your template is displayed at the top left. On hover, an edit icon appears. You can click on it to rename your template.
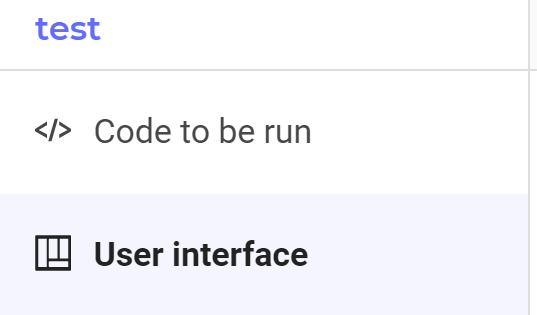
This panel also gives you access to the two essential steps of creating your template:
- The code to be run
- The user interface
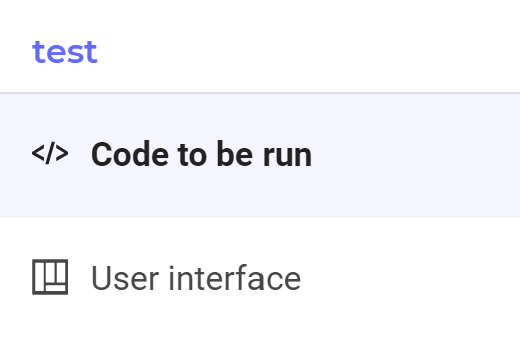
With one click, you can switch from one to the other.
Content zone
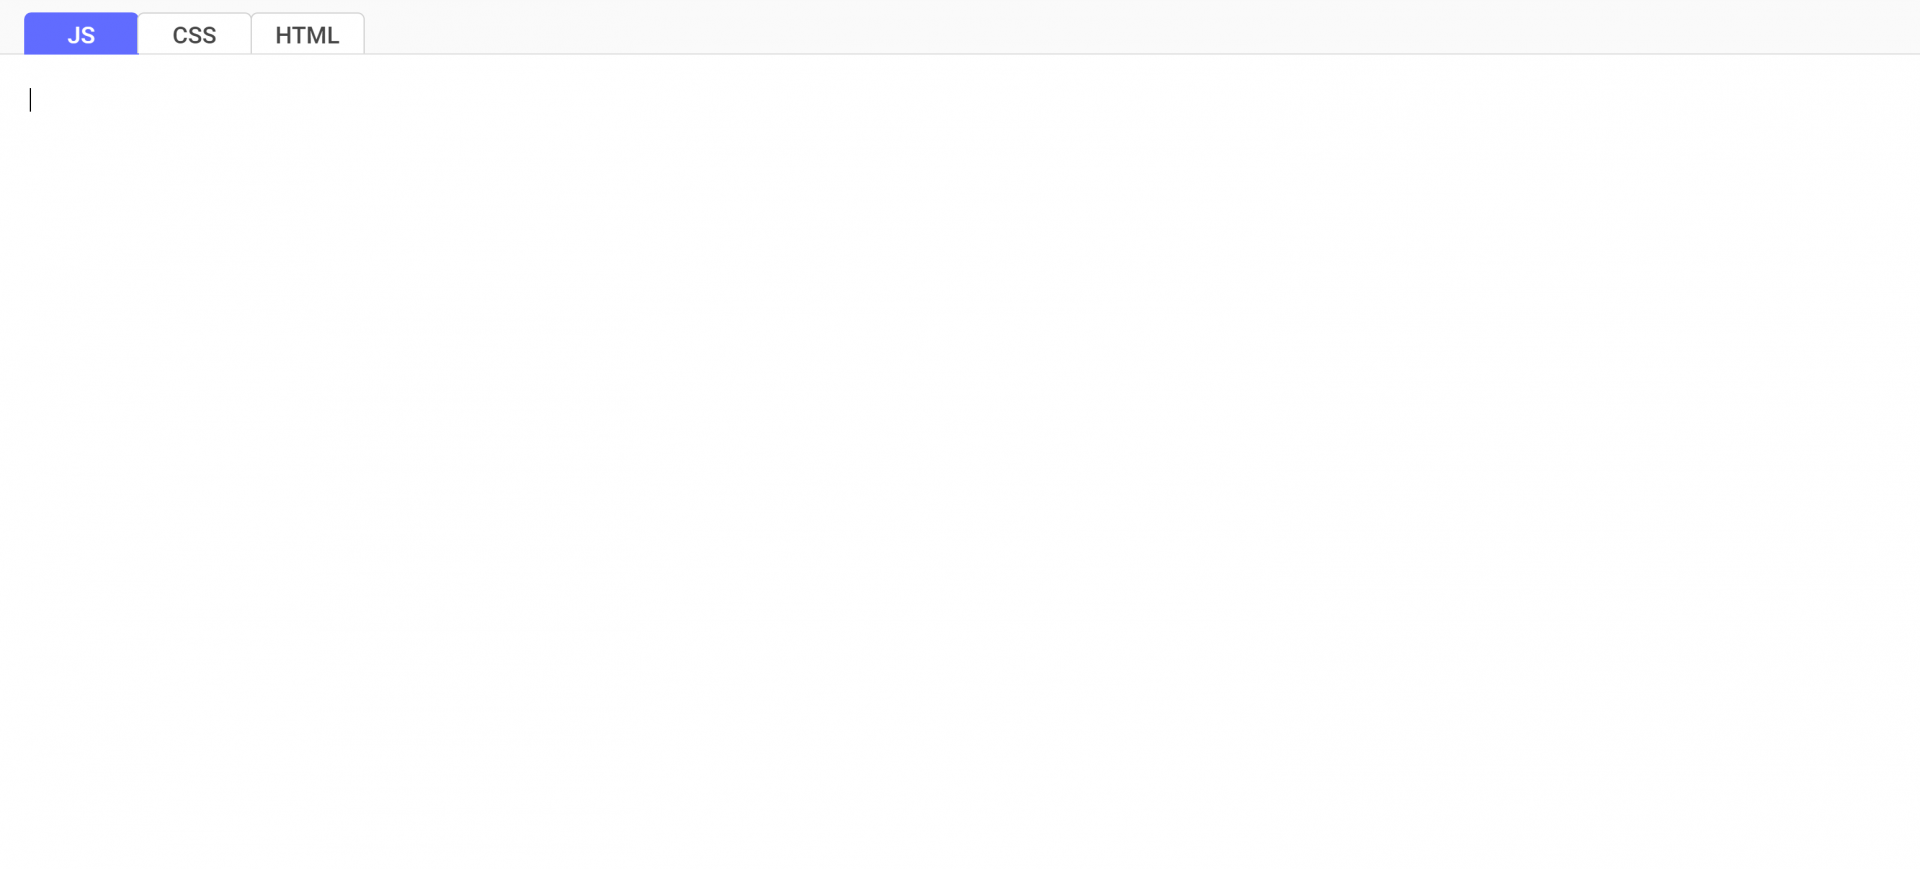
In this area in the center you enter your template’s code.
Bottom panel

On the bottom left of the page, you will find a notification area. By default, it indicates the date and time of the last save. To its right are two action buttons:
- The Save button that saves template edit as a draft. You stay in the editor.
- The button Activate which validates the edition and activates the template. You leave the editor to return to the template management page.
NB : You don’t have to save when you switch tabs.
If you edit an existing and activated template, these two buttons become Edit (to save the modification of the draft) and Finish (to activate the modified template).
NB : If you leave the editor without saving your changes, a pop-in will ask you if you want to save your work.
How to code the template
The central content area is where you code your widget template. This code will be used on your website’s page to generate the widget. There are three tabs for three different kinds of code:
- JS (JavaScript)
- HTML
- CSS

By default, it is empty and the active tab is the JavaScript one. Write your code directly into the blank area.
To validate your template, you must have entered at least 10 characters in the JS tab. JavaScript is sufficient to create your template. However, you can add HTML and/or CSS.
You can also use this default CSS which will allow you to format lists, text fields… according to Kameleoon App stylesheet:
@import url('https://fonts.googleapis.com/css2?family=Montserrat:wght@300;400;500;700&display=swap');

body * {
     font-family: "Montserrat";
     font-size: 12px;
}

fieldset {
     border: none;
     border-bottom: 1px solid #dedede;
}

label {
     display: block;
     font-size: 12px;
     margin-bottom: 5px;
}

input, select, textarea {
     display: block;
     padding: 8px 12px;
     width: 100%;
     border-radius: 4px;
     border: 1px solid #eeeeee;
     outline: none;
     font: 400 12px "Roboto", sans-serif;
     color: #333333;
     background: white;
     -webkit-transition: border-color 0.25s ease;
     -o-transition: border-color 0.25s ease;
     transition: border-color 0.25s ease;
}

input:hover, select:hover, textarea:hover,
input:focus, select:focus, textarea:focus {
     border-color: #c6c6c6;
}

textarea {
     resize: vertical;
}

input[type="checkbox"] {
     display: inline-block;
     width: auto;
     position: relative;
     top: 1px;
}

input[type="checkbox"] + label {
     display: inline-block;
}
Once your code is written, click on User Interface in the left panel to access the user interface step.
Special case: the variable
To run a widget whose code must use a field (a variable) specified by the user when configuring the widget:
- In the User Interface tab
Add the templateData in the corresponding form field.
Example:
<input id=”message” type=”text” templateData=”messageContent” placeholder=”Type your message”>
- In the Code to run tab
To retrieve the corresponding variable, use the UserData.
Example :
var userInput = UserData.messageContent;
alert(userInput);
How to create the user interface
In the User Interface tab, the content area changes: only HTML and CSS are available. Click on one or the other and add your code.
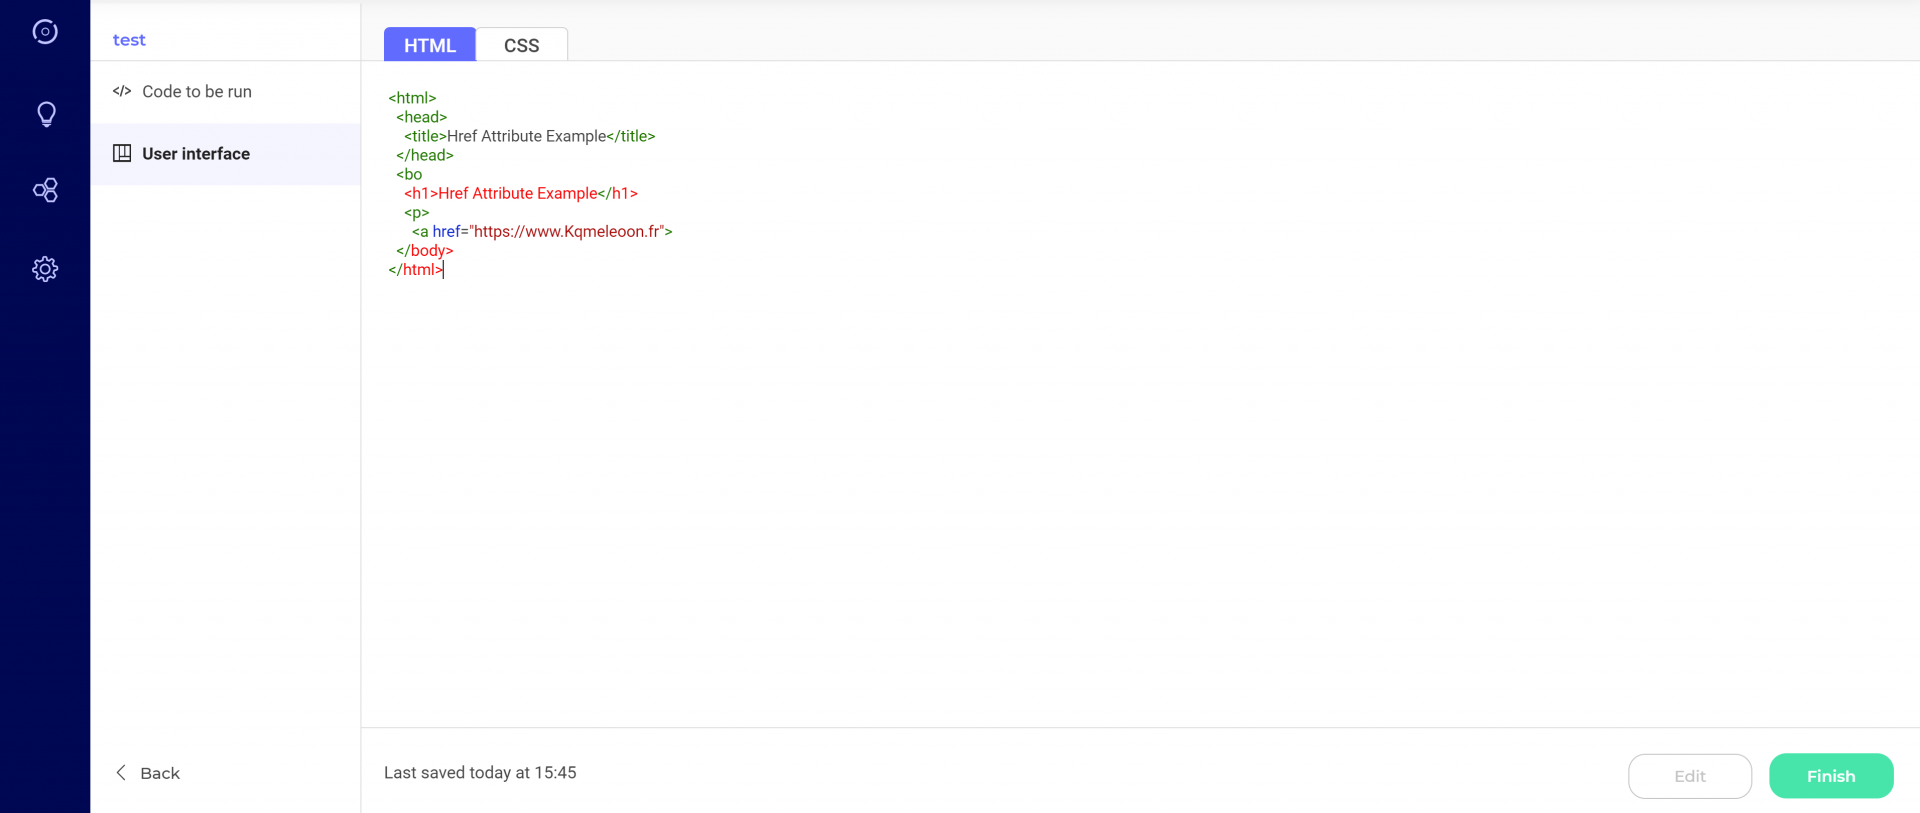
By doing so, you code the form for the user interface, which users need to fill in to create a widget via this template. The form is displayed when the widget is added to an experiment.
If no user interface is provided for your widget, this part is optional and the fields can remain empty.
How to activate the template

To finalize the creation of your template and activate it, click on the Activate button at the bottom right of the editor page.
NB: If you have entered less than 10 characters in the JavaScript part of the editor, the button is grayed out and you can’t activate your template.
How to manage created templates
When you have created a template, it appears as a card on the Widgets Dashboard.
How to use the widget in a campaign
Your template is created and activated? You can now use it in an experiment or a personalization.
