
You can trigger specific actions based on the values provided by your visitors when they interact with your survey. Conditional logic allows you to show or hide survey elements or screens depending on each user’s input.
Show or hide an element based on a visitor’s survey response
You can configure elements or screens to appear (or disappear) based on what users select or type in your survey elements. For example, if a visitor selects a specific answer in a multiple choice question, a Long Answer field may appear to ask for more details.
To do this, you create:
- Element 1, visible by default
- Element 2, hidden by default
- A conditional rule in the Events section to display Element 2 if a specific value is selected in Element 1.
Example use case
Let’s say you’ve built a multi-step NPS survey and want to customize the experience based on the user’s score. For example, if a user gives a score from 0 to 6 (a Detractor), you might want to display a follow-up question asking for more feedback. If the score is 7-10 (a Passive or a Promoter), you can skip straight to a thank-you message.
In this example, the survey consists of two screens:
- Screen 1: the NPS score question (0–10)
- Screen 1 – only for detractors: an open text field asking for the main reason behind the score
- Screen 2: a confirmation screen (“Thank you for your feedback!”)
Step 1: Set up your survey screens
In the Widget Studio, create each screen:
- Screen 1 with the NPS element
- Screen 2 with a confirmation message


Make sure Screen 1 is the default screen.
Step 2: Ask a follow-up question to Detractors
Select the NPS element.
In the Settings tab, under Follow-up question, select Detractors.

Step 3: Add a conditional logic event for Passives and Promoters
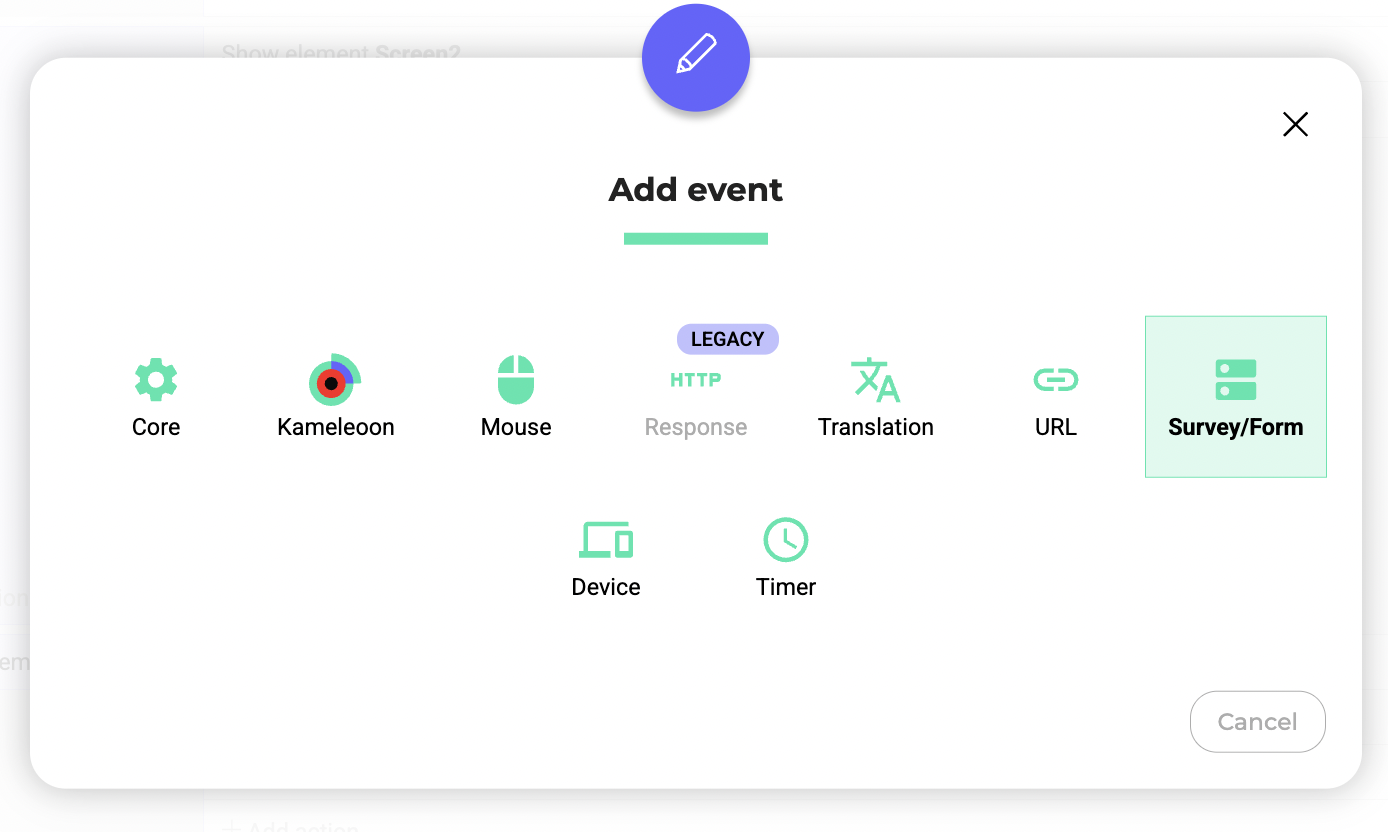
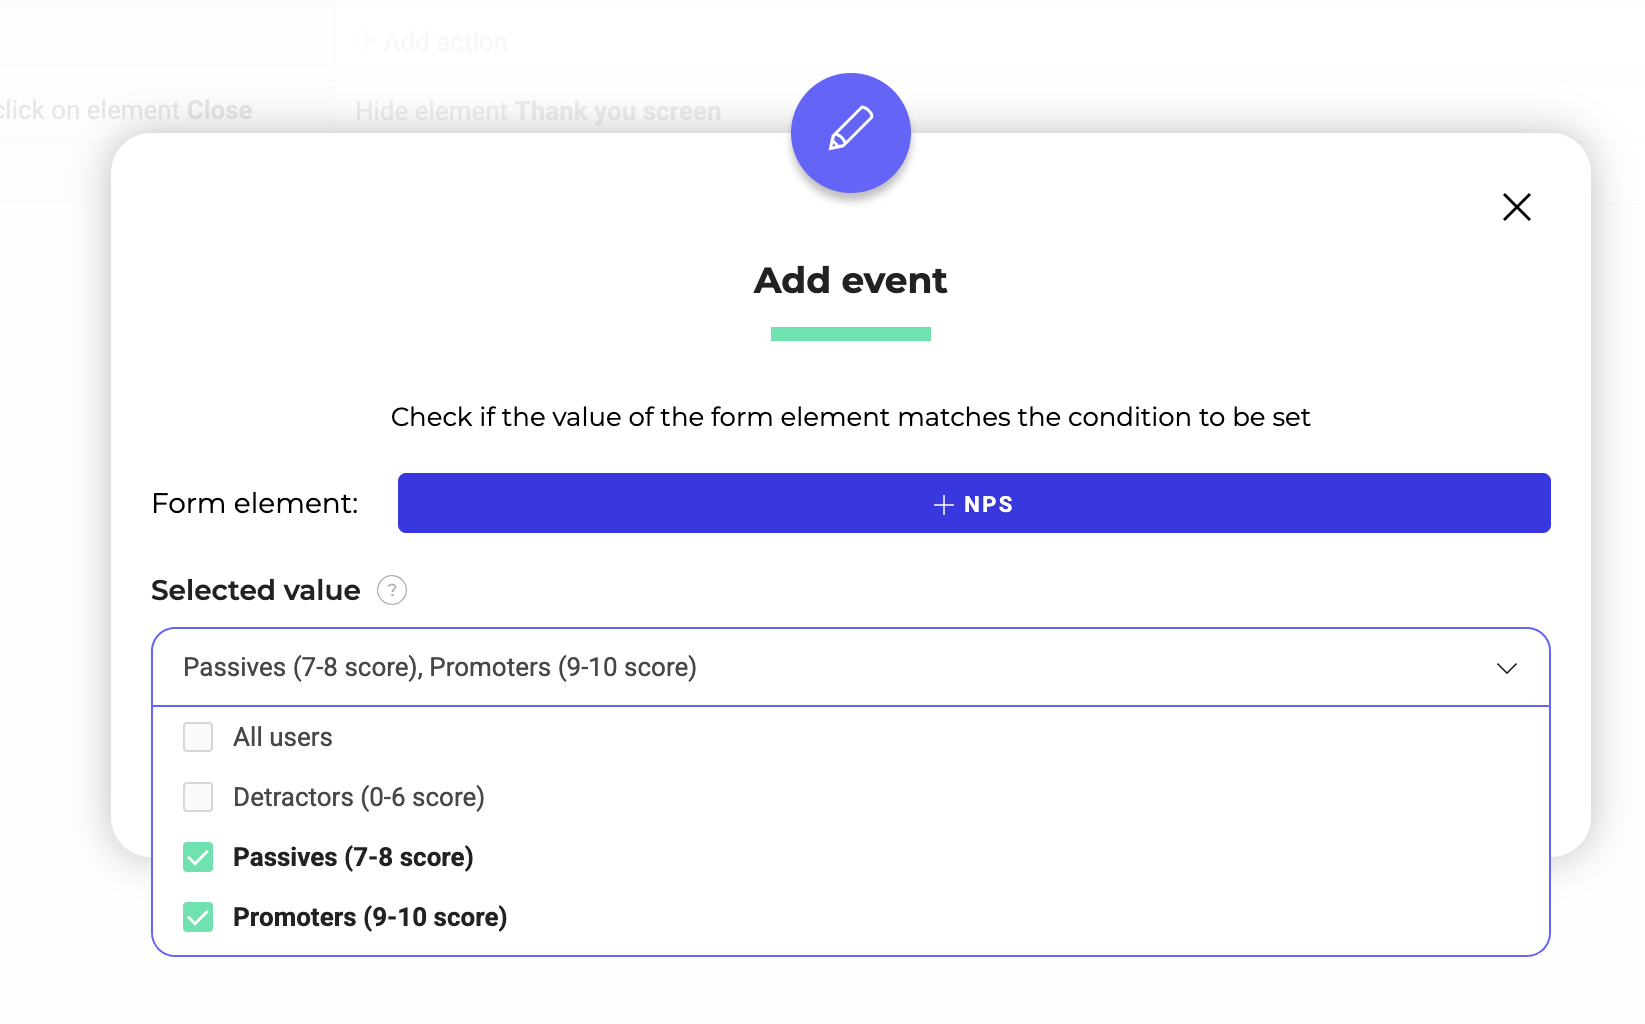
Go to the Events panel and click Add event.
As the trigger, select Survey/Form.
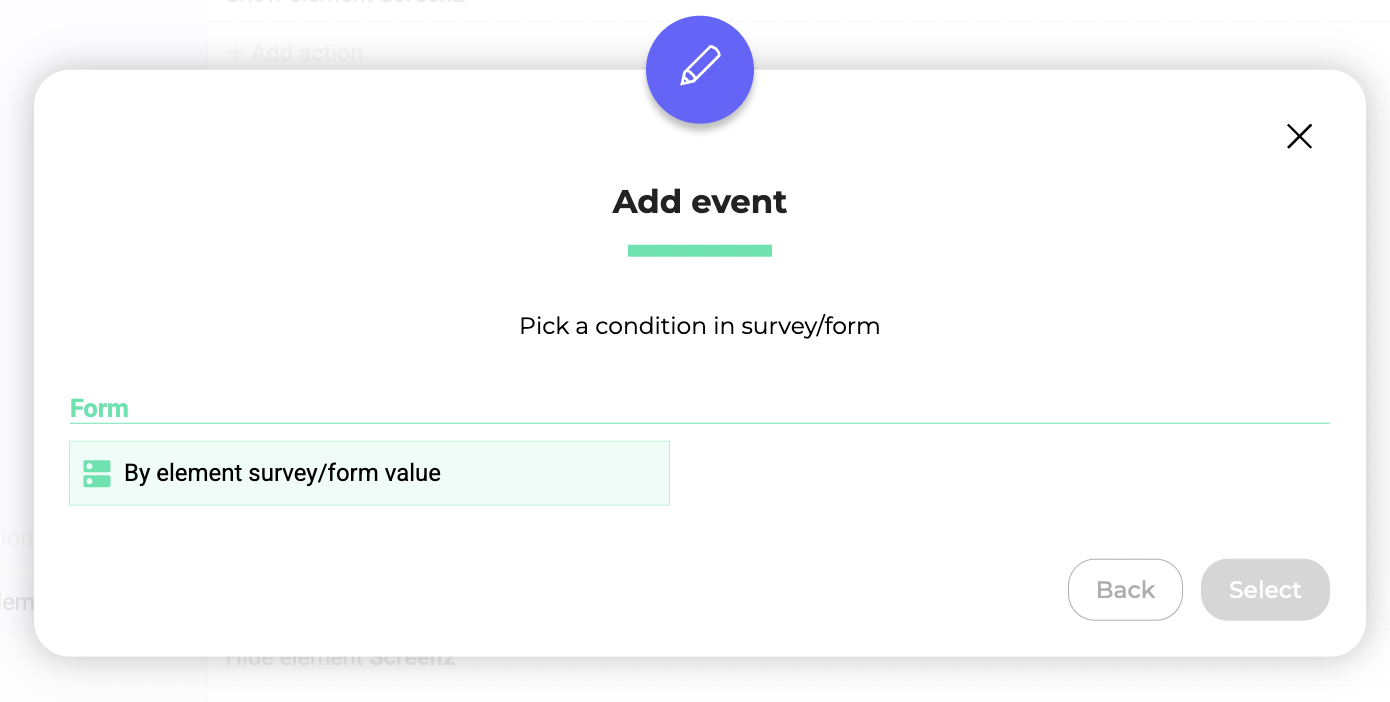
Choose By element survey/form value.
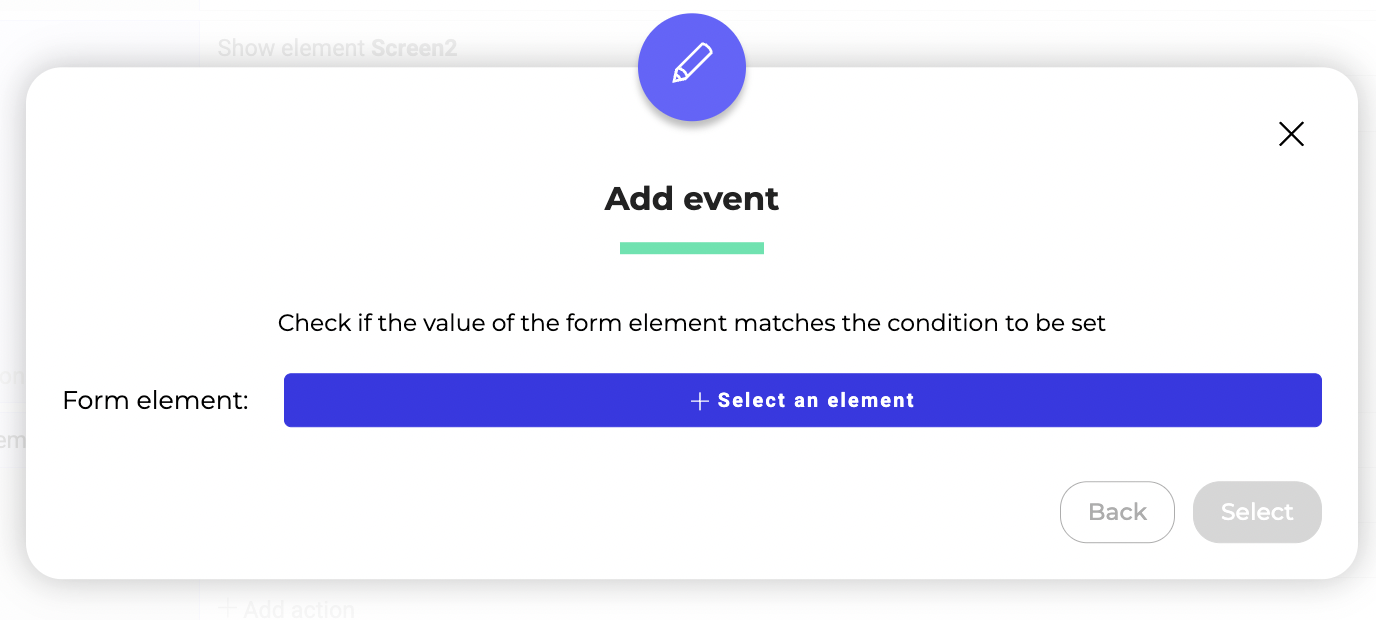
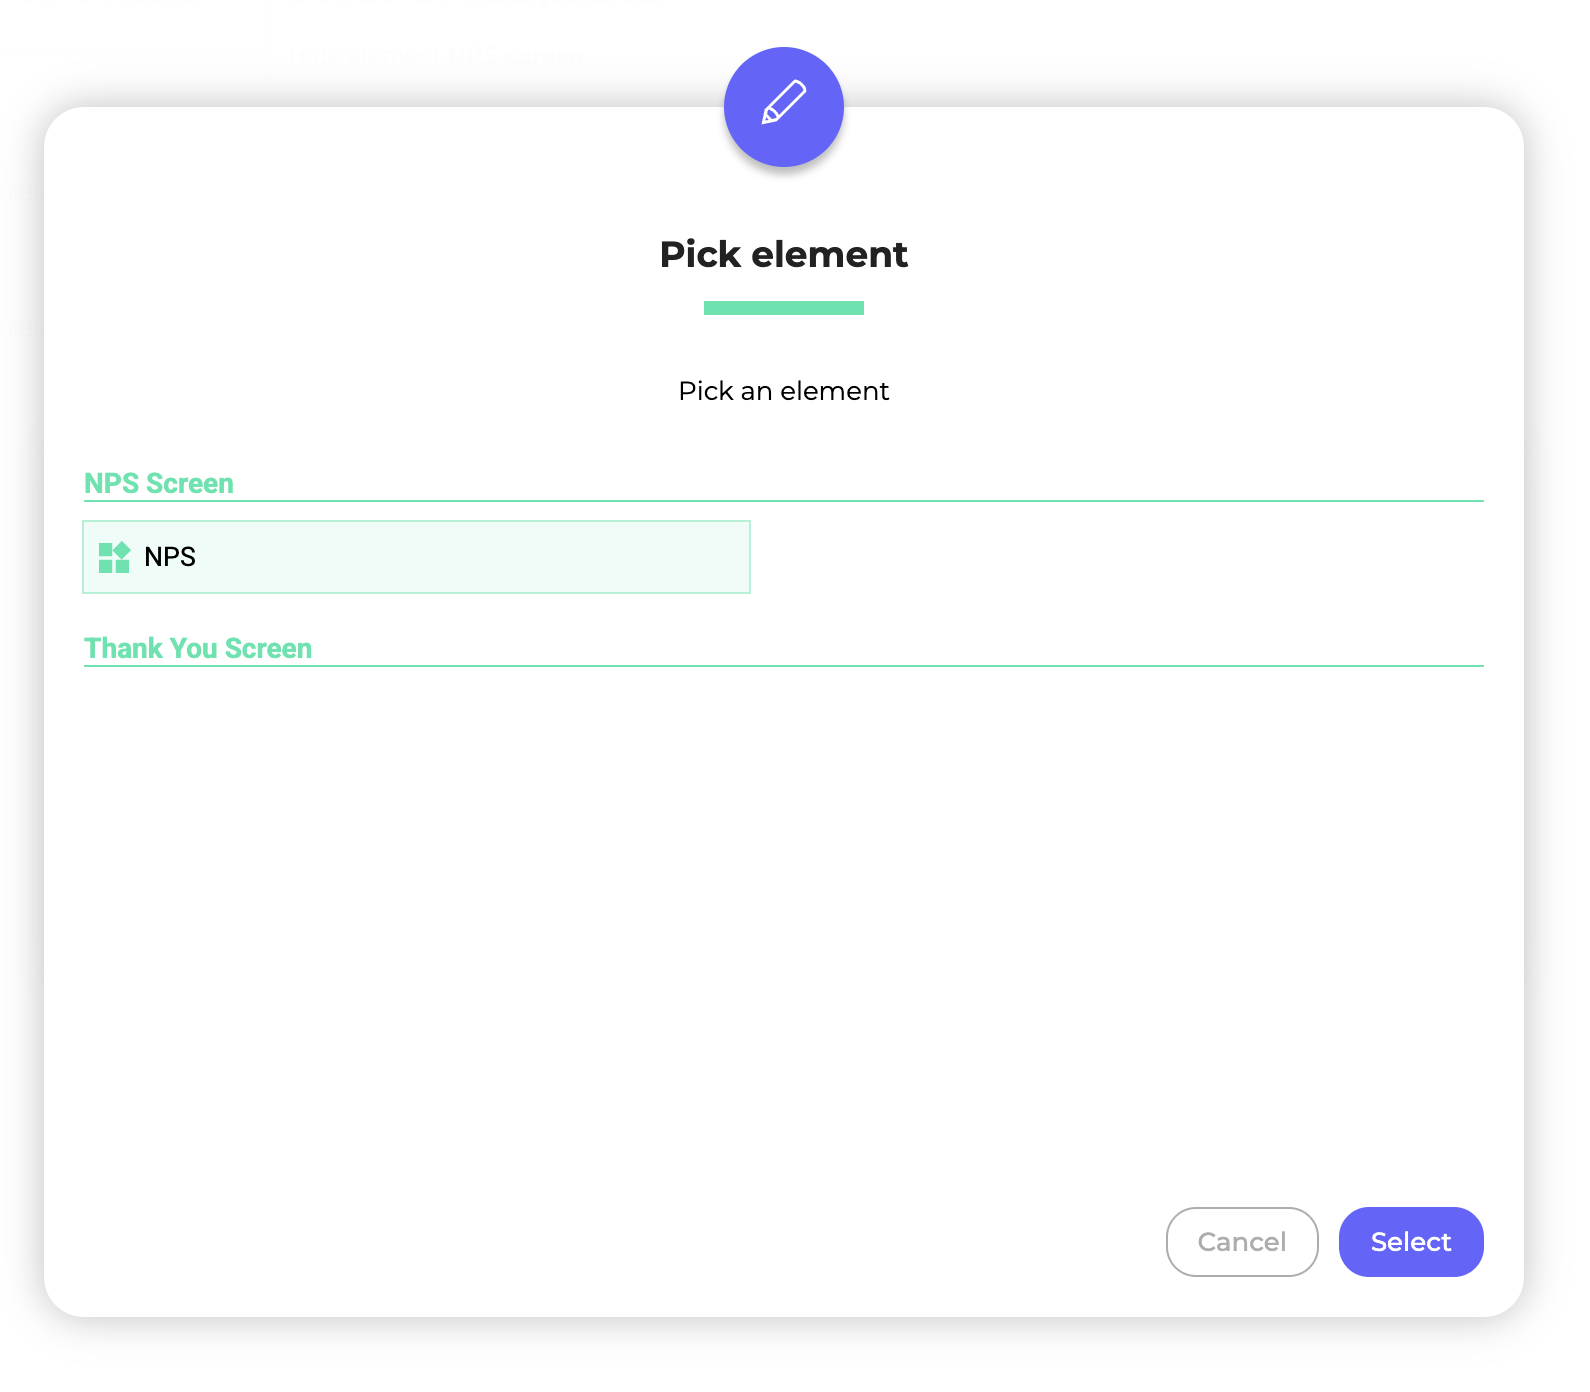
Click on Select an element and click on NPS.
Under Selected value, choose Passives and Promoters.
Then, define the action. Click on Add action > Show element.
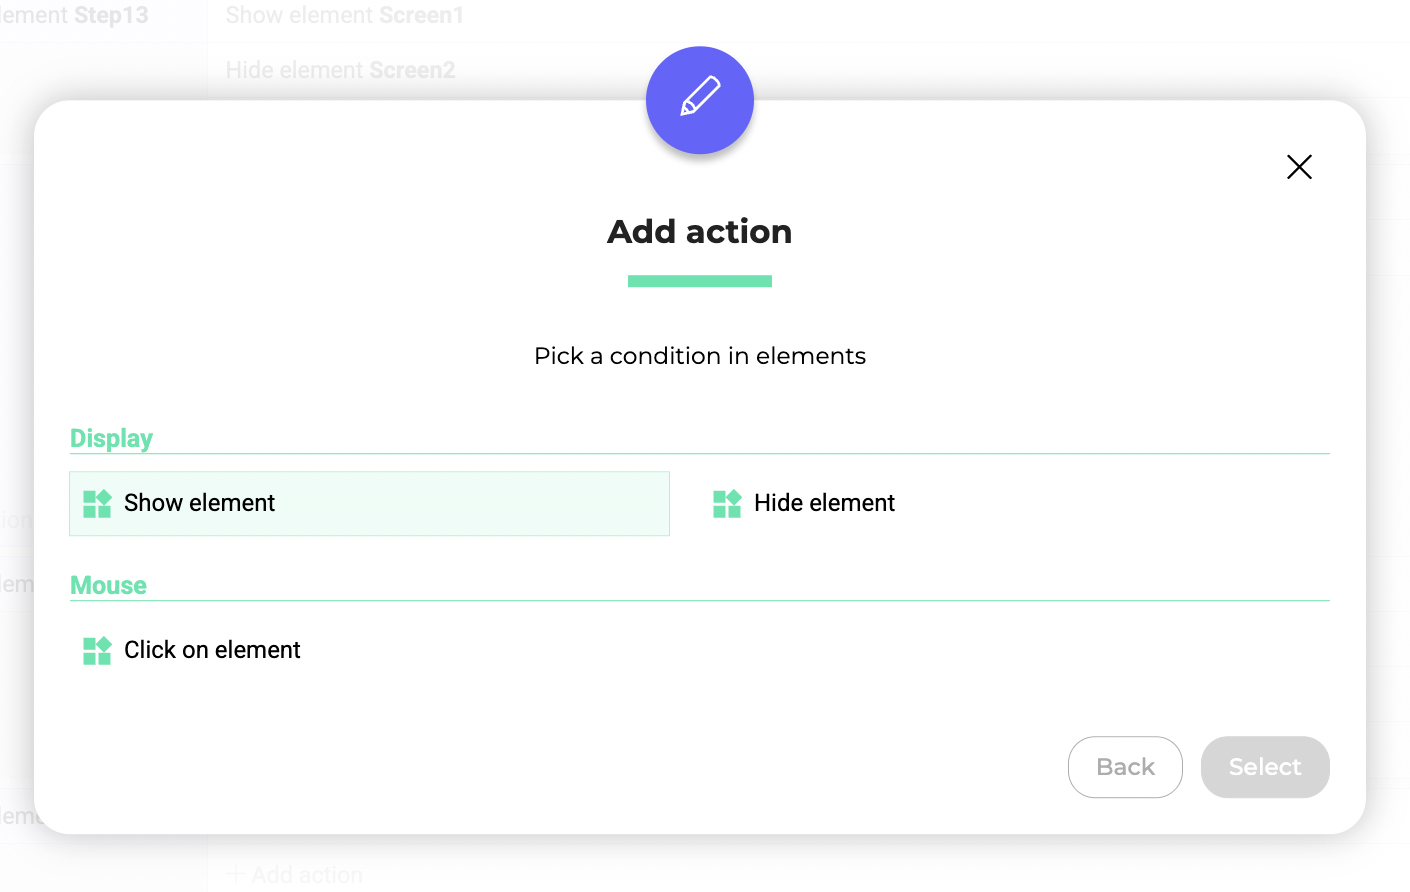
Select Thank you screen.

Define a second action: Hide element → Screen 1.
This means that Screen 2 will appear directly if the visitor selects a score between 7 and 10. This ensures a smooth transition from the feedback step to the thank-you screen.
Step 4: Simulate your widget
Here’s what the final logic looks like:
- Screen 1 is always shown first.
- If the score is between 0–6, the follow-up question is shown next.
- When the visitor clicks the SUBMIT button on Screen 1, they reach Screen 2.
- For scores 7+, the follow-up question is skipped and users go directly to Screen 2.
This logic helps you gather more detailed insights from detractors while keeping the experience frictionless for other users.
