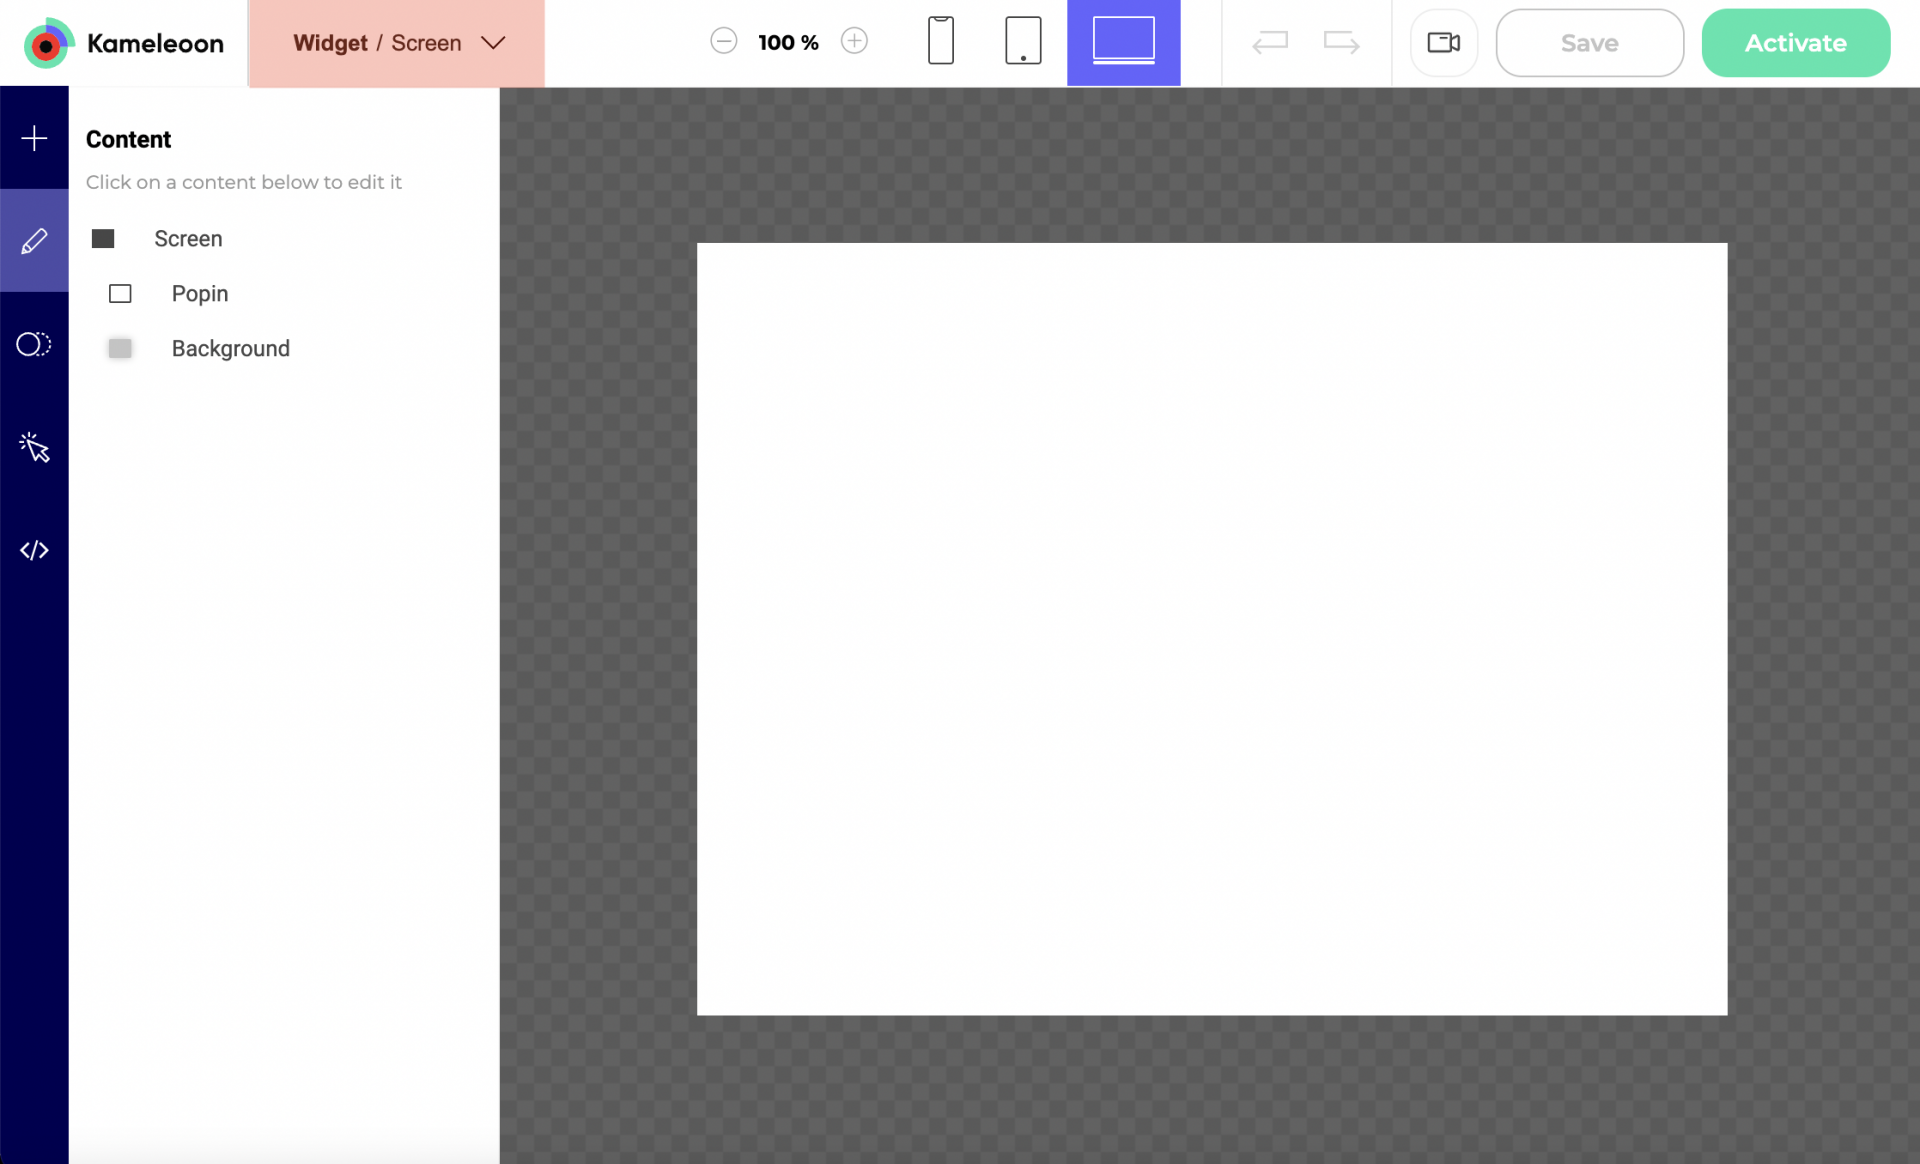
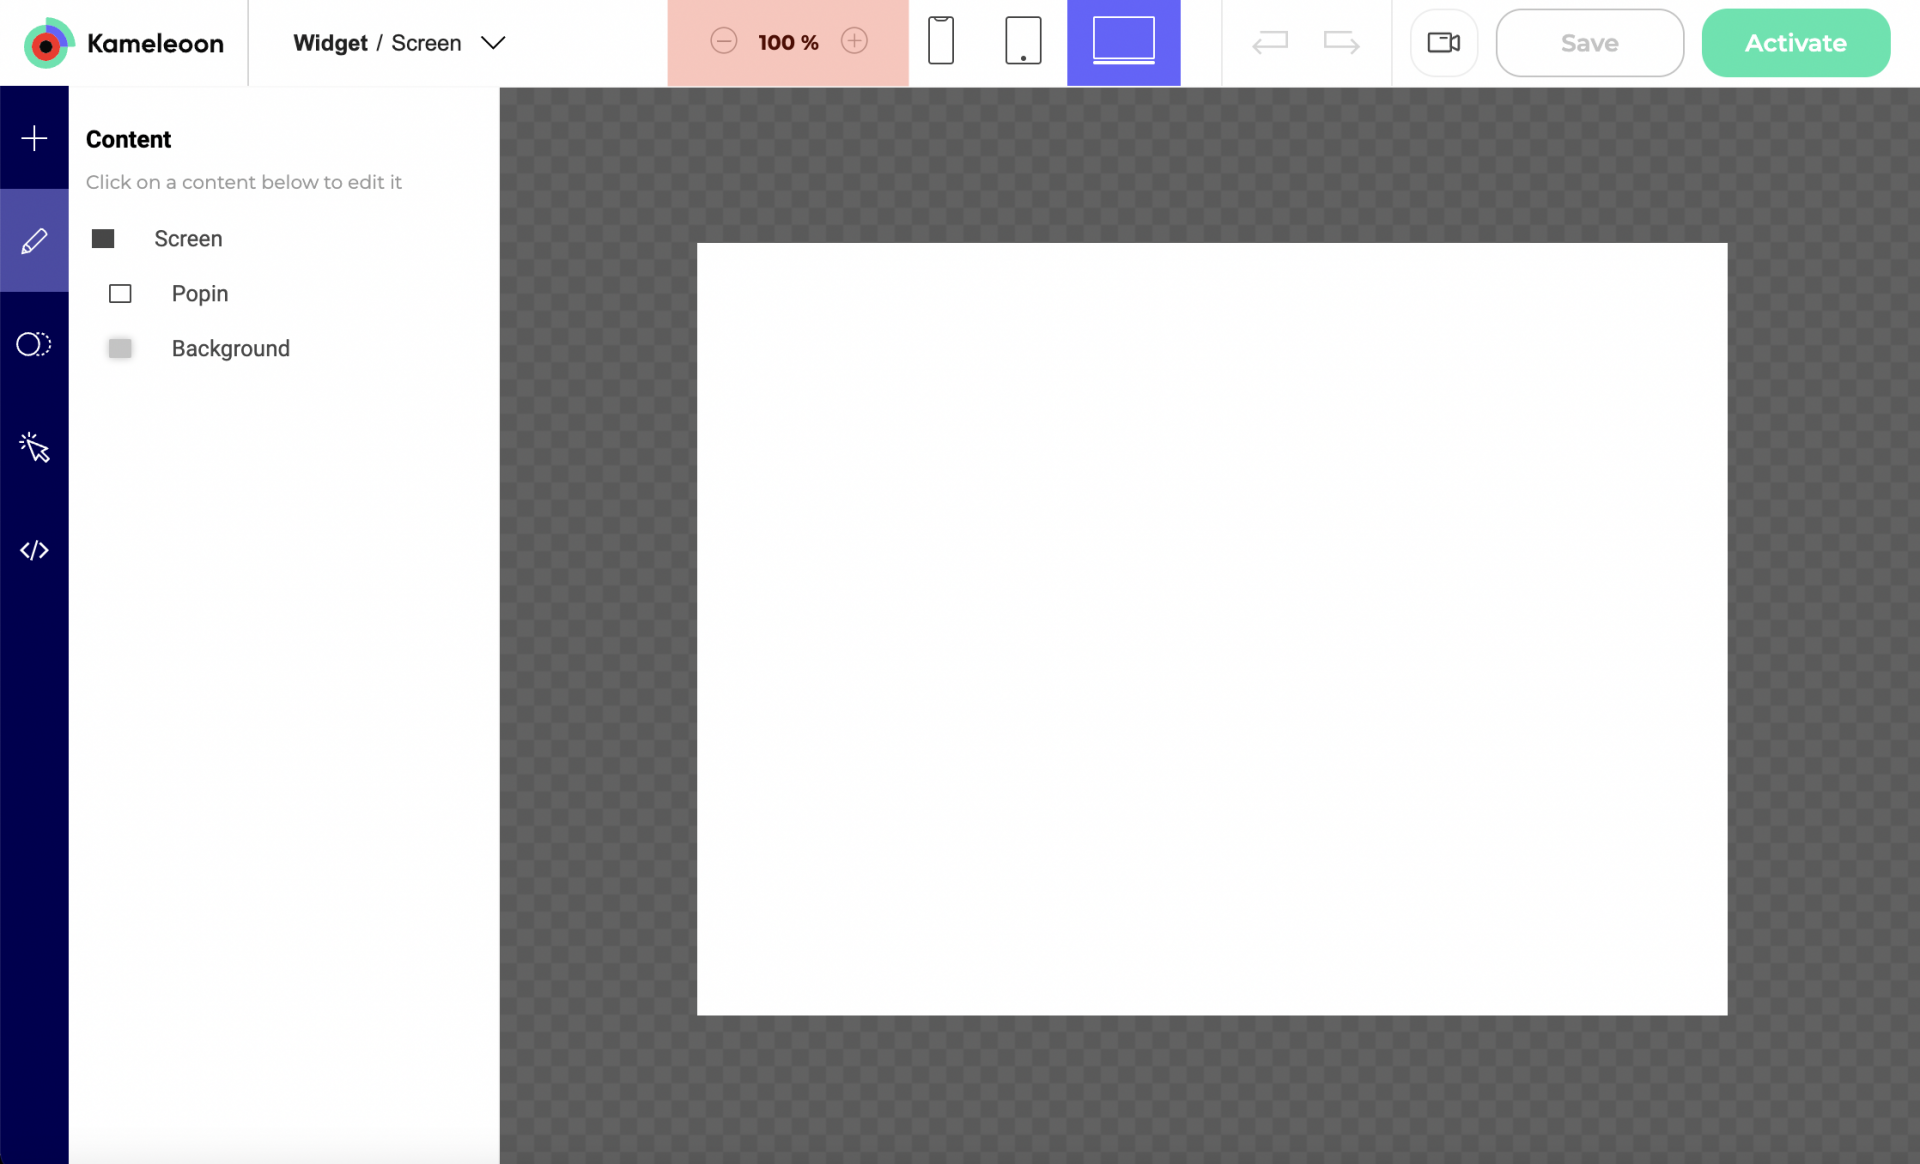
Widget Studio structure
The Kameleoon Widget Studio is composed of a header, a sidebar with five tabs, and a central area where you can preview your widget's customization.
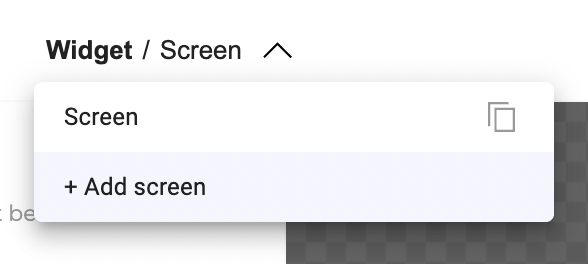
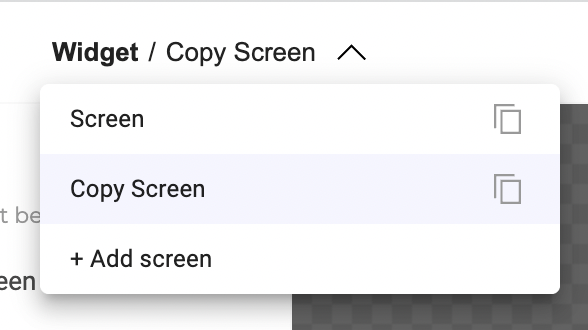
Screen dropdown
Add a screen
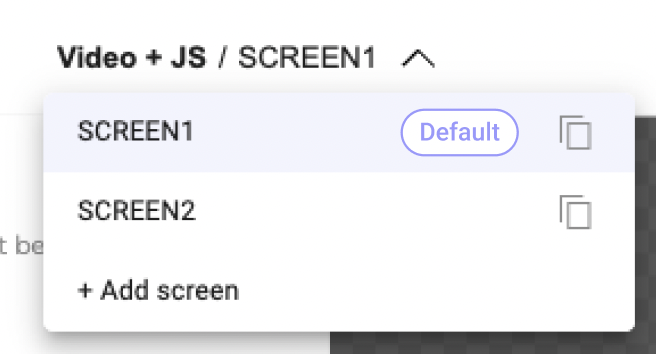
You can add as many screens as you need.
For example:
- Screen 1: Newsletter pop-in
- Screen 2: Thank-you pop-in
Set a screen by default
When you have created several screens, the first screen created (at the top of the dropdown list) is automatically designated as the default screen. The default screen is what a visitor sees first when exposed to your widget.
You can change the default screen by clicking the three-dots menu and checking Define as default screen.

Delete a screen
To delete a screen, click the three-dots menu > Delete a screen.
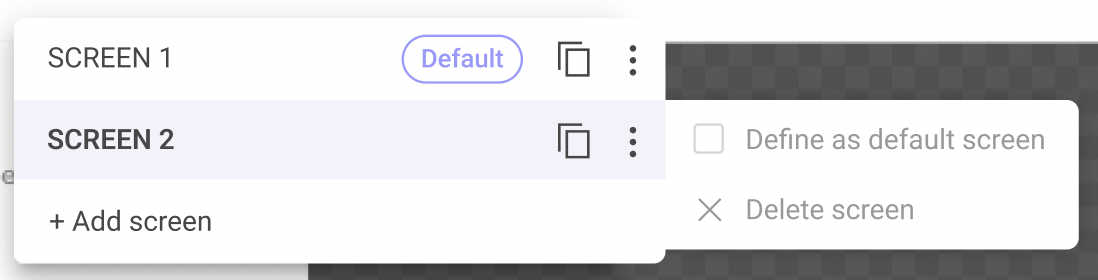
Duplicate a screen
To duplicate a screen, click on the duplicate icon.
The design, animations, and associated events will also be duplicated.
Zoom
Zoom widget content in or out.
Device selection
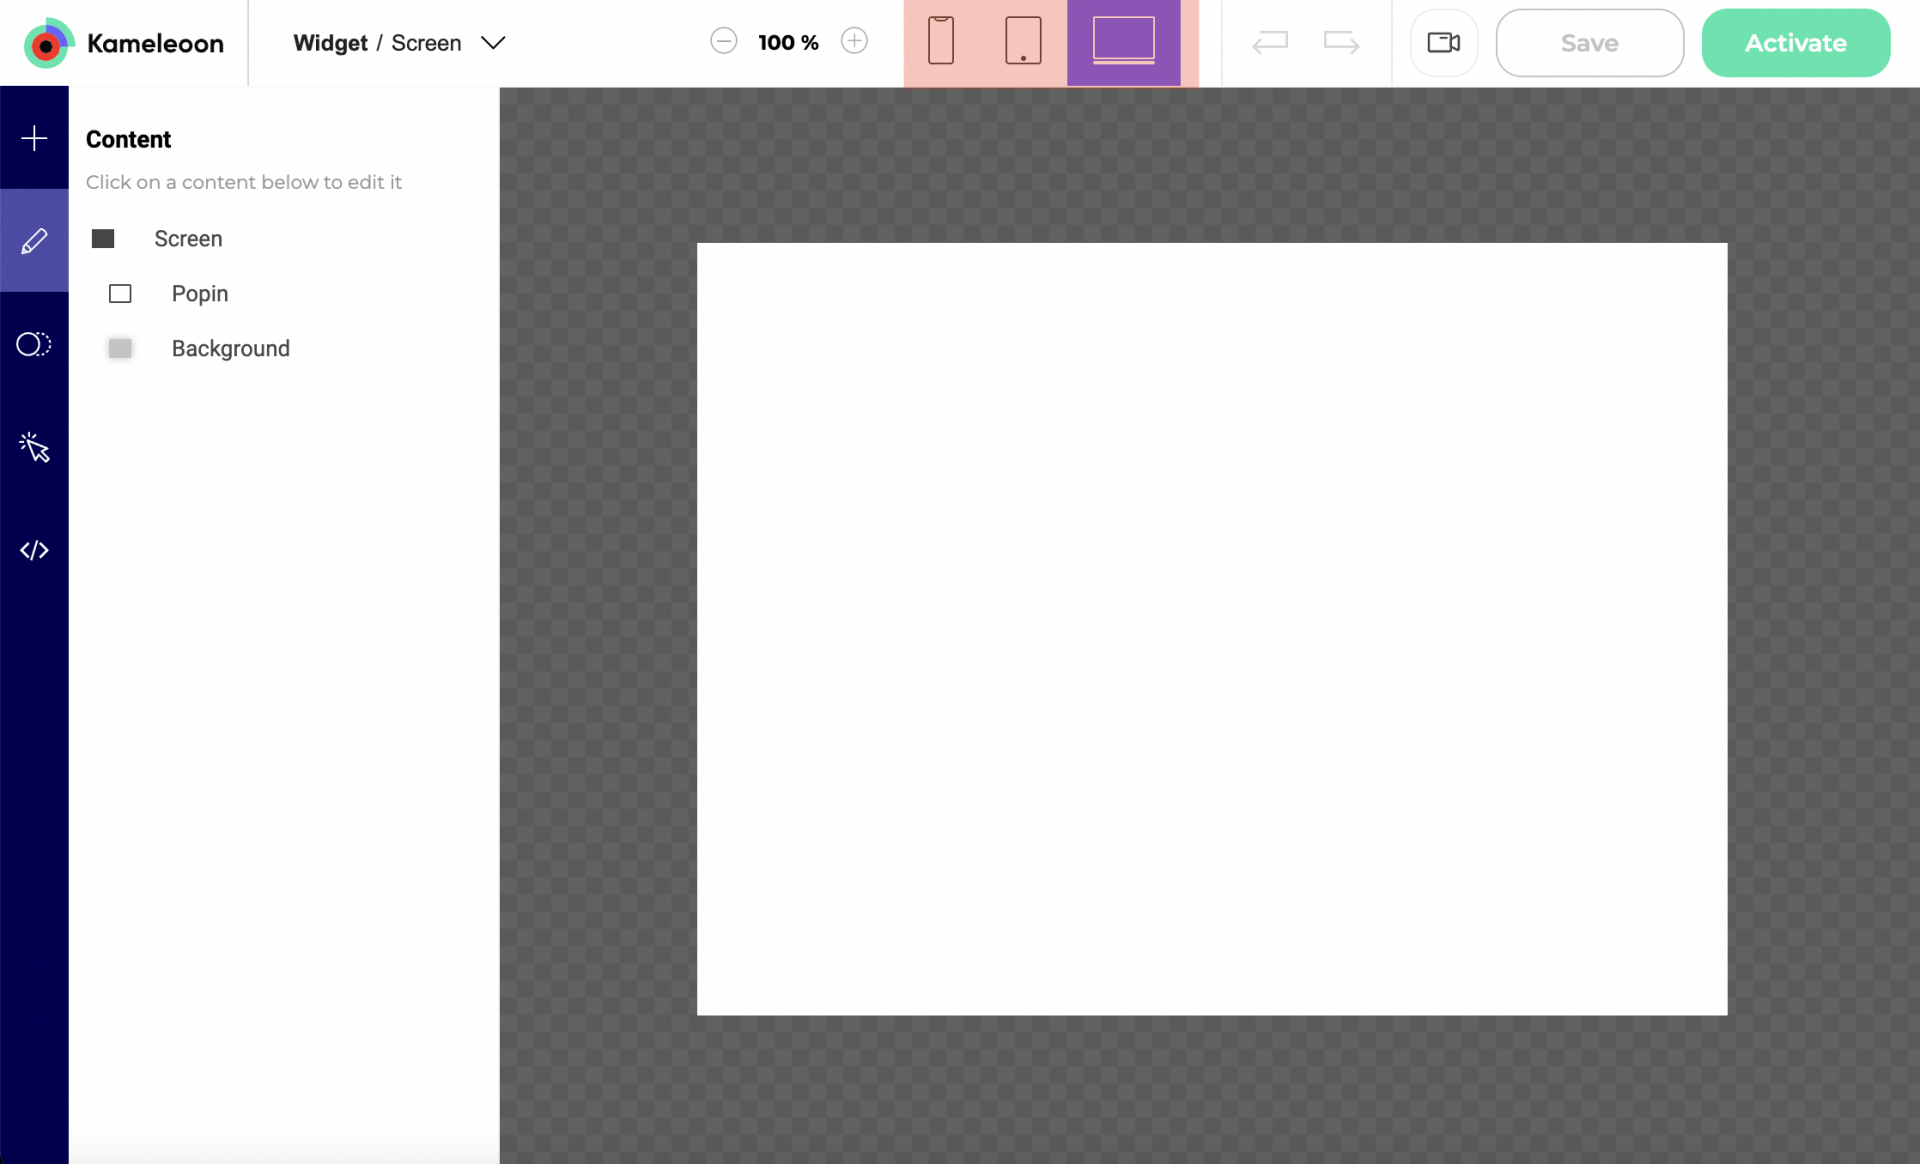
Select the devices on which your widget will display.
Undo/Redo
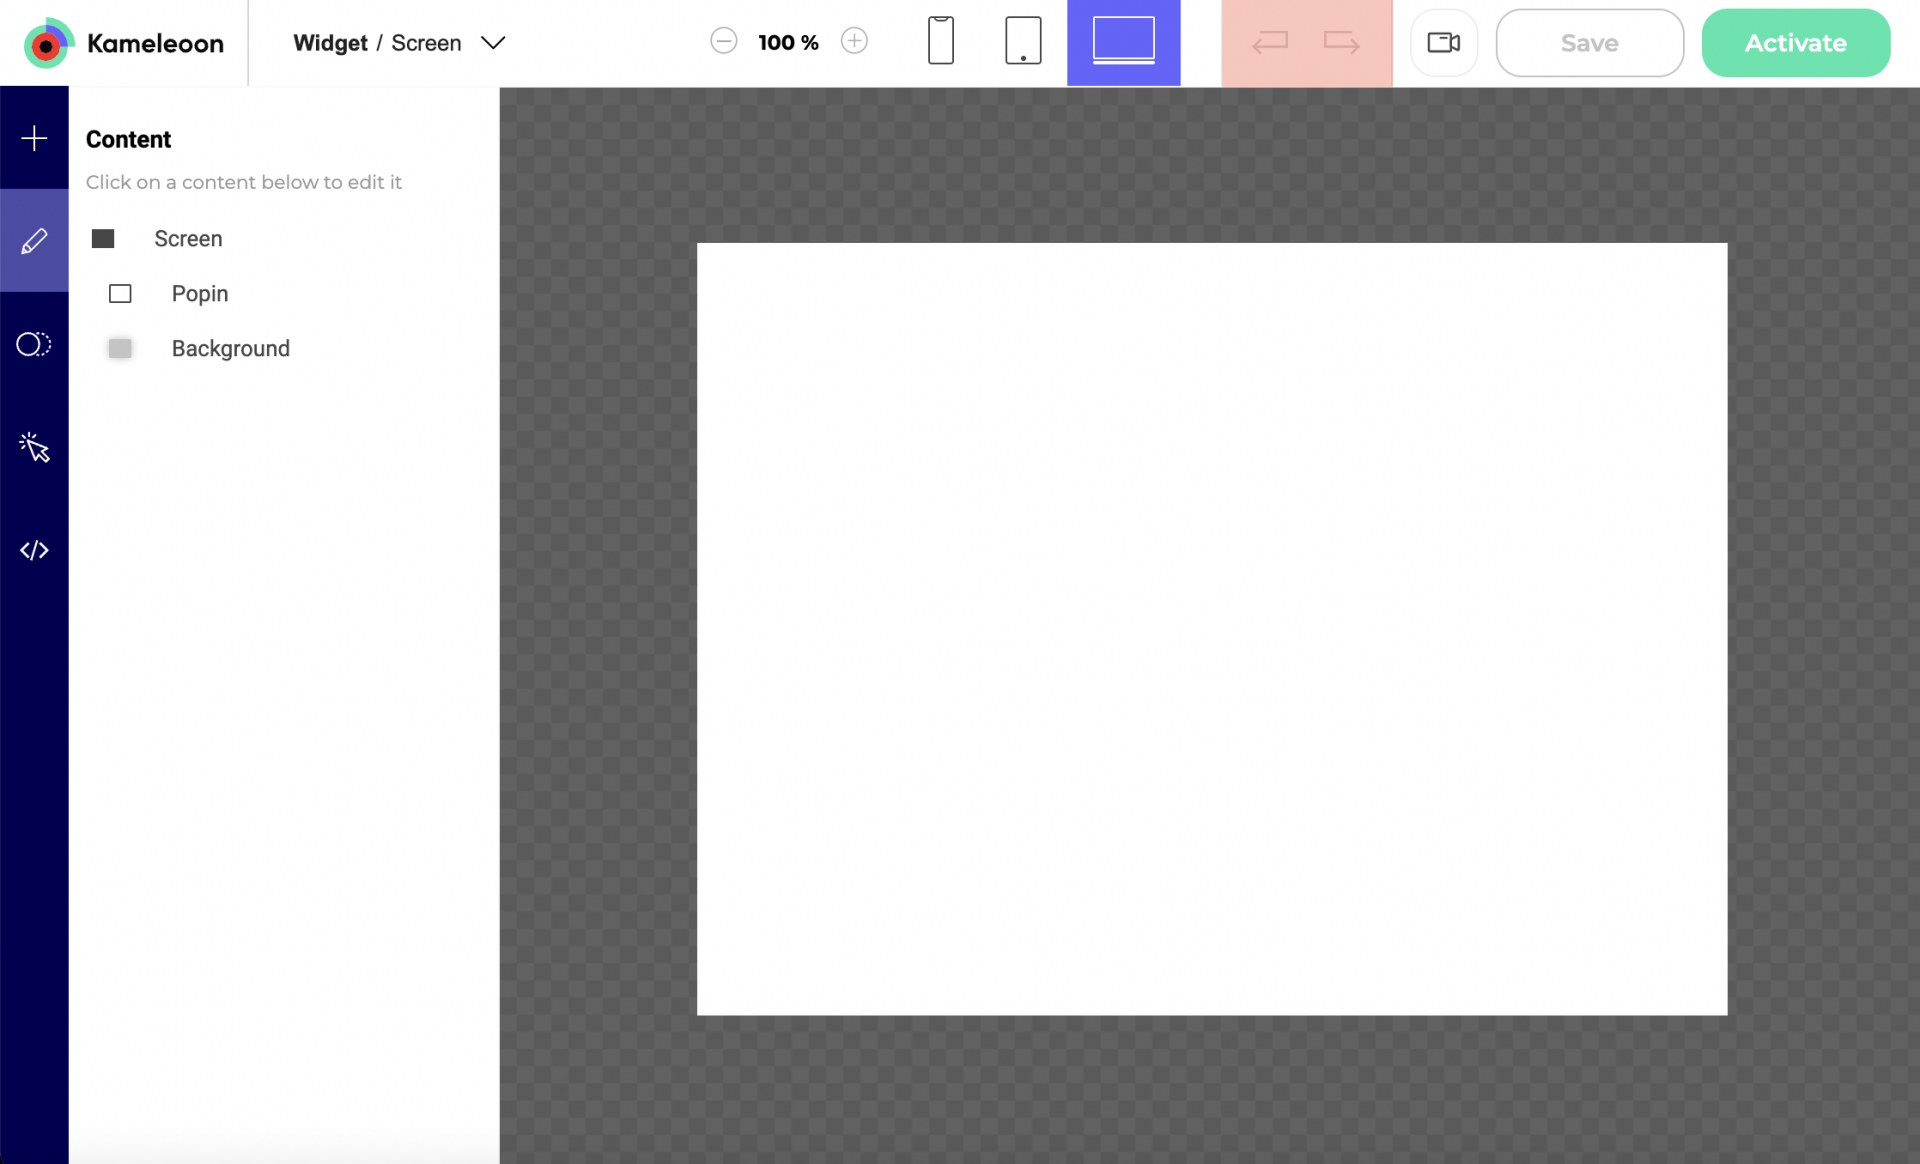
Undo (left arrow) or redo (right arrow) the last action you performed on the widget.
Simulate
Simulates the widget in real conditions (useful if events have been added).
Save
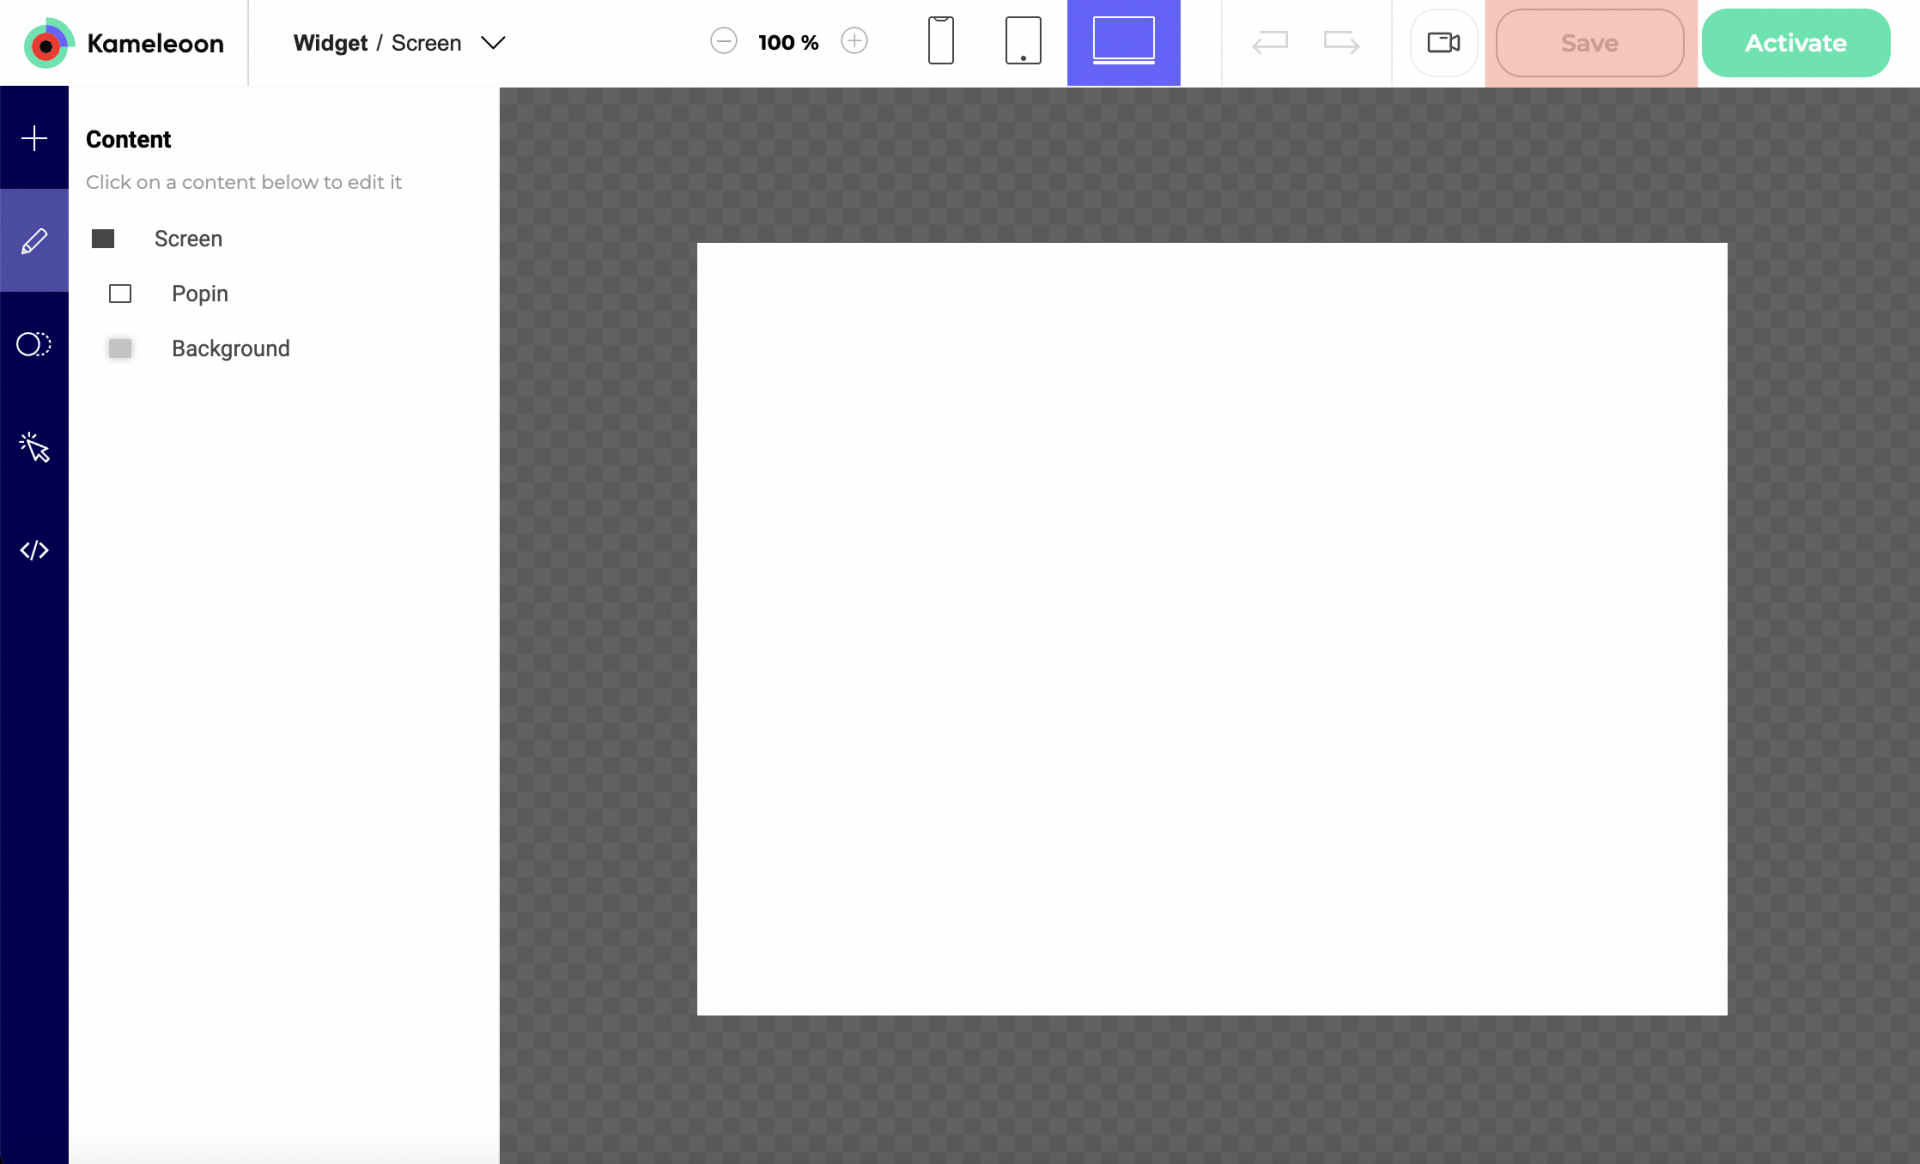
Save the widget without activating it. The widget will appear on the Widgets dashboard with the status Disabled and cannot be used in a campaign.
Activate
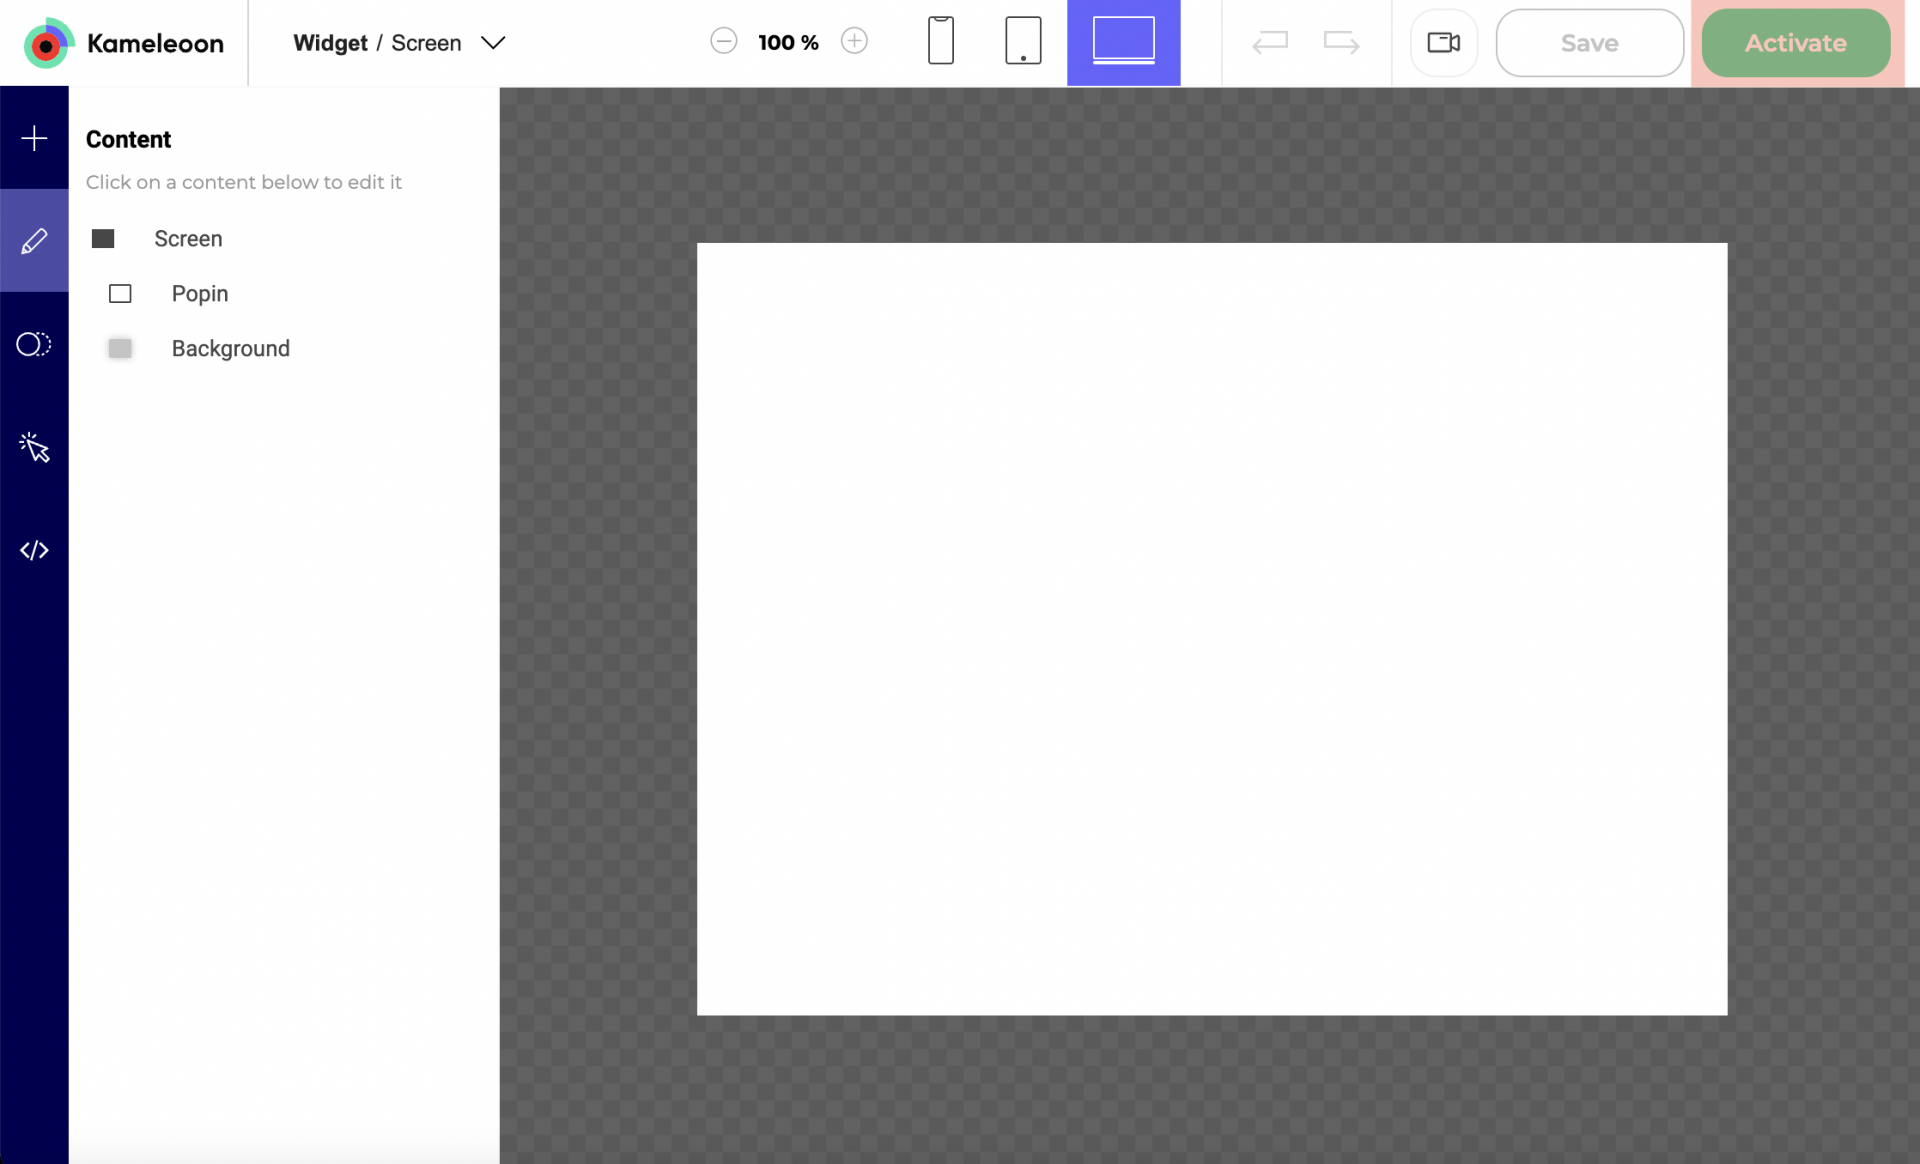
Activate the widget to use it in a campaign. The widget will appear on the Widgets dashboard with the status Activated.
Sidebar
The left bar has five distinct sections:
- Add element
- Content (displayed by default)
- Translations
- Animations
- Events and actions
- Custom code
Add element
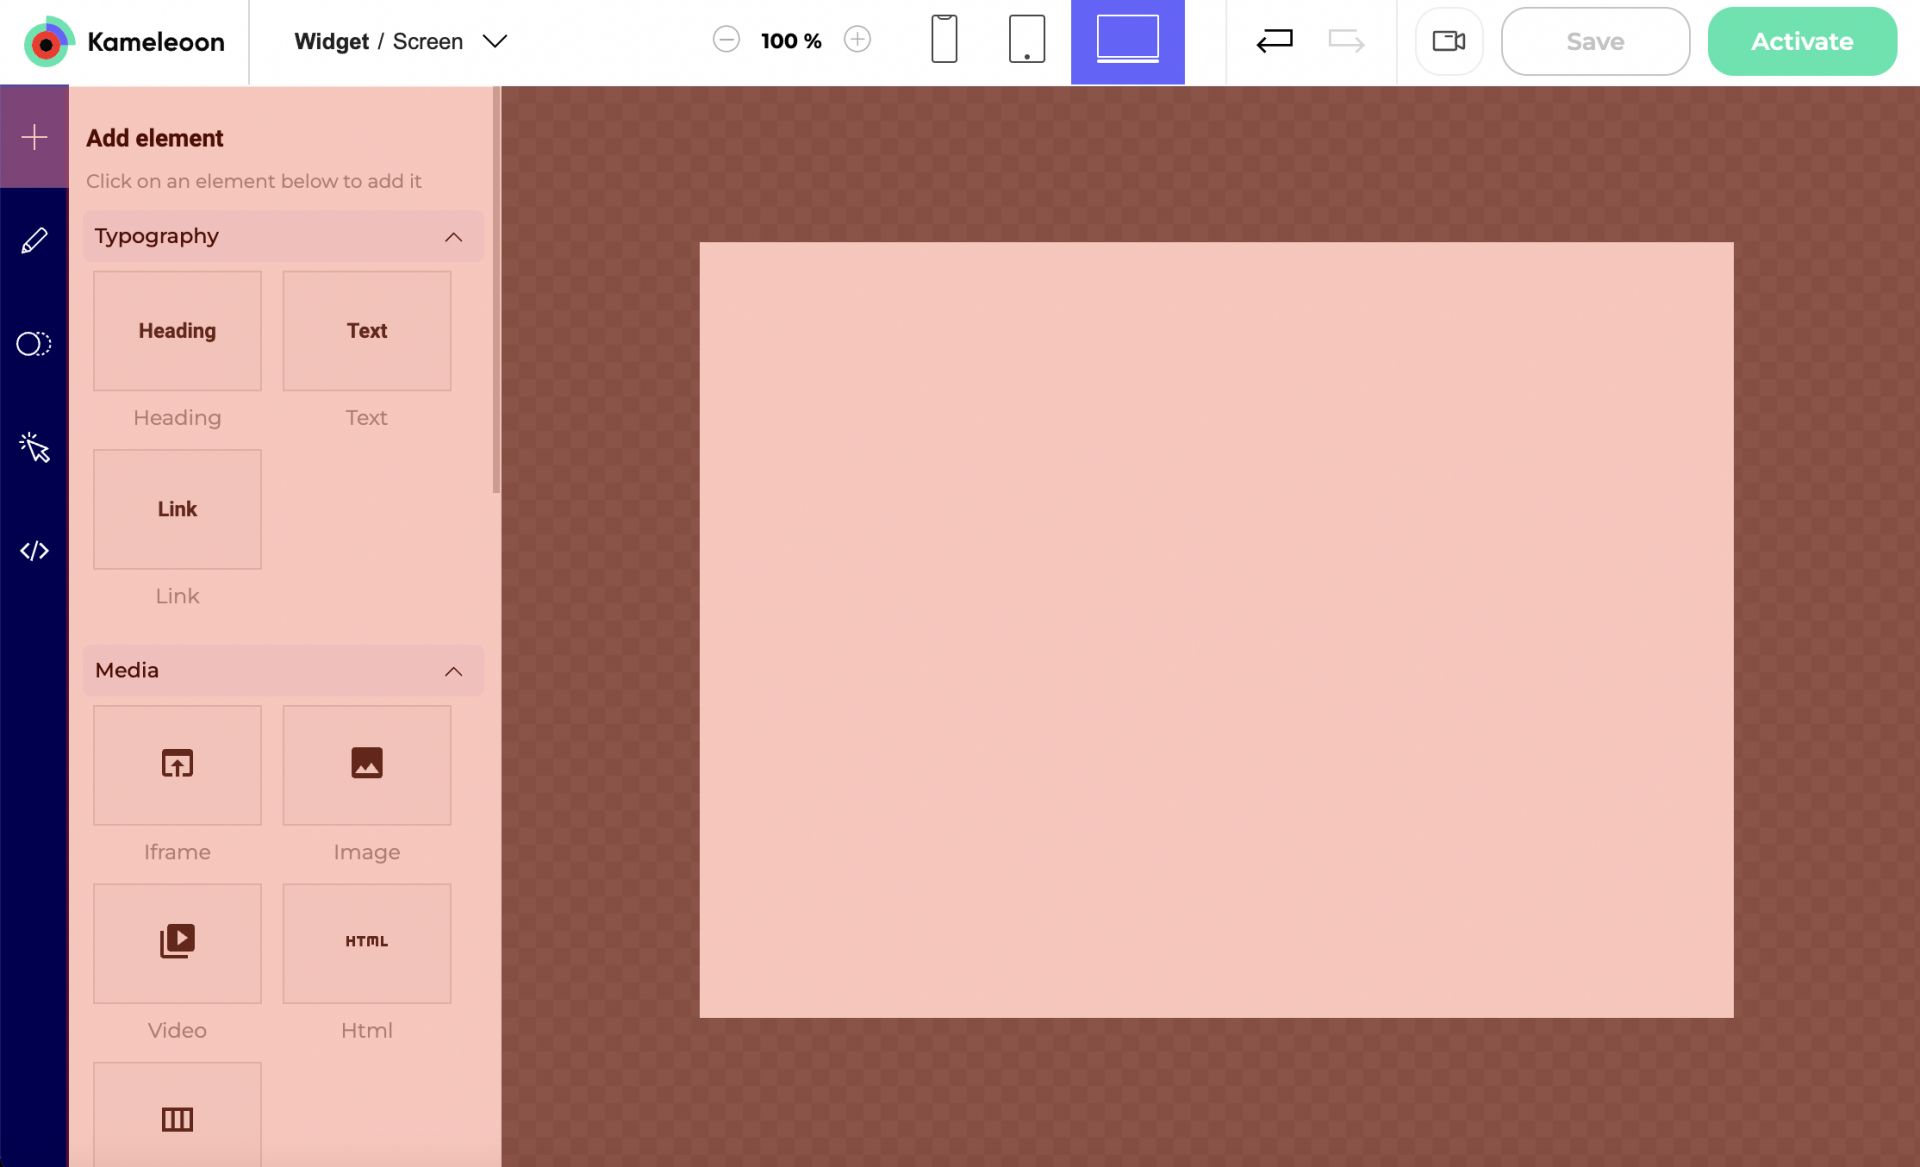
Here, you can add an element to your widget.
To learn how to add an element to a widget, read this article.
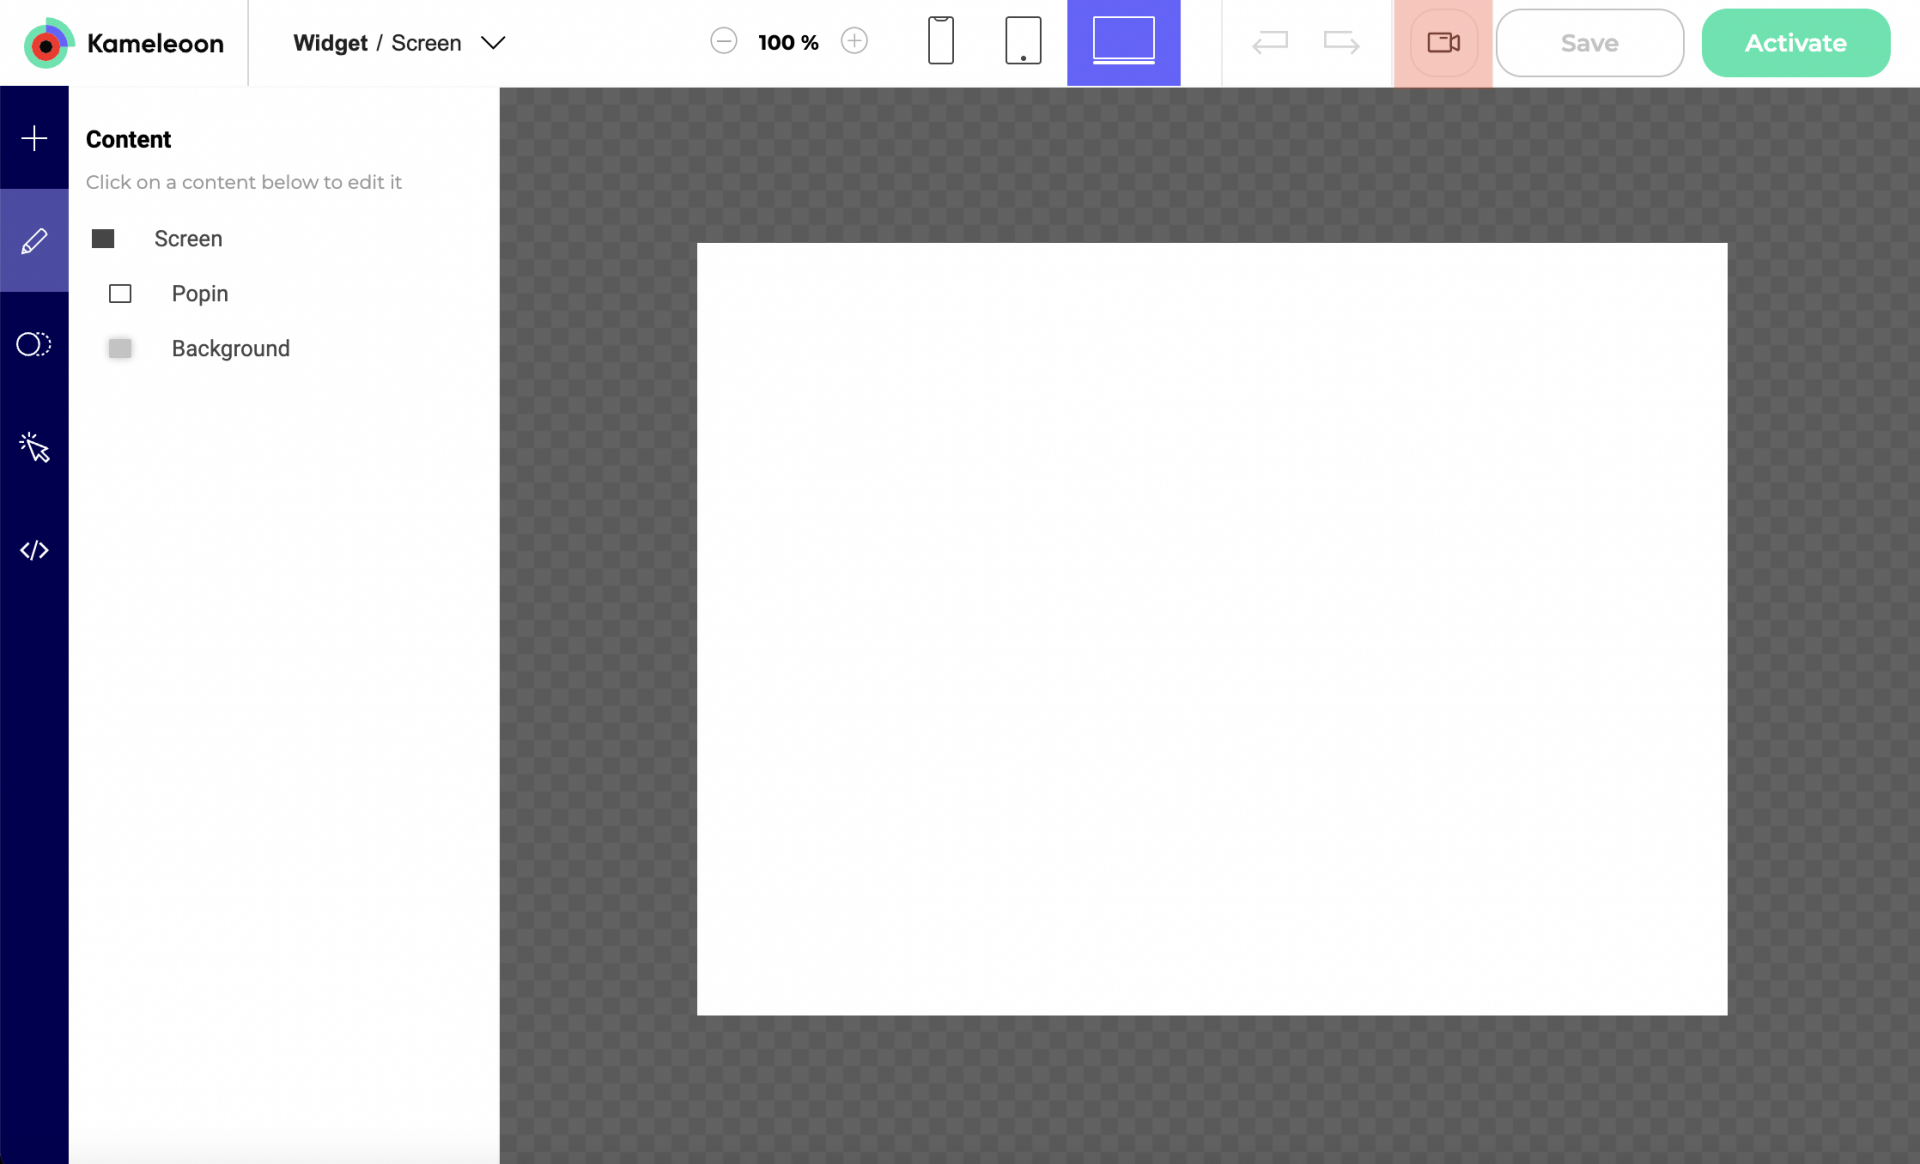
Content
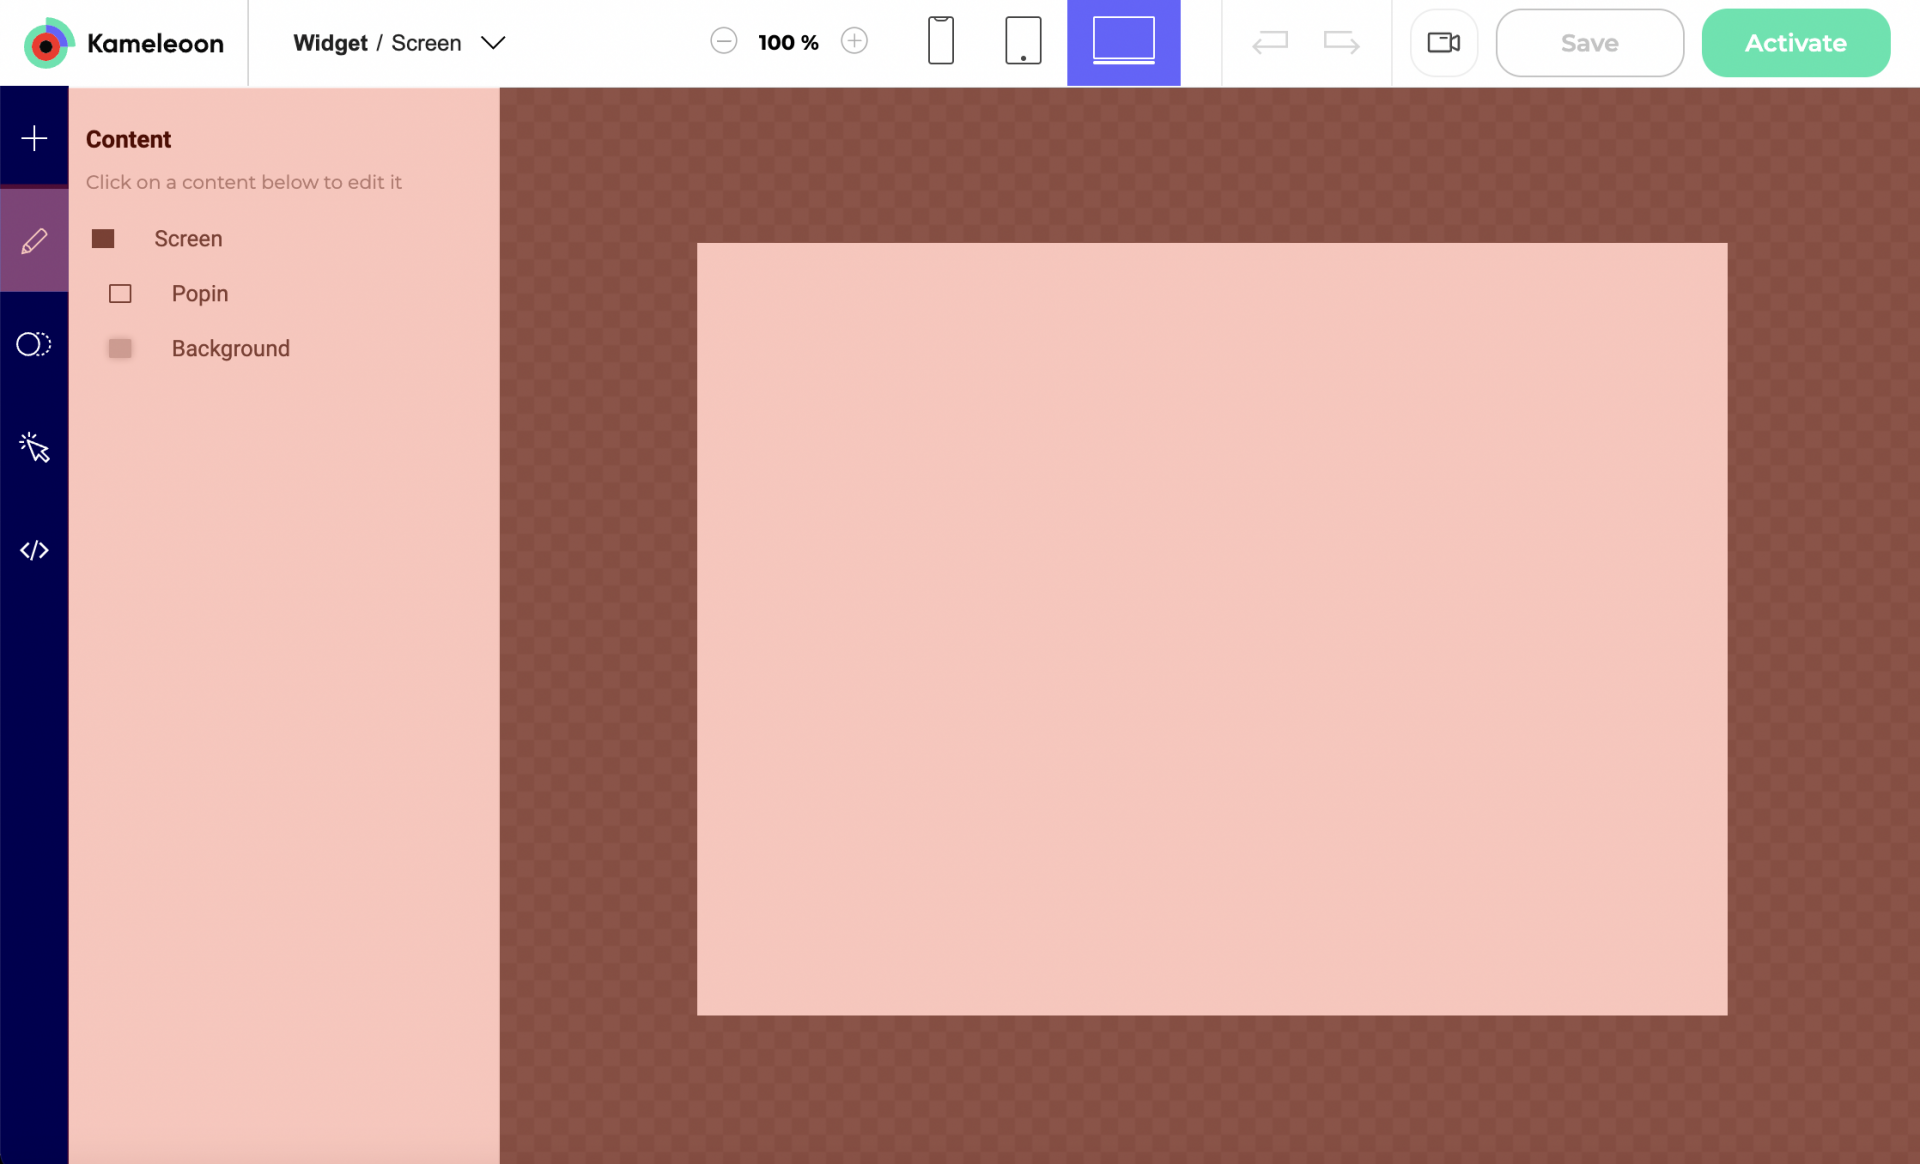
Here, you can edit your widget's content.
To learn how to edit a widget's content, read this article.
Translations
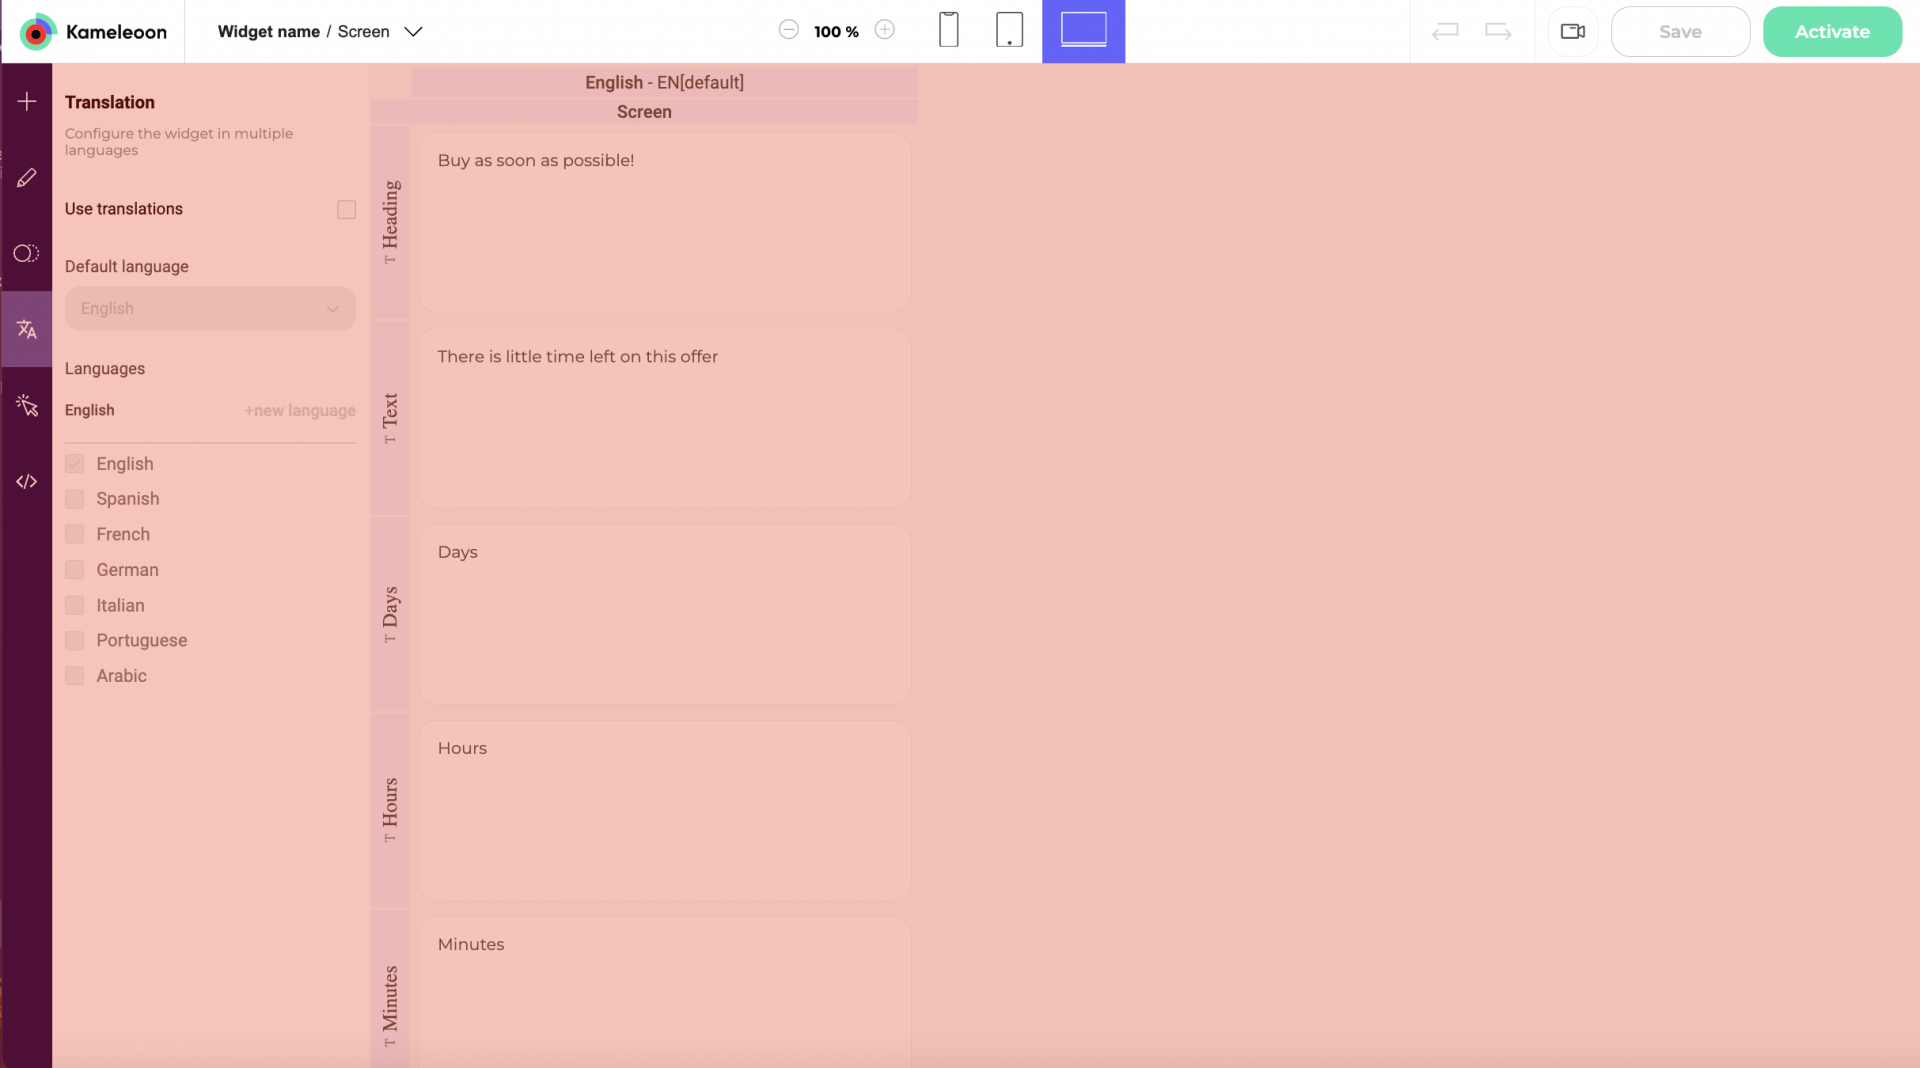
Here, you can configure the widget in multiple languages.
Animations
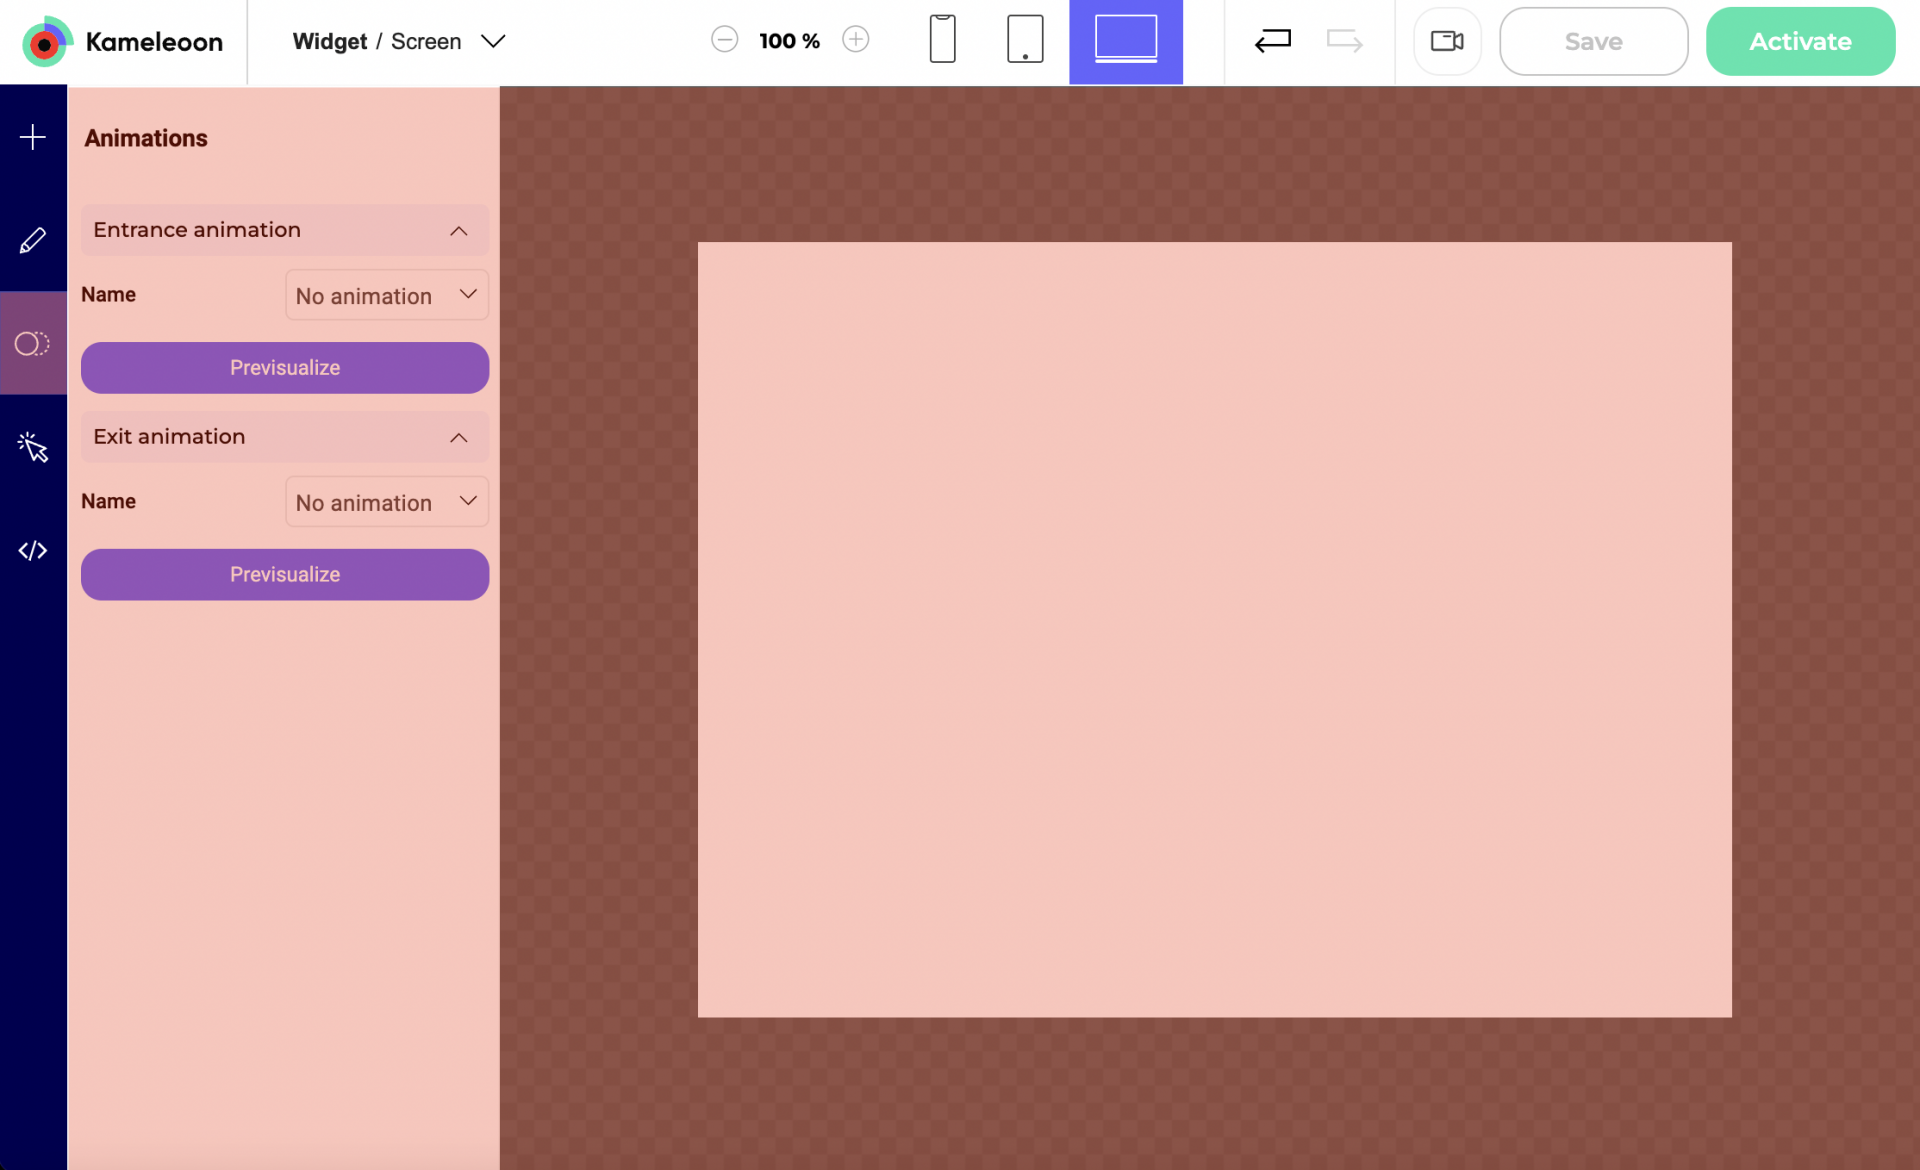
Here, you can add entrance and/or exit animations to your widget.
To learn how to add an animation to your widget, read this article.
Events and actions
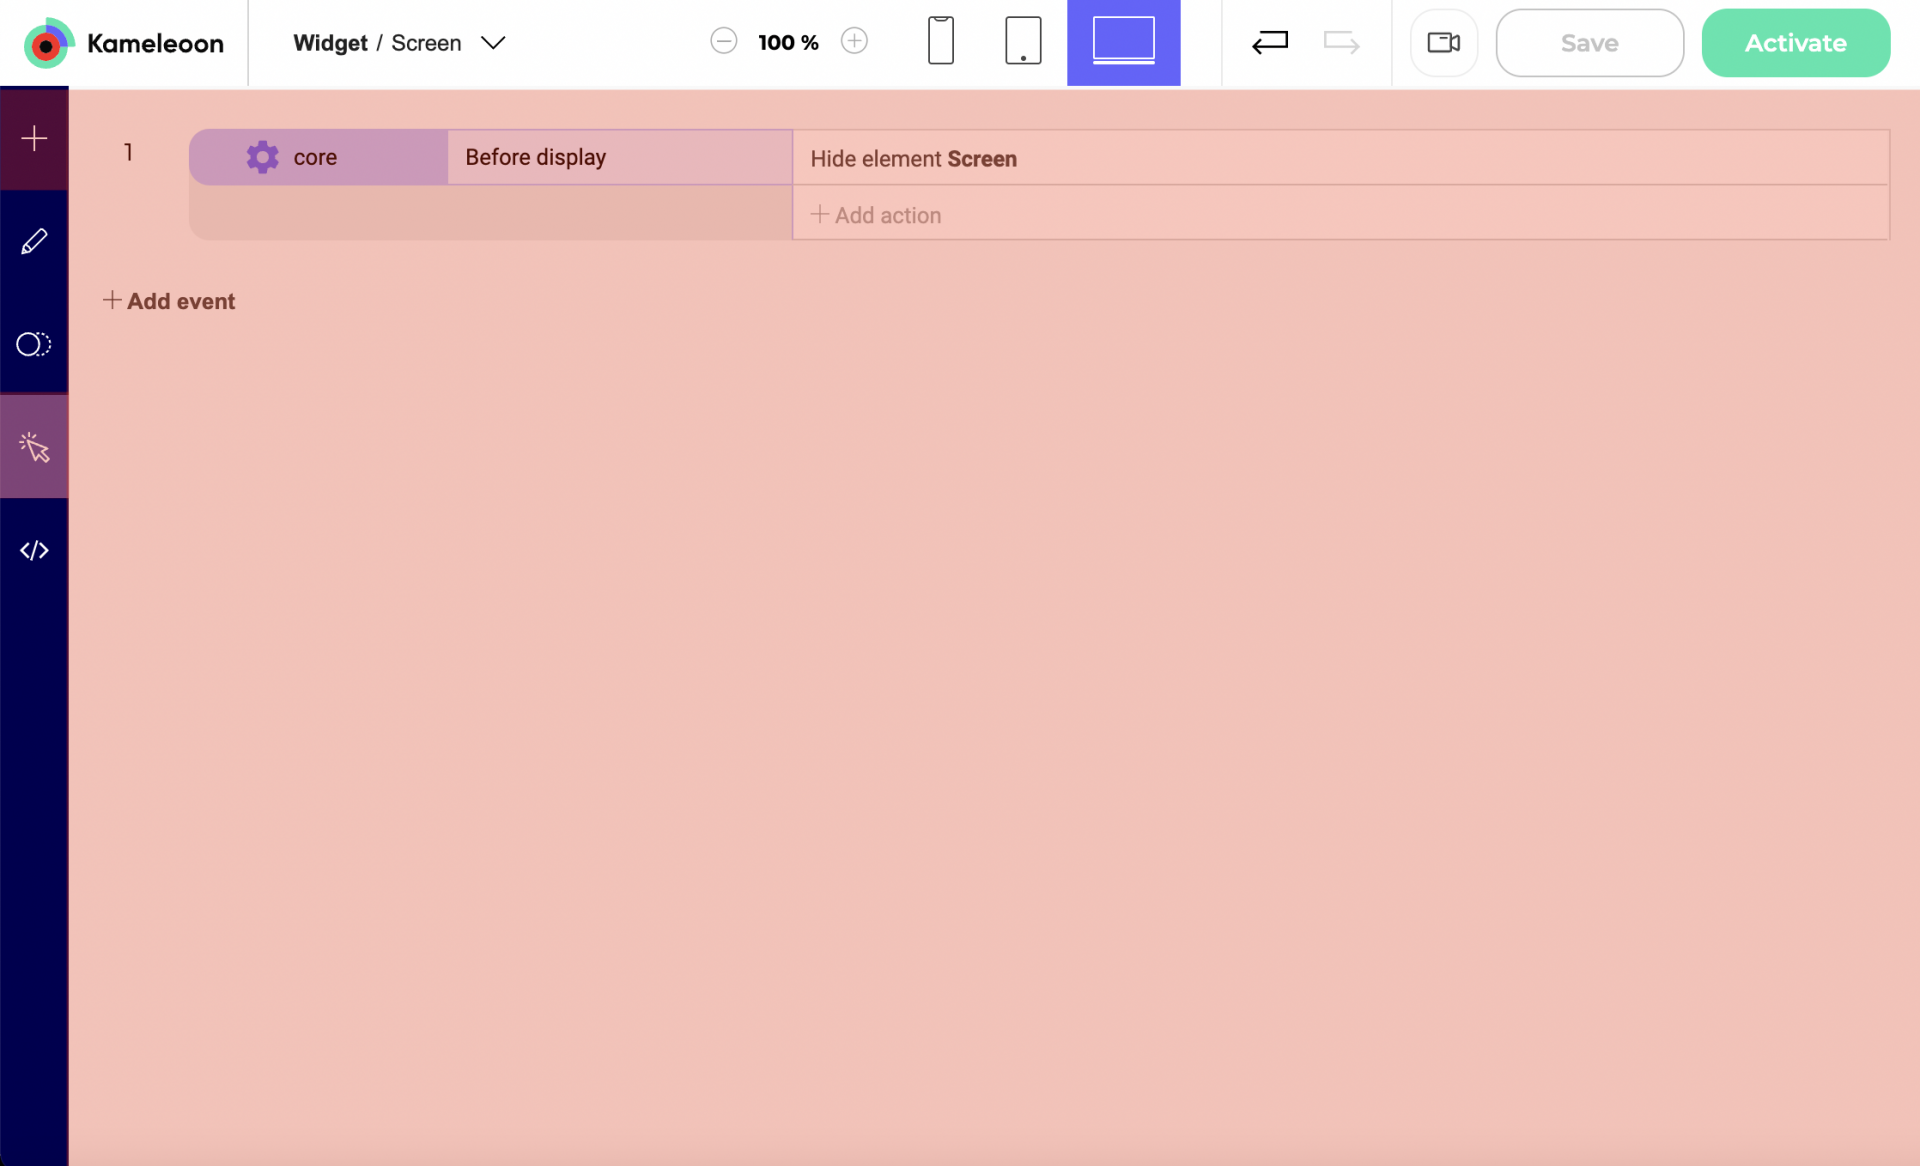
Here, you can associate events and actions to your widget.
To learn how to associate events and actions to your widget, read this article.
Custom code
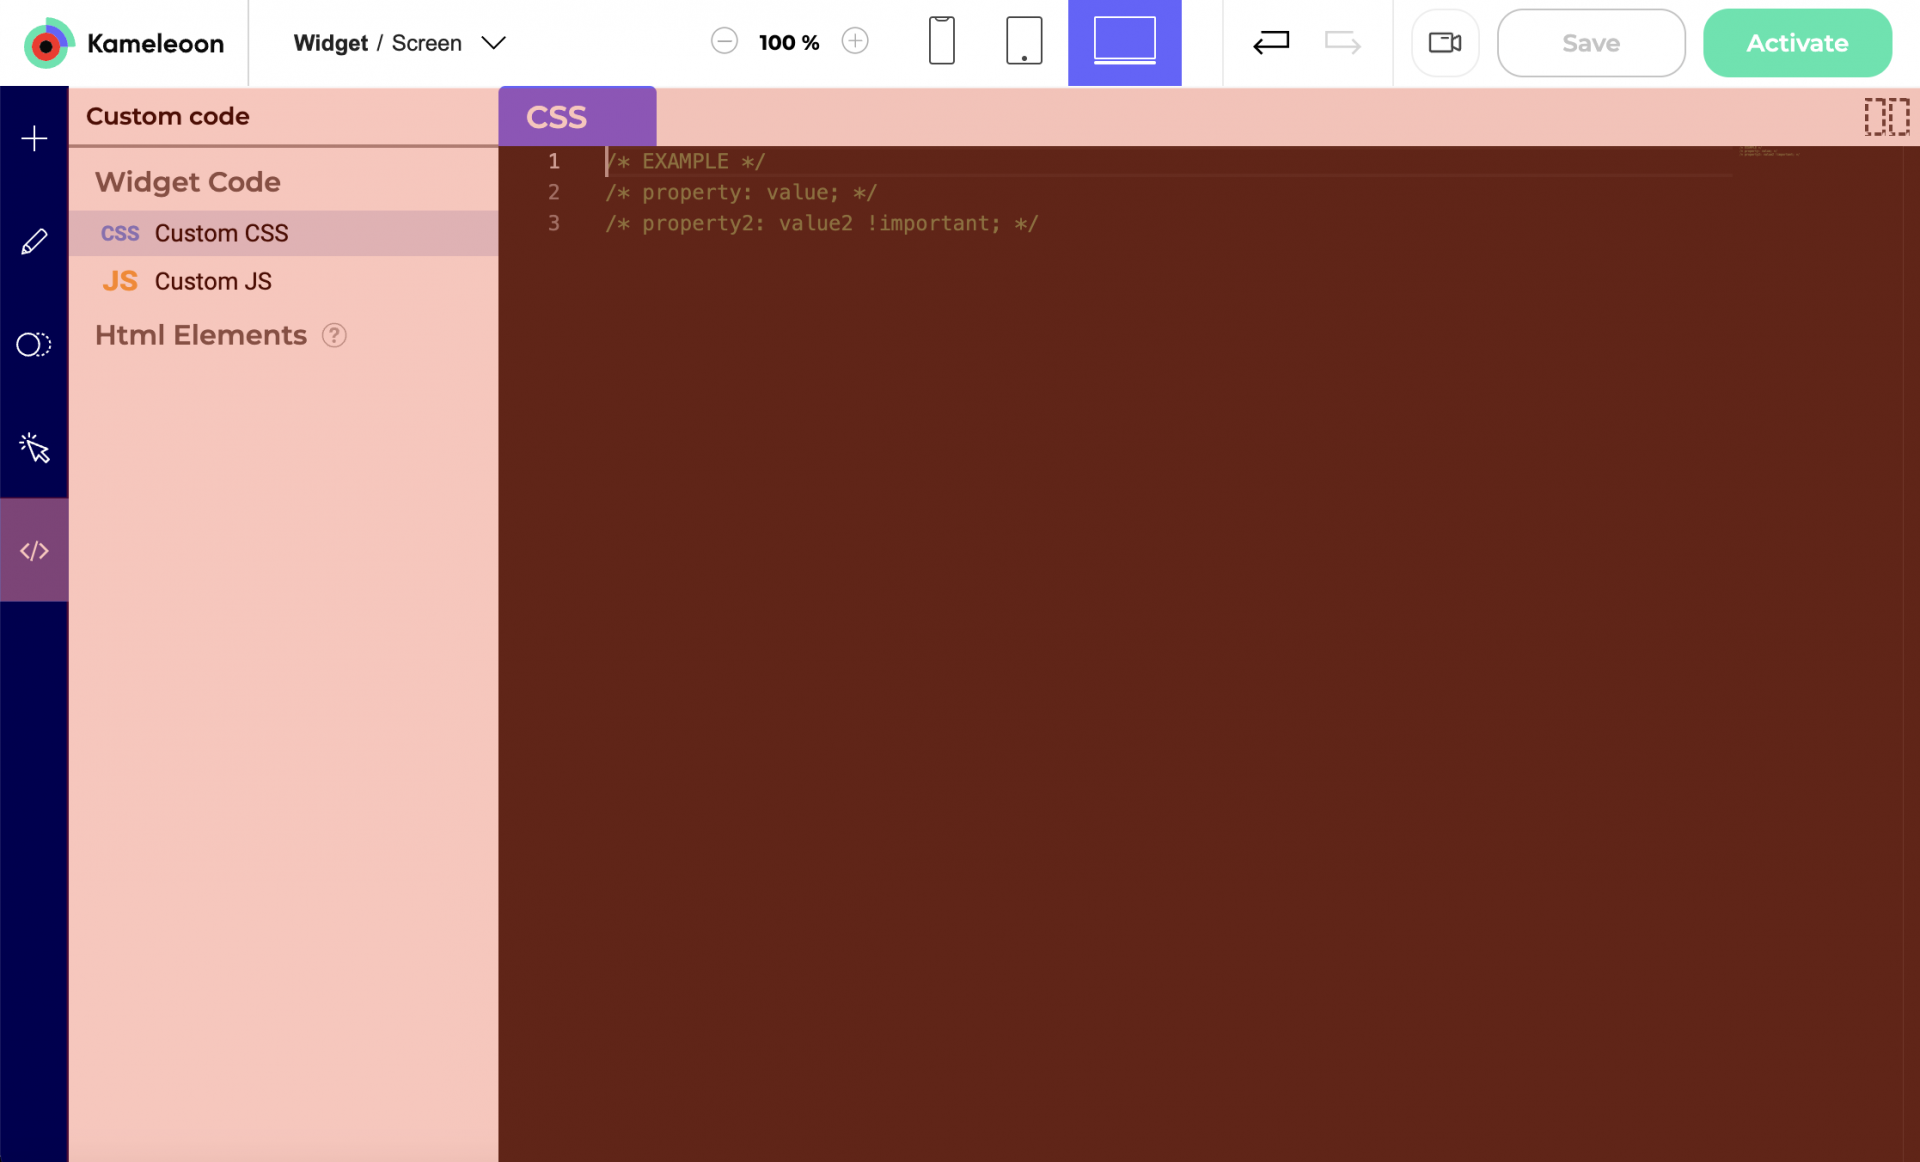
Here, you can create custom CSS or JS code in the Widget Studio, apply custom styles to any widget element, and run your custom scripts on demand.