Associate events and actions with your widget
You can define how and when your widget behaves by associating events and actions. Events are triggers that detect specific visitor behaviors or page states, while actions are the responses that Kameleoon executes when those events occur.
For example, you can create a multi-step pop-in flow where submitting an email address in the first pop-in (Event) triggers the display of a second "thank you" pop-in (Action).
Access the Events section
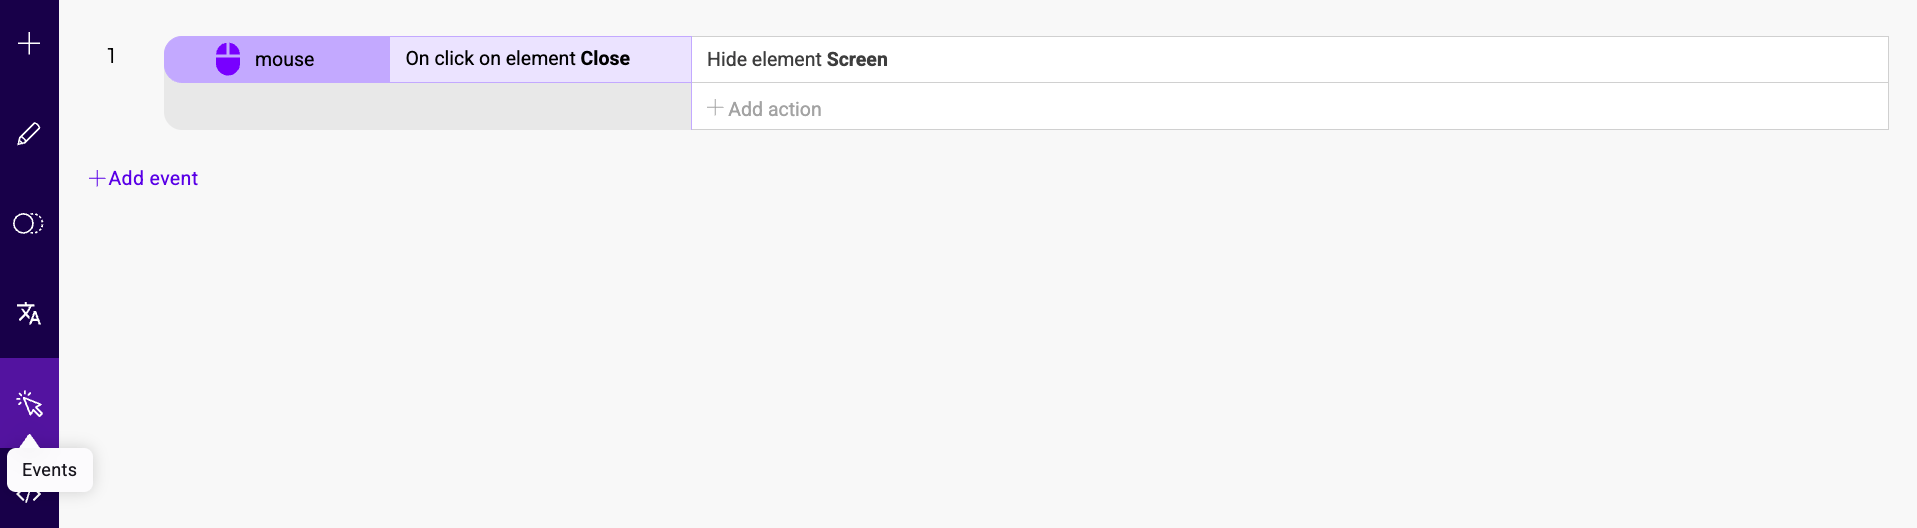
To manage your widget's triggers and responses, open the Widget Studio and click Events in the left sidebar.
Manage events
Events determine when an action should take place.
Create an event
To create a new event:
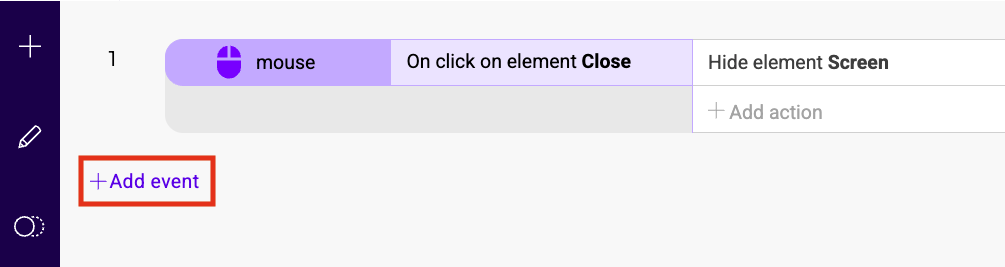
- Click Add event.
- Select the type of event you want to create from the list and click Next.
- Define the conditions for your event and click Save.
Edit or delete an event
To manage existing events:
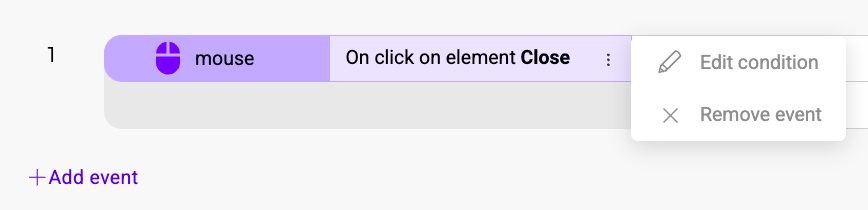
- Edit: Right-click the event or click the three-dots menu and select Edit.
- Delete: Right-click the event or click the three-dots menu and select Delete.
Event types
Kameleoon offers several event types to trigger actions:
| Event Type | Description |
|---|---|
| Click | Triggers when a visitor clicks a specific element. |
| URL | Triggers when the page URL contains a specific value or matches a regular expression. |
| Display | Triggers based on the widget's appearance (before or after it appears). |
| Survey | Triggers when a visitor inputs a certain survey or form value. |
| Language | Triggers based on the language of the displayed text. |
| Custom data value | Triggers when a specific custom data value meets defined conditions. |
| Device | Triggers when the visitor uses a specific device type. |
Manage actions
Actions are the specific tasks Kameleoon performs once an event is triggered.
Create an action
To add an action to an event:
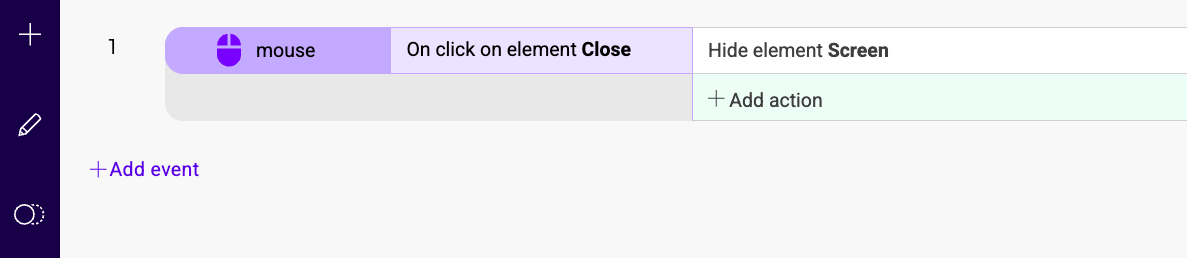
- Locate the event in the Events sidebar.
- Click Add action directly beneath the event.
- Select the action type and configure its settings.
Edit or delete an action
Actions use the same management interface as events. Right-click an action or use the three-dots menu to edit or delete it.
Action types
You can choose from various action types to customize your widget's behavior:
| Action Type | Description |
|---|---|
| Elements | Shows or hides specific elements within the widget. |
| Kameleoon goals | Triggers or cancels specific Kameleoon goals. |
| Kameleoon data | Sets custom data values. |
| Kameleoon event | Triggers custom events for segment targeting. |
| Request | Sends data to a specific URL via GET or POST requests. |
| URL | Redirects the visitor to a specified URL, optionally in a new tab. |
| JavaScript | Executes custom JavaScript code. |
| Survey/Form | Enables or disables surveys and forms based on the trigger event. |
| Browser storage | Sets values in local storage, session storage, or cookies. |