Create a prompt-based experiment
You can create AI-powered experiments in minutes by writing a simple prompt—no coding needed.
For a guided tour of prompt-based experimentation in Kameleoon, click here.
Access the creation flow
- In the Kameleoon app, go to Experiences > A/B Test > New experiment.
- If you use the Starter or Trial plan, the prompt-based interface opens automatically.
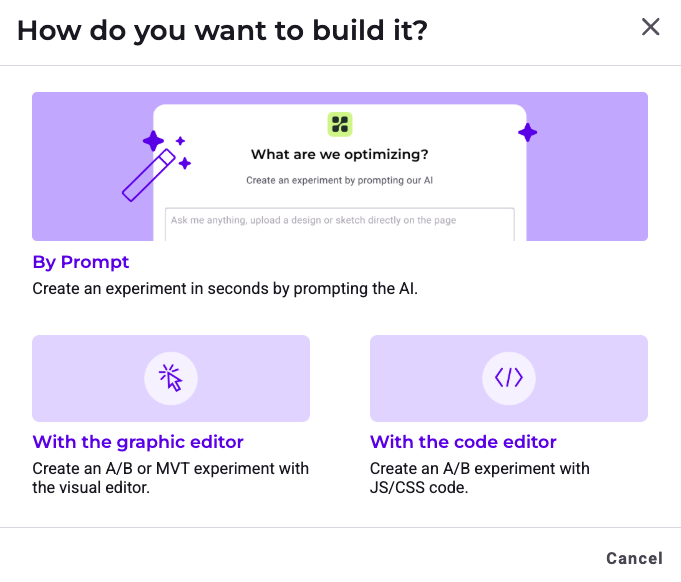
- If you use the Enterprise plan, a pop-up appears. Select By Prompt.
You cannot use the Graphic editor to edit a variant that PBX generates. For more information, see the FAQ.
- Enter the required information and click Create.
If you use PBX without the Kameleoon script installed, refer to the PBX FAQ for guidance.
Configure your experiment
1. Define your prompt
In the prompt field, describe the modification you want to make using natural language. You can resize the prompt area by clicking and dragging the corner.
Examples:
- “Update the product listing grid to display 2 products per row instead of 4.”
- “Change the default sorting option to ‘Price, low to high’.”
By analyzing your website and existing visual assets, Kameleoon automatically detects and maps your brand identity, including your tone of voice, fonts, imagery, and color palette.
Use images and designs
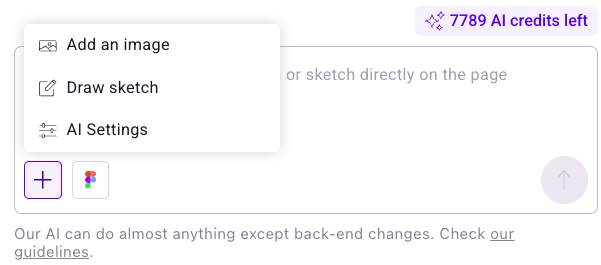
To provide visual context or add specific assets (like banners or pop-ups), click + > Add an image or paste an image from your clipboard.
When you upload or paste an image and submit a prompt, PBX asks how to use it:
- Asset: PBX inserts the image file directly into the variation.
- Mockup: PBX uses the image as a reference to recreate the design with code.
To preview an uploaded image, click it in the prompt area. You can also click Copy reference to copy the image link.
You can also import Figma designs directly. For more information, see Import designs from Figma.
For details on prompt limitations, see the PBX FAQ.
Select elements
You can help the AI identify which elements to modify in two ways:
- Text description: Describe the element in your prompt (for example, "Move the product grid below the banner").
- Selection box: Click + > Draw sketch and outline the target element on the page. Use the toolbox to draw, erase, or delete your selection.
You cannot scroll or draw outside your current view when using the drawing tool. Use text descriptions for elements located lower on the page.
Configure AI Settings
You can customize how the AI generates variants and interacts with your website. Click the + icon and select AI Settings. In the Projects sidebar, select the project you want to edit.
The AI Settings menu includes two tabs:
- Master Prompt: Define overarching instructions and context for the AI. For more information, refer to the Master Prompts article.
- Technical Settings: Configure technical preferences for your project. You can adjust the following options:
- Website adapts automatically to different screen sizes: Enable this option for responsive websites. Disable it if your mobile version uses a separate URL or does not update on resize.
- Enable support for dynamic websites (Single Page Application, Progressive Web App...): Enable this option to detect virtual URL changes and ensure URL targeting and data collection work correctly.
- Custom attribute: Set a custom attribute to allow Kameleoon to track every virtual URL change, enable URL targeting, and gather data, such as the number of page views.
- Avoid dynamic IDs selectors: Specify selectors to avoid (leave this blank if your mobile version uses a separate URL or does not update on resize).
Click Save to keep your changes, or click Back to the editor to return to the editor interface and discard any changes.
Generate optimization ideas
To get suggestions for your page:
- Type a prompt such as "Suggest ideas to optimize this page."
- Review the list of actionable improvements generated by the AI.
- Click Regenerate for new ideas or Cancel to use a different prompt.
For information on why the same prompt can lead to different outcomes upon regeneration, refer to this PBX FAQ entry.
Build variants in parallel
You can build multiple variants simultaneously. While one variant generates, you can immediately start another. A loading icon indicates progress, and Kameleoon notifies you when each variant is ready.
2. AI workflow
When you submit a prompt, PBX:
- Identifies the target elements.
- Generates technical specifications (accessibility, responsiveness, and QA steps).
- Creates the required JavaScript and CSS updates.
PBX then displays a summary of the changes. The AI might ask clarifying questions (for example, about image preference or content types) to ensure the result matches your intent before it applies any questions.
Create from sketches
You can design components like pop-ups or overlays by drawing them directly on the page:
- Click + > Draw sketch.
- Draw your design.
- Prompt the AI to build it (e.g., "Build the popup based on my sketch").
Follow best practices for writing prompts to get the best results.
3. Review and adjust the generated code
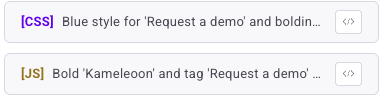
Click the Code icon in the top-right, or click the [CSS] or JS code icons in the generation panel. Click CSS or JS to view and edit the relevant code. Click Edit code to make changes.
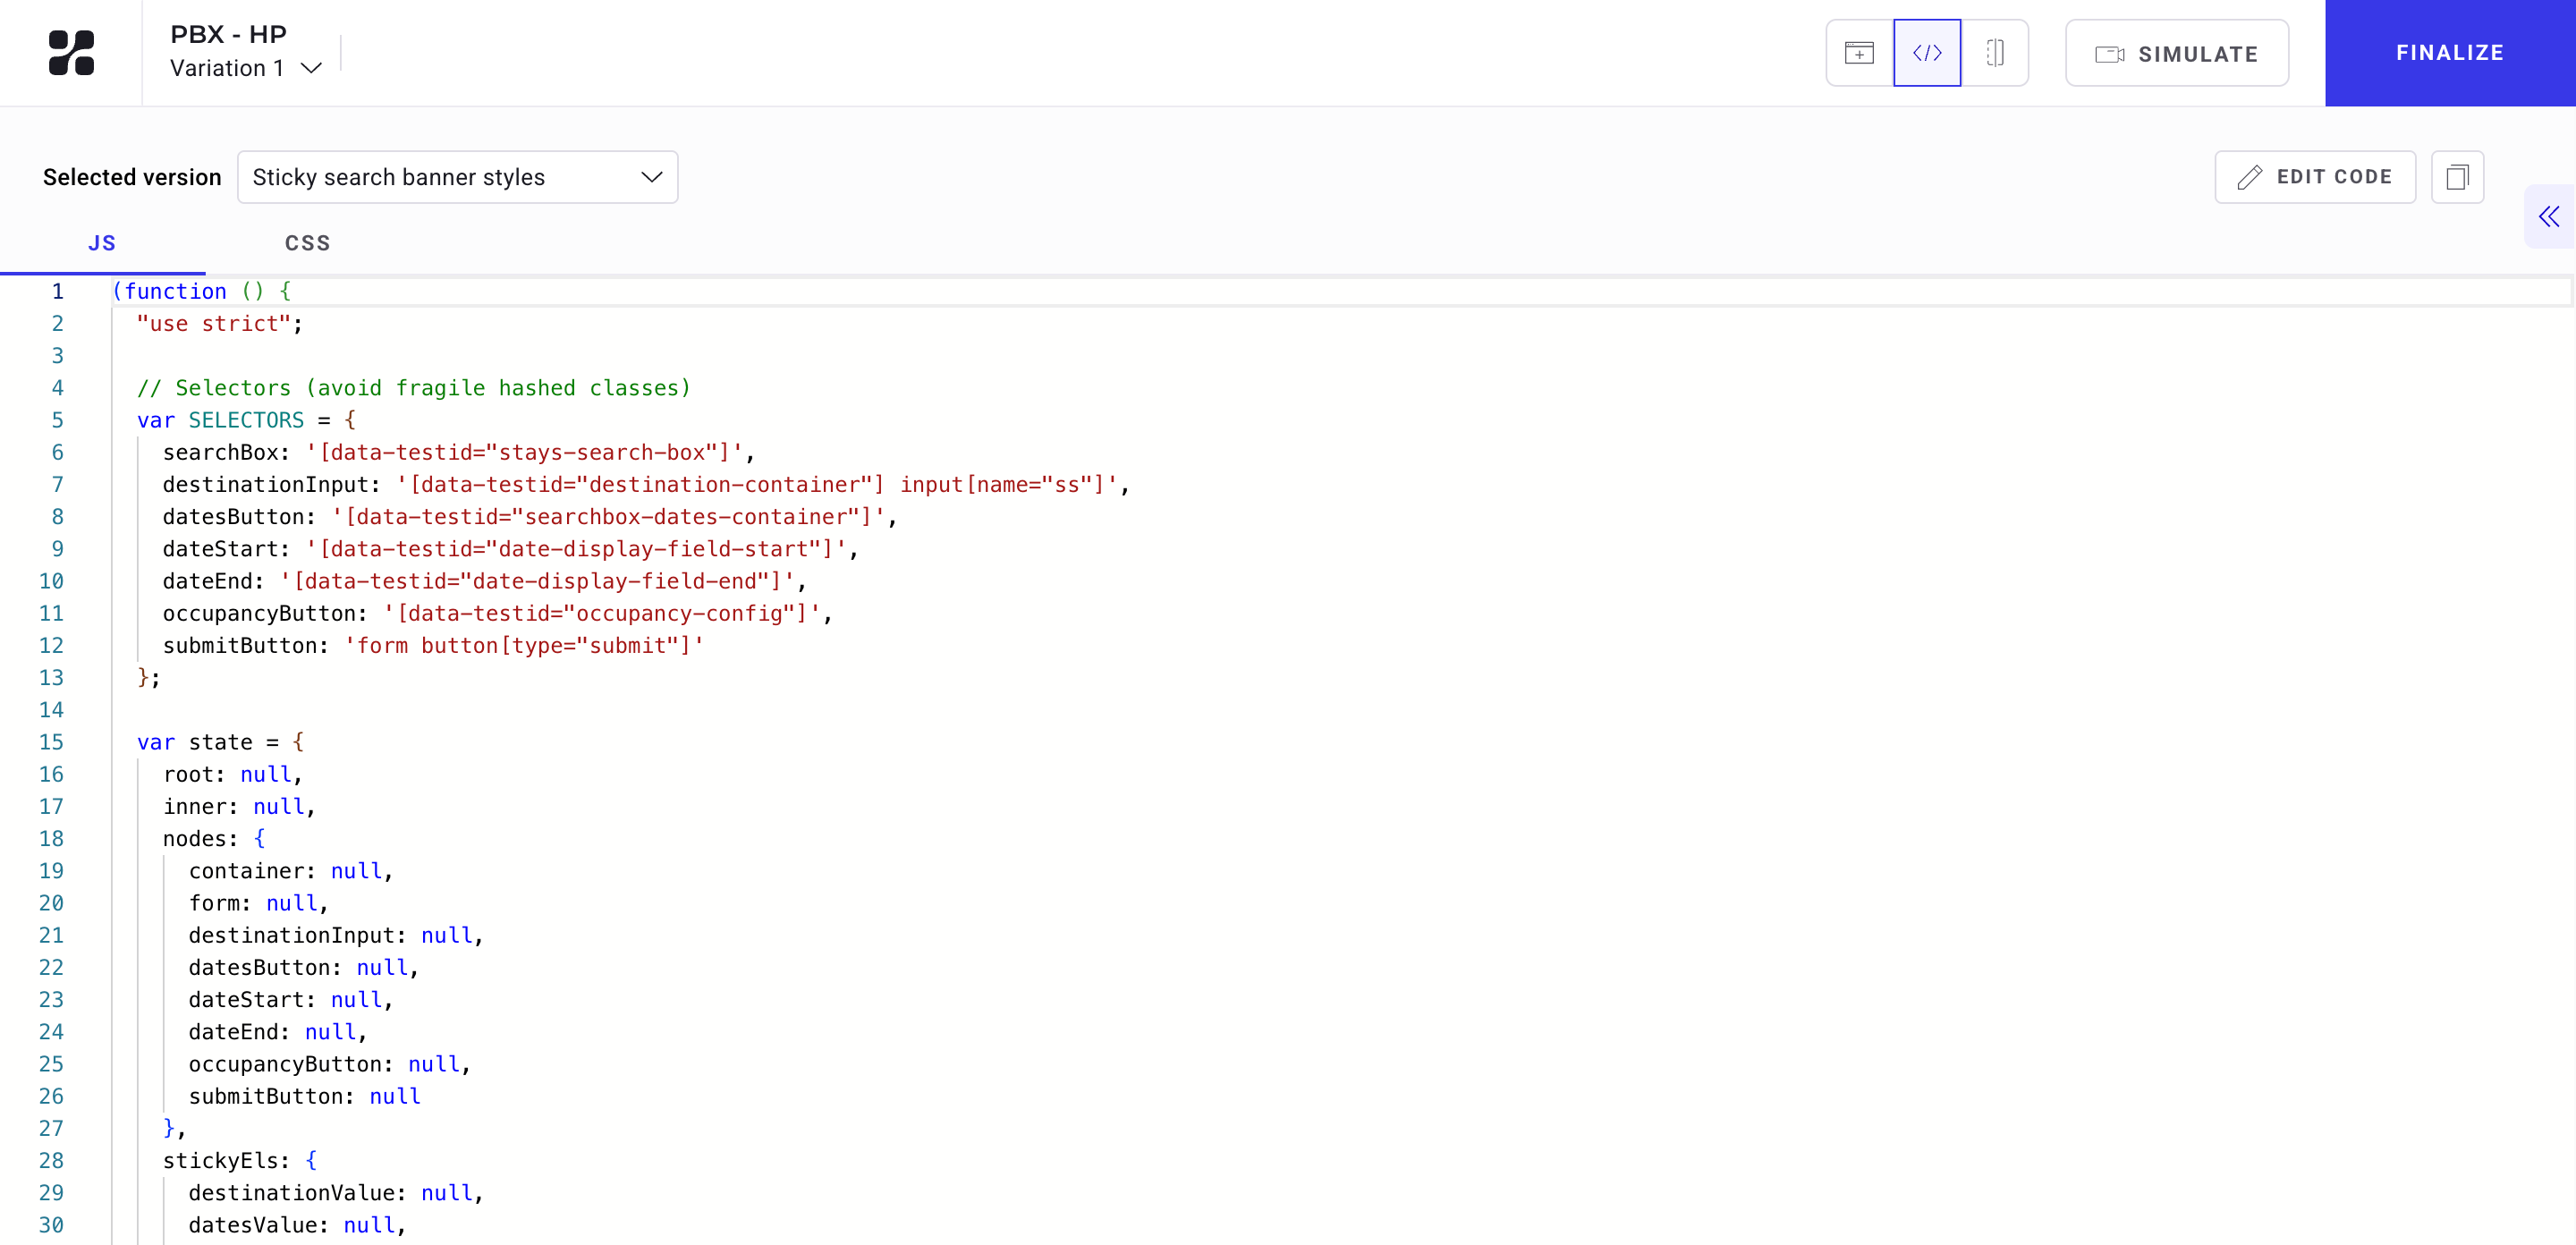
If you prompt several times and generate multiple versions for a given variant, you can switch between those variants using the dropdown in the top-left of the code panel.
Once the AI generates content for your experiment, you can refine its output by editing the underlying code.
To refine a variant using prompts instead of code, see the FAQ.
4. Compare and simulate
Use the header buttons to switch between views:
- Website display: Preview the variant's appearance.
- Code: View the technical implementation.
- Compare: Compare different variations side-by-side.

Click Simulate to test the experiment live on your website before launching.
Share your experiment

Click the share icon in the top-right to:
- Copy link: Share a direct link to the experiment.
- Share on LinkedIn: Post your experiment directly to your feed.
Finalize the prompt-based experiment
Once your variation is complete:
- Click Finalize.
- Set your goals, audience targeting, and traffic allocation.
- Launch your experiment.
You are ready to experiment faster than ever, with no code and no delay.