Finalize an experiment
Watch this video in the Kameleoon Academy to learn the differences between A/B and multivariate tests.
Access the finalization page
After you create your variations, you are ready to launch your experiment.
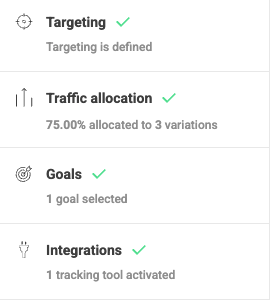
On the right side of the header, click Finalize. This opens the finalization page, where you complete these steps before launching:
- Define targeting
- Allocate traffic to variations
- Define goals (Mandatory, unless you configure Integrations)
- Associate integrations (Mandatory, unless you configure Goals)
- Simulate your experiment (Optional)
On the finalization page, you can also:
- Estimate the experiment duration
- Schedule the experiment
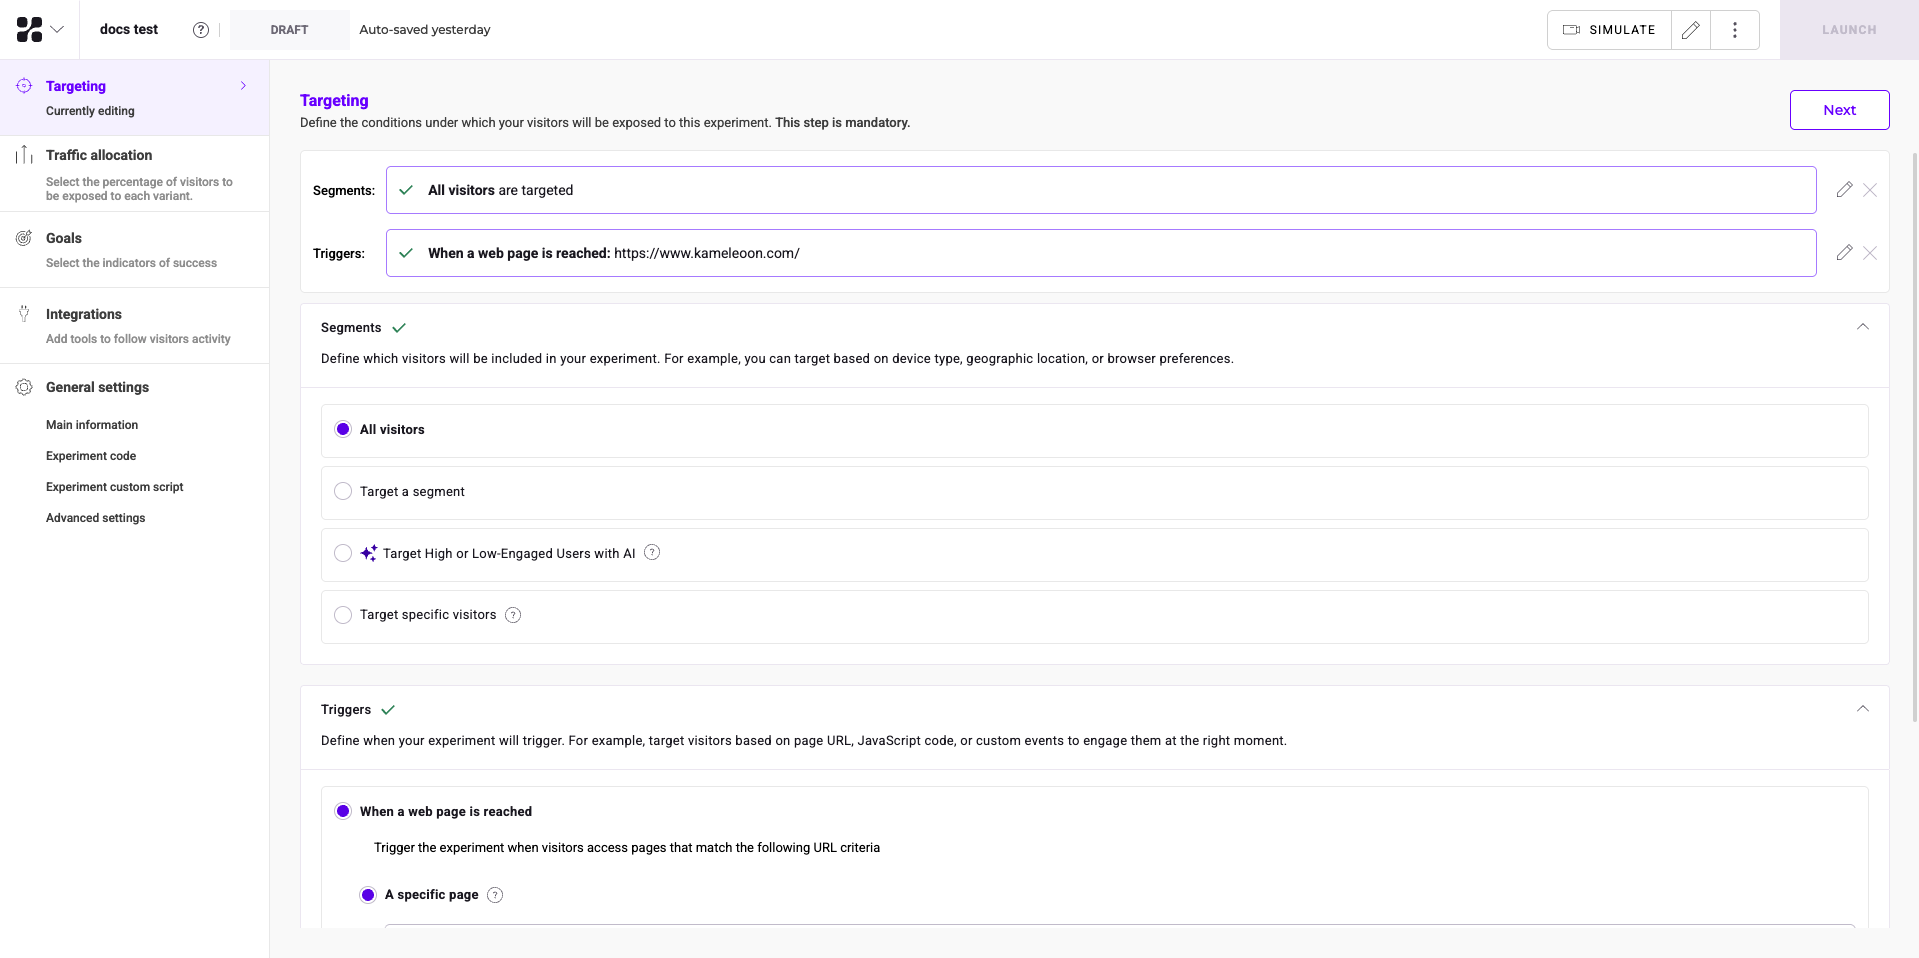
Define targeting
Targeting is the first step in finalizing your A/B experiment. To learn more, see Define your experiment's targeting.
Distribute traffic
The second step is traffic allocation. By default, Kameleoon distributes traffic evenly among variations, but you can change this setting.
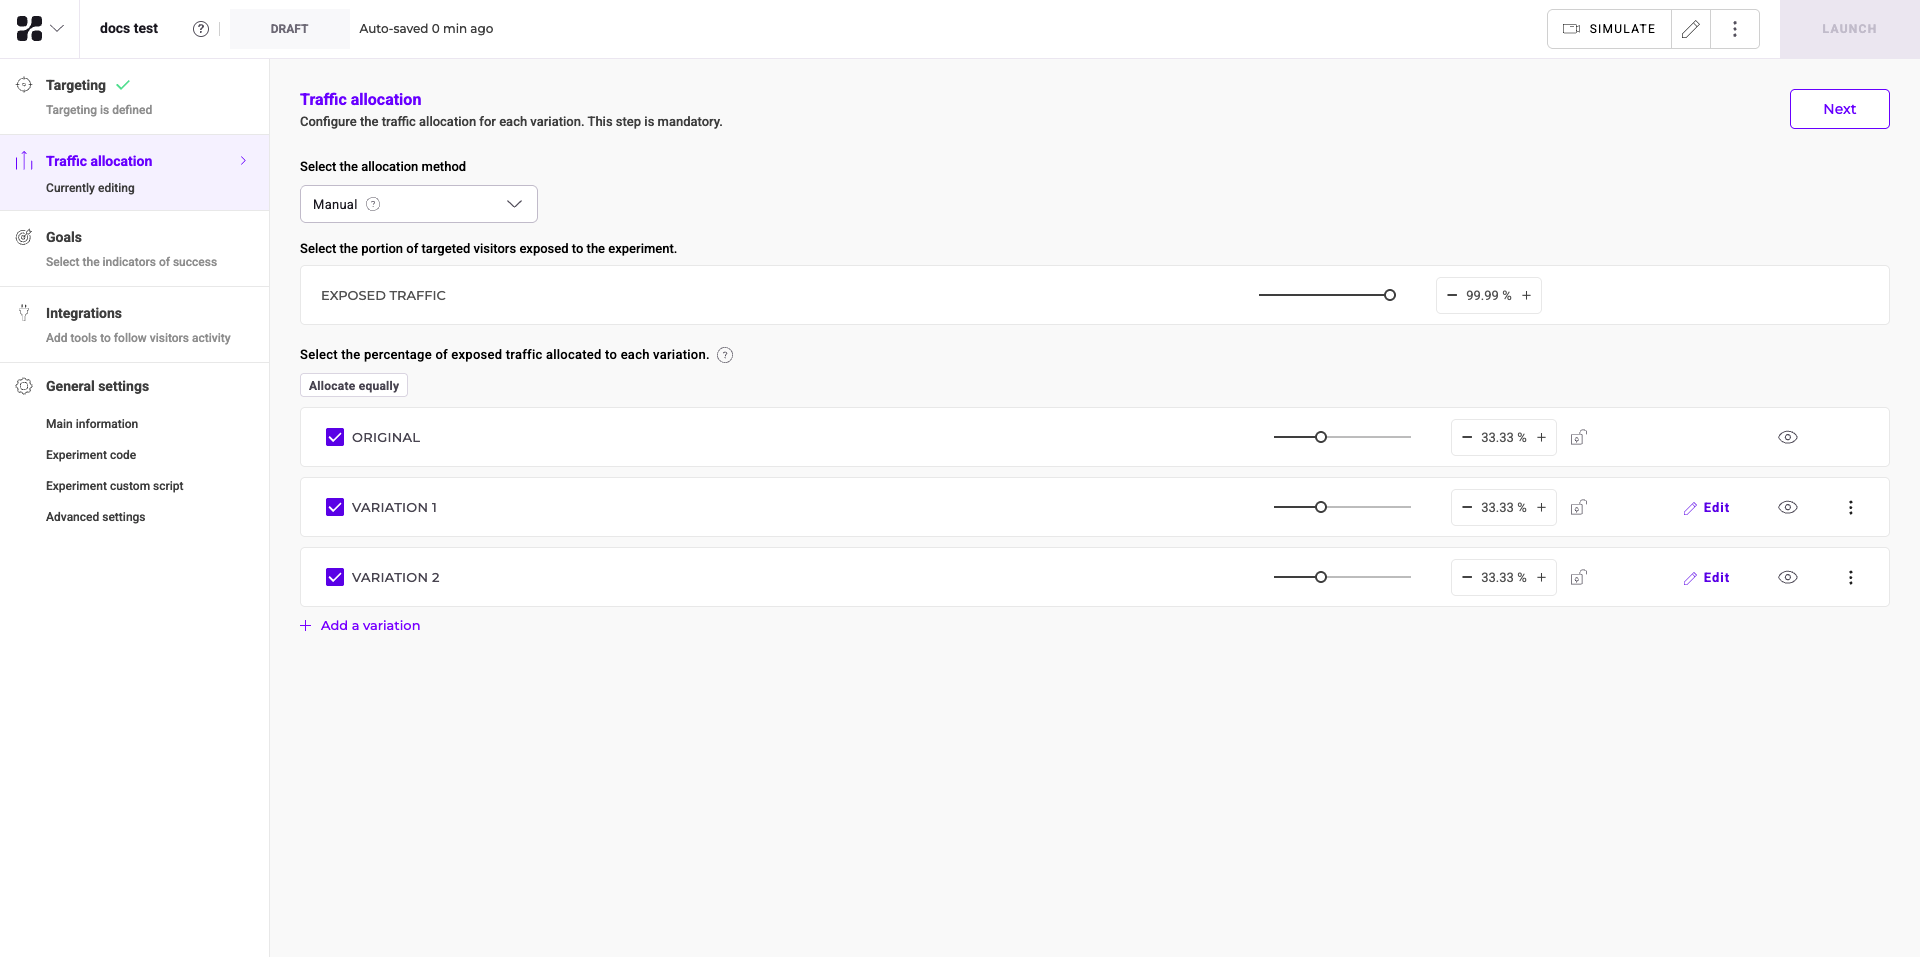
In this example, Kameleoon shows each variation to 33.33% of visitors.
To change the traffic allocation:
- Click and drag the slider next to a variation.
- OR click the number next to a slider and enter a percentage.
To save this step and proceed, click Next.
Excluded traffic
Kameleoon automatically assigns traffic not allocated to a variation to Excluded traffic. These visitors see the original version of your page.
Equal allocation per variation
Specify the total percentage of traffic to divert to experiment variations.
For example, if you have three variations and set a 75% diversion, Kameleoon allocates 25% of the total traffic to the original page and 25% to each variation.
Different allocation per variation
To allocate different percentages to each variation, use the sliders to adjust the values.
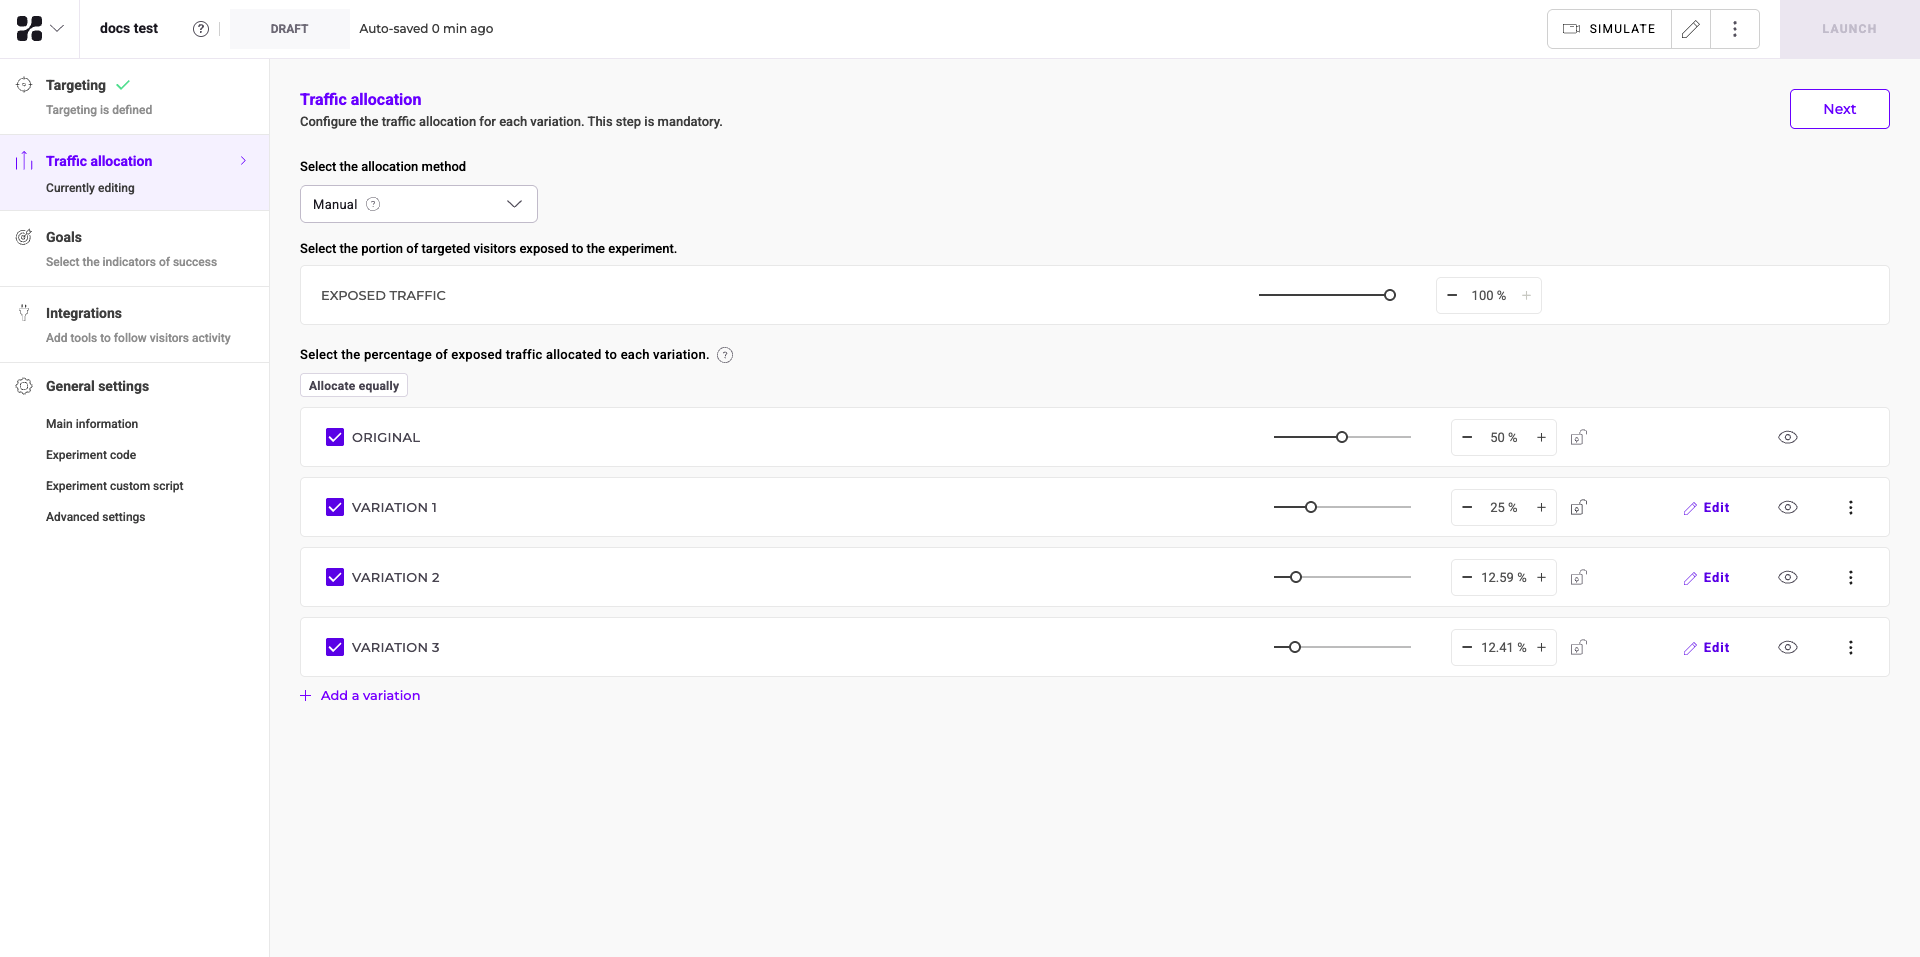
You can also click the percentage value and enter a new one.
To return to an equal distribution, click Allocate equally below the list of variations.
Allocation method
Select a traffic allocation method from the dropdown menu:
- Manual: Set a static traffic allocation for your visitors manually.
- Multi-armed Bandit: Kameleoon automatically adjusts traffic allocation based on variation performance.
- Contextual Bandit: Kameleoon personalizes variations based on specific visitor attributes and dynamically selects the best variation for each visitor.
Contextual Bandit requires the Contextual Bandit and AI Targeting add-on. Contact your Customer Success Manager for more information.
Contextual bandits
Contextual bandits use machine learning to optimize traffic allocation dynamically. They adapt in real time to redistribute traffic based on variation performance and user context.
Understanding the differences between multi-armed bandits and contextual bandits helps you choose the best method for your experiments:
- Multi-armed bandits:
- Optimize traffic distribution across variations to maximize a specific goal, such as clicks or conversions.
- Treat all users equally and do not distinguish between user attributes.
- Ideal when user-specific data is unavailable or unnecessary, and you want to finding the best-performing variation for the entire audience.
- Contextual bandits:
- Incorporate additional user-specific data, such as device type, location, or behavior, into decision-making.
- Tailor variations to specific users for improved, personalized outcomes.
- Optimize decisions in dynamic environments by leveraging user attributes.
To learn more about how Kameleoon’s contextual bandits work, read the Kameleoon statistical paper.
Configure contextual bandits
To enable contextual bandits:
- Navigate to the Finalization panel.
- Click Traffic allocation.
- In the Select the allocation method dropdown menu, select Contextual bandit.
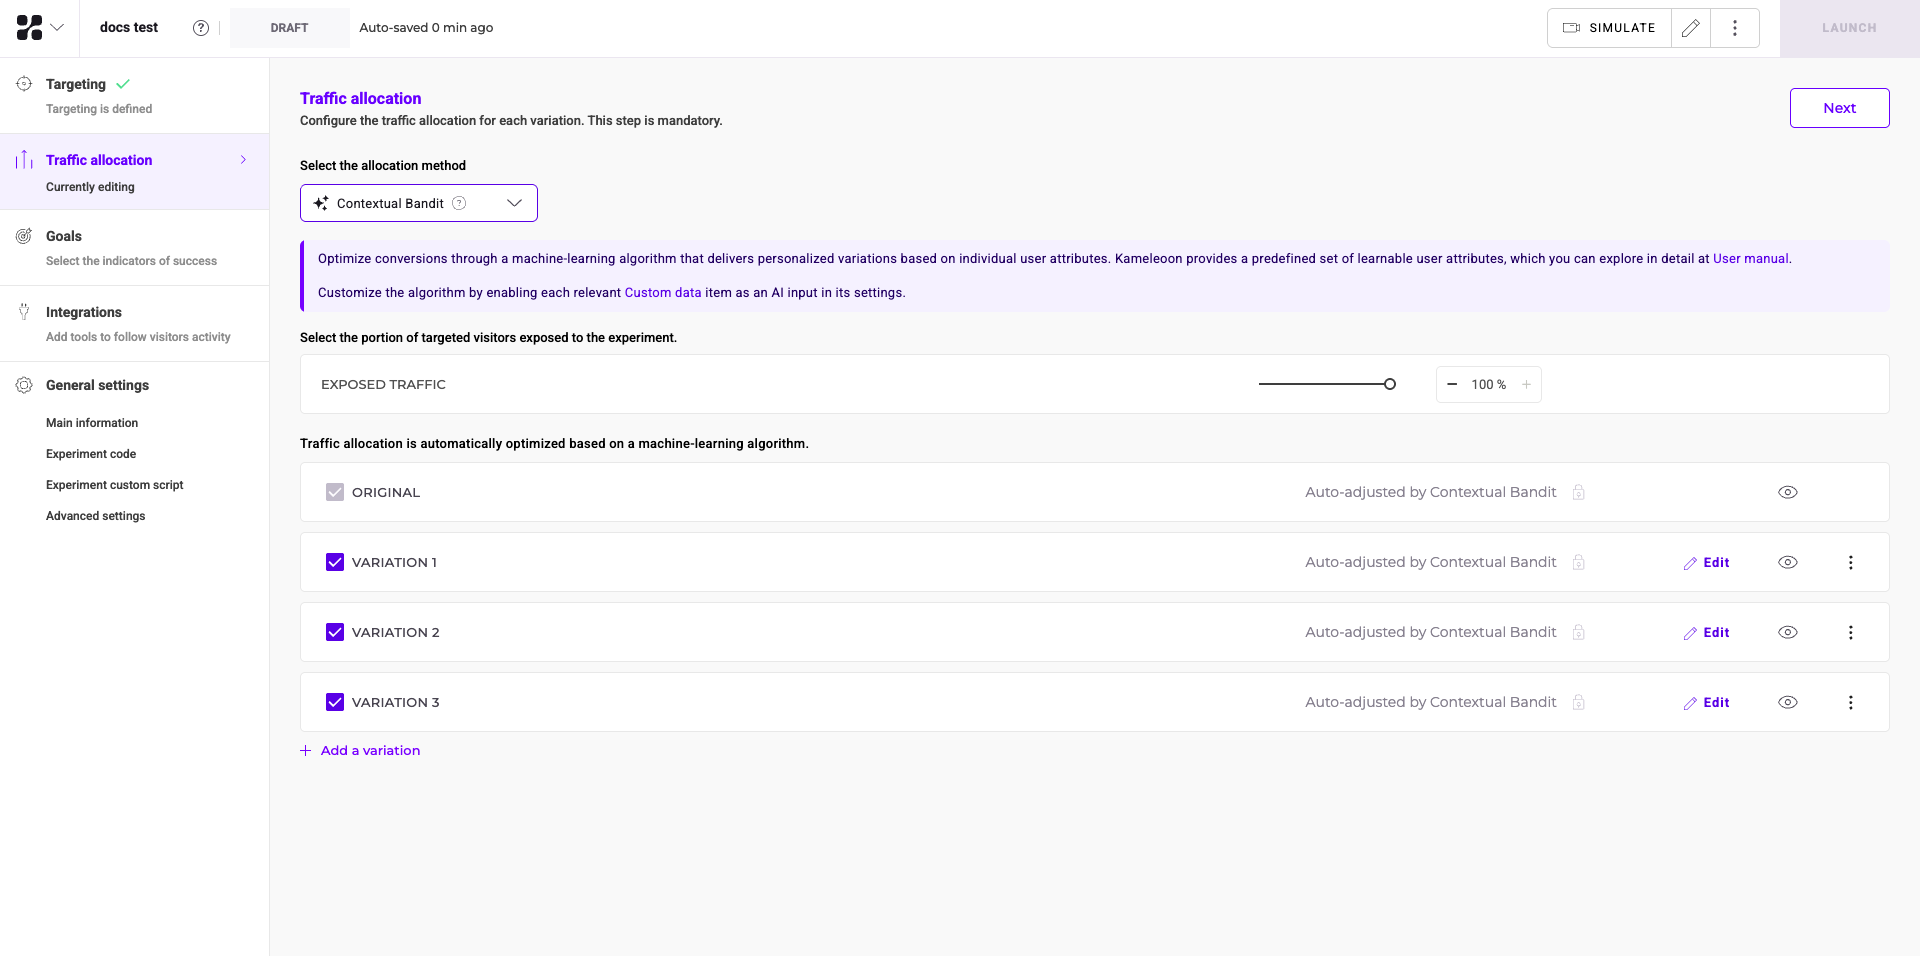
By default, the algorithm optimizes traffic based on predefined user attributes in Kameleoon.
To leverage the full power of contextual bandits, provide custom data as input for the machine learning model. Custom data helps the algorithm make more accurate predictions based on business-specific attributes, such as CRM segments, purchase history, or in-app behavior. Custom Data Premium requires the AI Predictive Targeting add-on.
To use custom data in your experiment:
- Open your custom data configuration panel.
- Enable Use this custom data as input for AI Predictive Targeting.
Kameleoon’s algorithm then uses these attributes to deliver the most relevant variation to each visitor.
To learn more about AI Predictive Targeting, see AI Predictive Targeting.
Advanced reallocation
Advanced reallocation is only available for online experiments.
Use Advanced reallocation to redistribute traffic among variations in your experiment. When you apply this feature, Kameleoon resets the traffic allocation and treats returning visitors as new visitors. This is useful for focusing on specific variations or excluding others from further traffic.
At the top-right of the traffic distribution step, click Advanced reallocation. In the panel, choose which variations to include in the reallocated traffic.
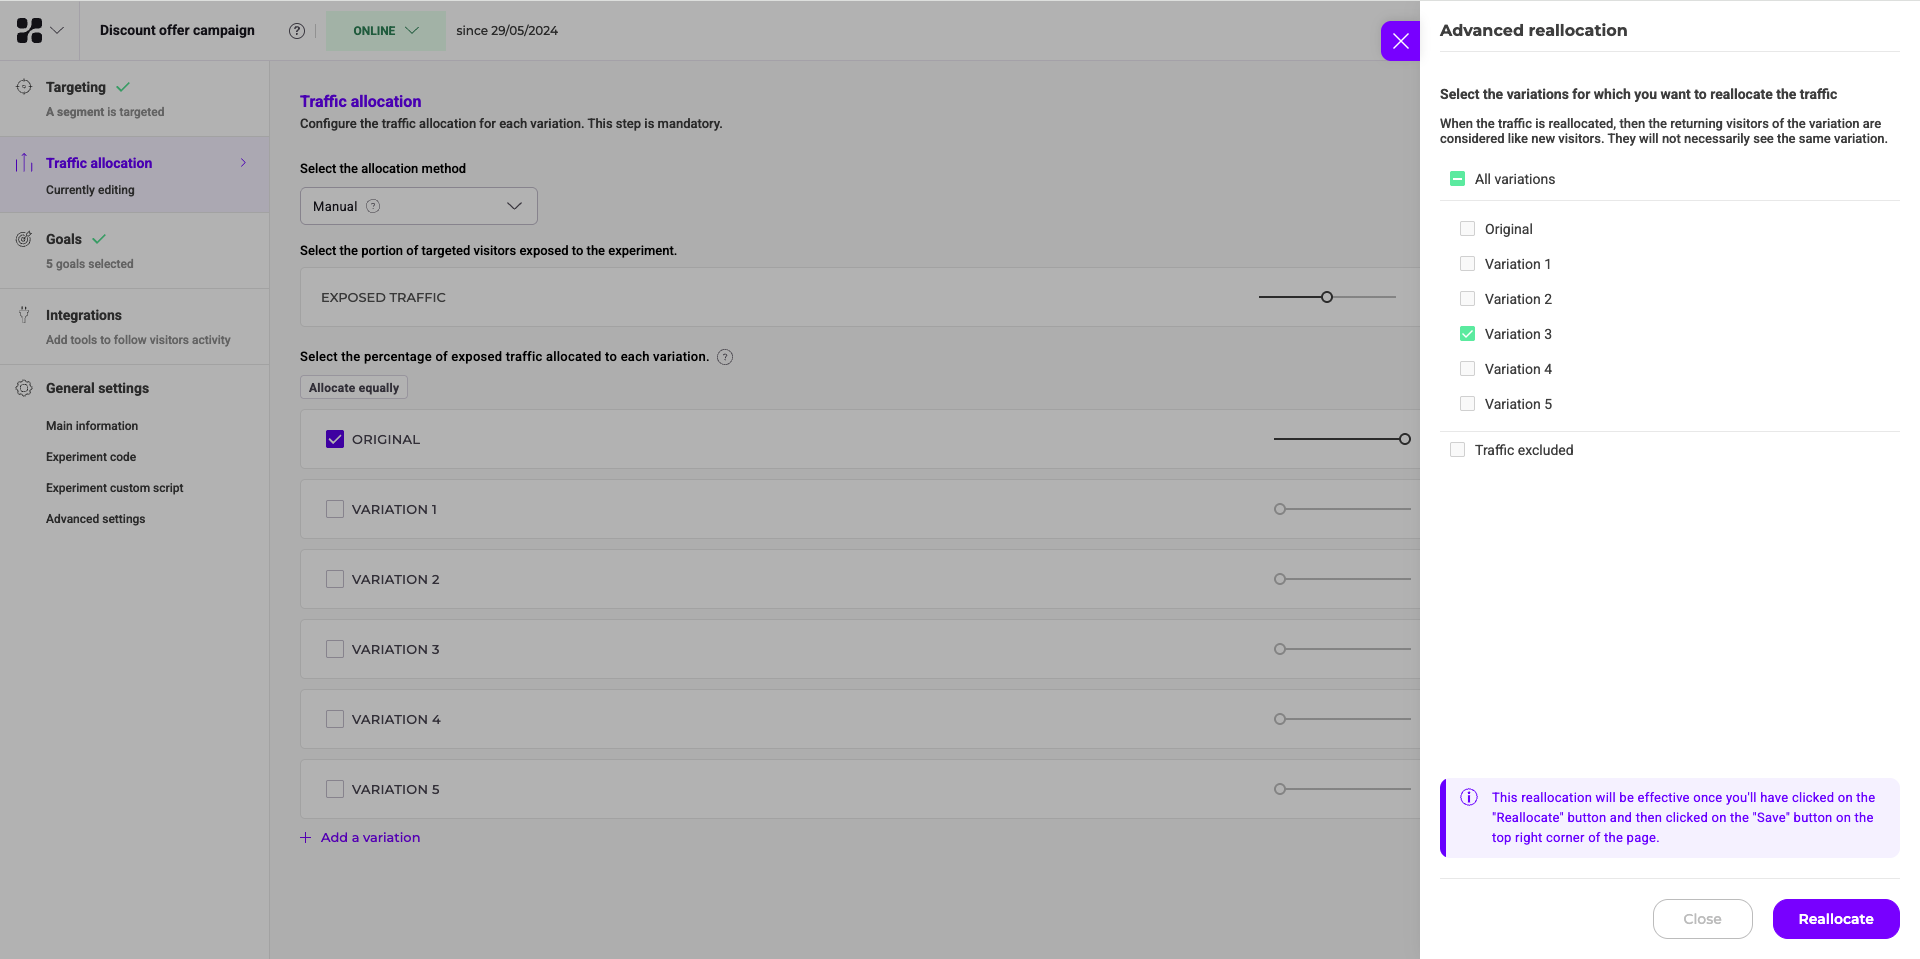
The reallocation takes effect after you click Reallocate and then click Save at the top-right of the page.
Set a reference variation
When you analyze experiment results, Kameleoon uses a reference variation to calculate the performance uplift of other variations. By default, Kameleoon sets the Original variation as the reference.

Requirements for reference variations
To ensure accurate reporting, a reference variation must meet the following criteria:
- Allocated traffic: The reference variation must have a traffic percentage greater than 0%.
- Enabled status: The variation must be active.
If you allocate 0% traffic to the Original variation, you must select another variation as the reference. If the chosen reference variation has no traffic or is disabled, Kameleoon displays a warning: "Pick a reference variation with traffic allocated."
Change the reference variation
To switch the reference to a different variation:
- In the Traffic allocation section, locate the variation you want to use as a reference.
- Click the three-dots menu for that variation.
- Select Set as reference variation.
A badge appears next to the variation to indicate its status as the reference for the results page.
Define goals
This step is mandatory unless you configured an integration (reporting tool).
Select one or more goals to use Kameleoon as a reporting tool.
Available goals
To use Kameleoon as a reporting tool, define a conversion goal. A goal is the metric you aim to improve with your A/B experiment.
Kameleoon supports the following goal types:
- Engagement: The visitor visits other pages after the landing page.
- Click tracking: The visitor clicks on a specific element you defined.
- Scroll tracking: The visitor scrolls beyond a specific part of your page.
- Access to a page: The visitor reaches a specific page.
- Number of pages viewed: The visitor visits a set number of pages.
- Time elapsed: The visitor spends a predefined amount of time on your website.
- Custom goal: For complex metrics, you can create custom goals using the Kameleoon API.
Create a new goal
To learn how to add a goal, see Create a goal.
Associate a goal with your experiment
After you create a goal, associate it with your experiment:
- On the Finalization page, click Goals.
- Select your goal.
- To save this step, click Next.
Set up reporting tools
This step is mandatory unless you configured a goal.
Add a new integration
To learn how to add a new integration, see Integrations overview.
Activate an integration on an experiment
After you add a reporting tool to your integrations list, you can associate it with an experiment.
To associate an integration:
- On the Finalization page, click Integrations.
- Select the tool.
- To save this step, click Next.
General settings
Use this menu to manage the overall configuration for your experiment:
- Main information
- Experiment code
- Experiment custom script
- Advanced settings
Main information

Manage the experiment's core details here, including the editor load URL, tags, and hypothesis.
Experiment code
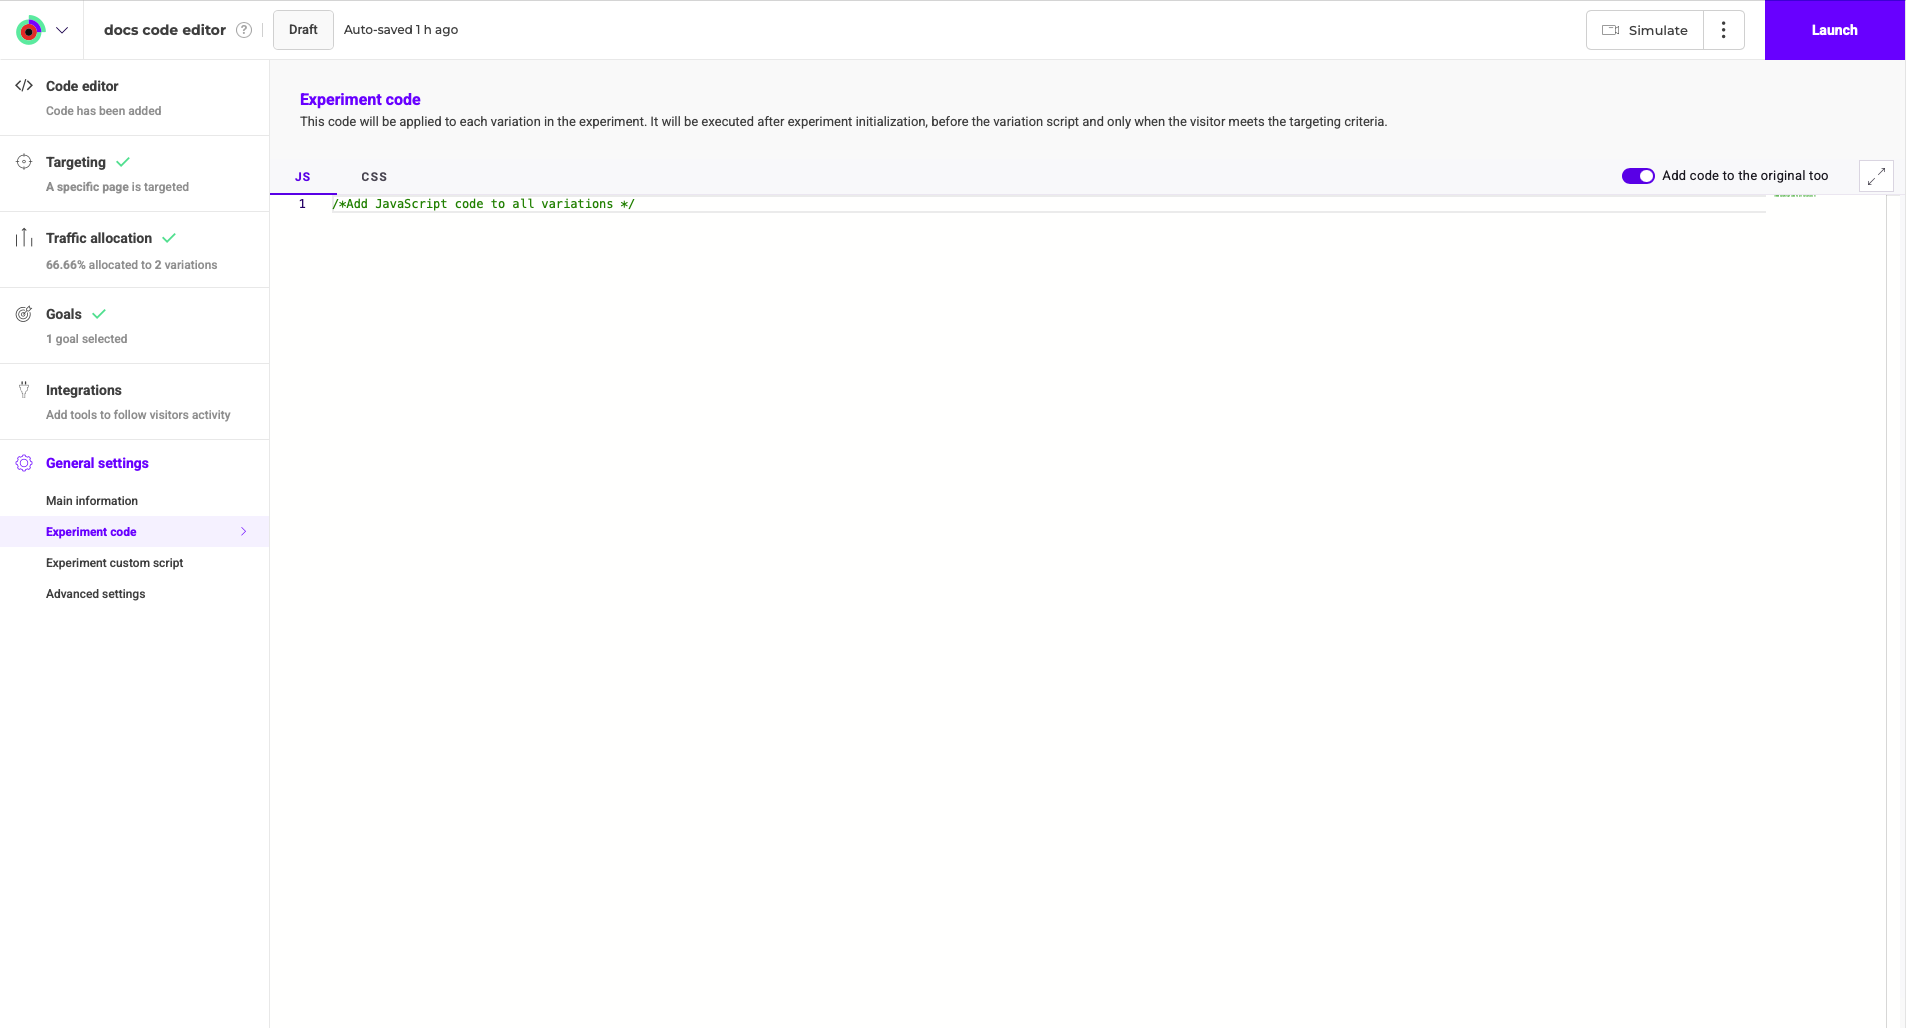
This section contains the general code that Kameleoon applies to every variation. To add this code to the original variation, click the toggle.
Experiment custom script
Use this section to add JavaScript code that applies to the entire experiment. This code runs with Kameleoon’s global script. Kameleoon automatically removes these changes when the experiment ends.
This script executes before all experiment and variation code. It runs regardless of targeting conditions as soon as Kameleoon loads.
Advanced settings
Access advanced configuration options here.
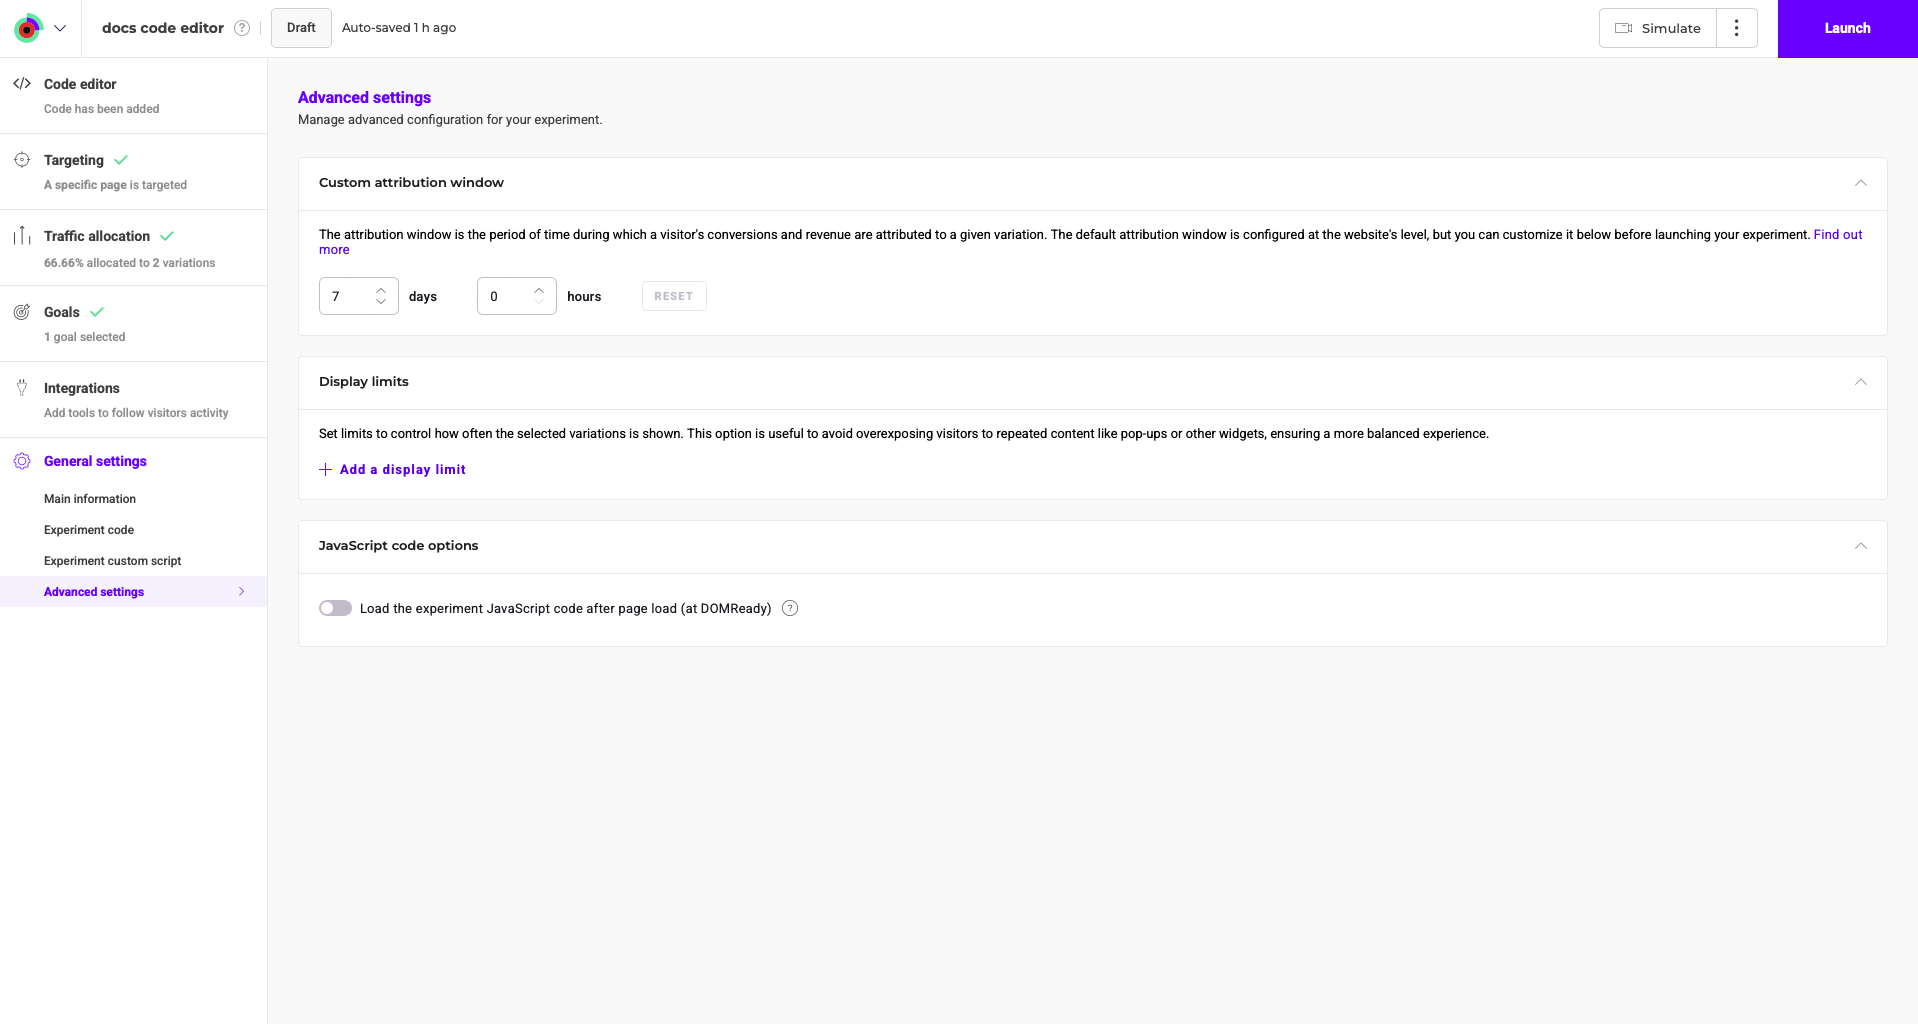
Custom attribution window
Define an attribution window in days and hours. The attribution window is the period when Kameleoon links visitor conversions and revenue to a specific variation. By default, Kameleoon sets the attribution window at the website level. You can customize it here before you launch the experiment. To learn more, see How Kameleoon counts conversions.
Display limits
To learn how to create a display limit, see Using the code editor.
You can configure display limits in Advanced settings or the Variation menu. The Advanced settings section provides an overview of all configured limits.
JavaScript code options
Enable this option to load the experiment's JavaScript code after the full page loads.
This ensures that all page elements load before the code executes, which prevents conflicts and improves performance. Use this if your variations depend on elements that load after the initial page render.
Simulate
Use simulation mode to check whether:
- Your variations or personalizations display correctly.
- Your targeting is configured correctly.
- Goals lead to conversions.
- Visitors see the intended content.
To learn more, see Simulate a campaign.
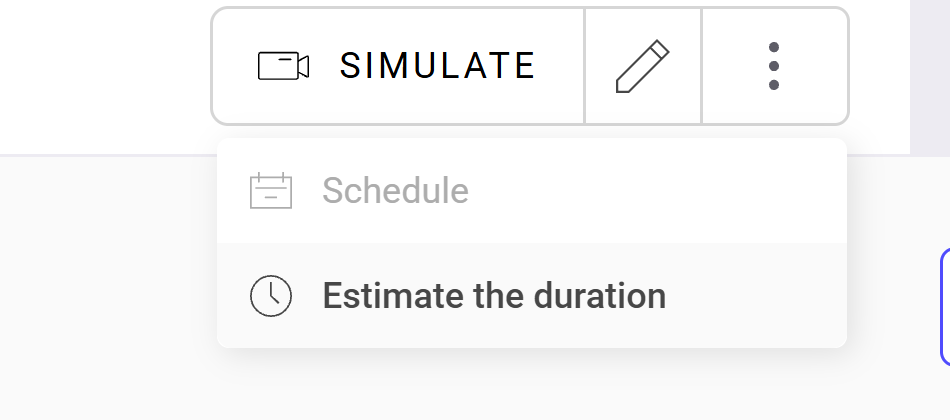
Estimate experiment duration
In the Finalization panel, you can estimate the duration of your experiment.
Provide the following information to generate an estimate:
- Average daily visitors: The estimated number of visitors to the tested pages per day.
- Current conversion rate: The baseline conversion rate for your main goal.
- Minimum Detectable Effect (MDE): The smallest change in the goal metric you aim to identify, relative to the control variation.
- Desired reliability rate: The level of confidence required to confirm results (defaults to 95%). Increasing this value reduces the risk of false positives but requires more visitors.
This is an estimate. After you launch, the reliability index on the results page provides actual data. For more information, see Access the results page.
The estimator automatically accounts for traffic allocation and the number of variations.
You can also use the free A/B testing duration calculator for a precise estimate.
Launch
Launch immediately
When you complete all mandatory finalization steps, a green check icon appears.
Kameleoon recommends simulating your experiment before you launch to verify the display, targeting, and goal conversions.
When you are ready, click Launch.
The Configuration summary panel displays your experiment settings.
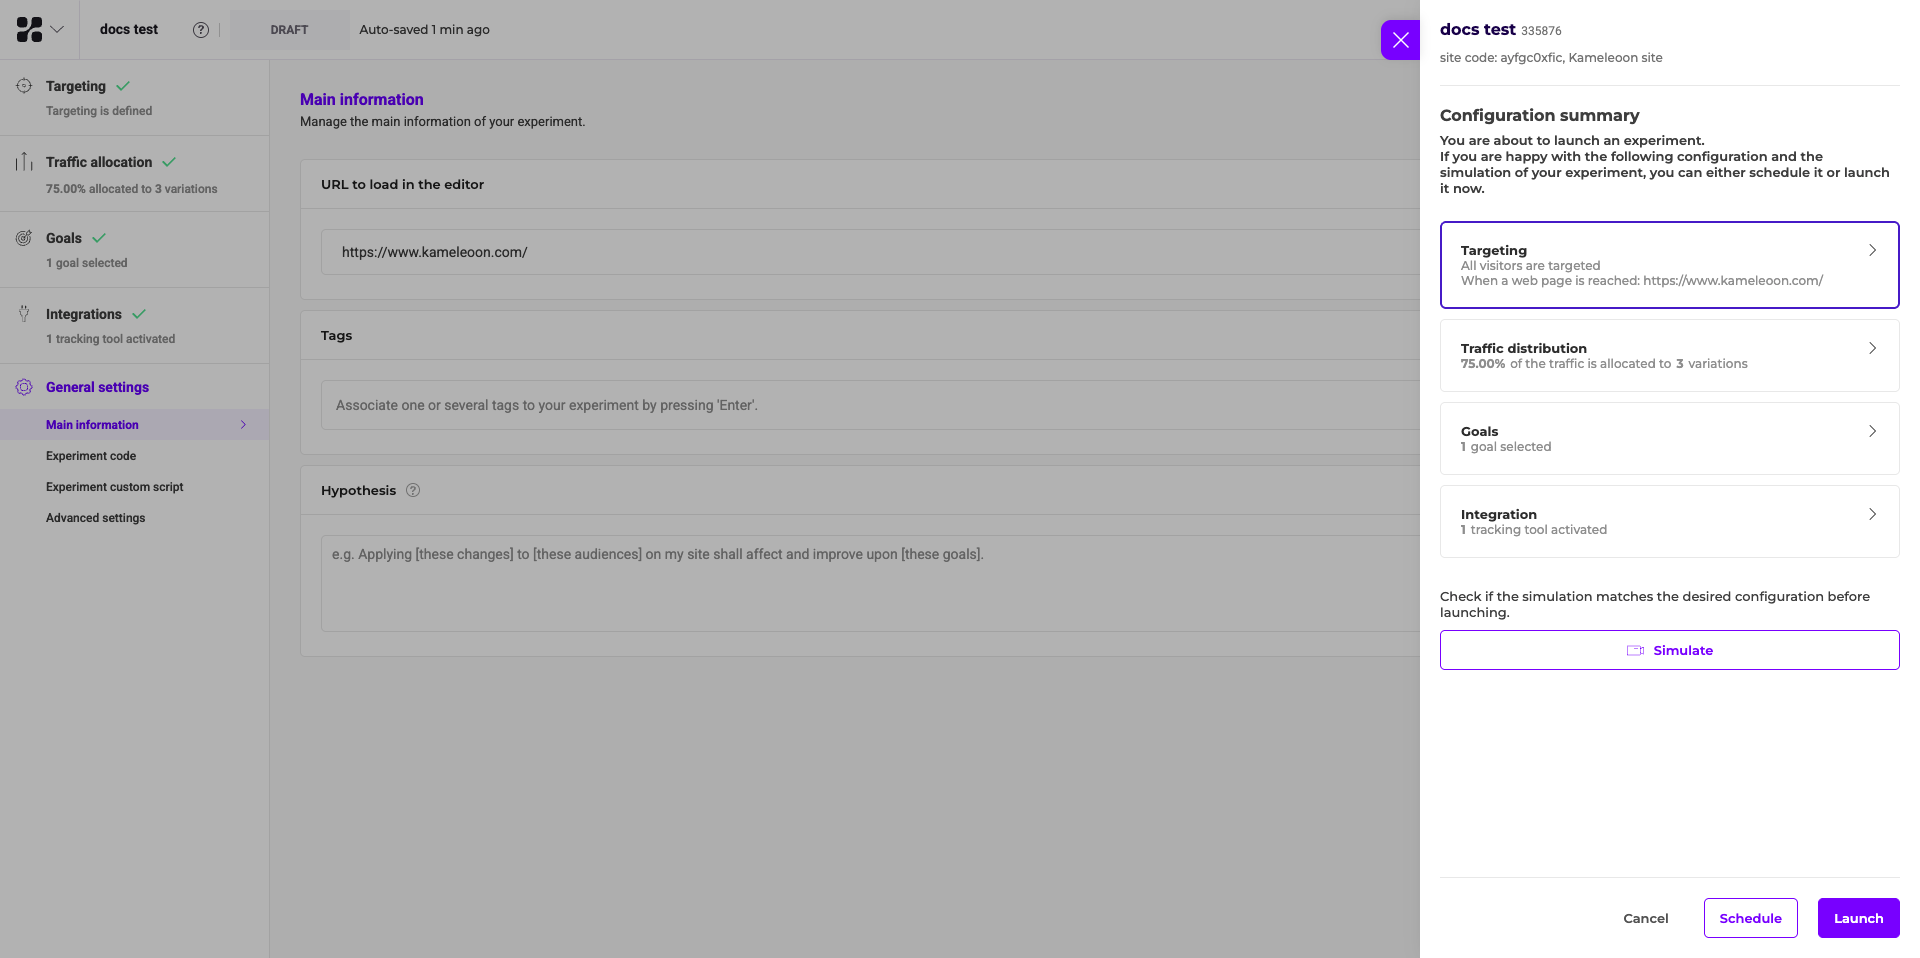
To modify settings, click a configuration option and select Edit. When you are satisfied, click Launch in the bottom-right.
Your experiment is now online.
A short latency period (up to 10 minutes) might occur between launching an experiment and seeing it on your website.
Schedule
You can schedule your experiment with a start date, an end date, or both.
To schedule the experiment, click the three-dots menu and select Schedule:
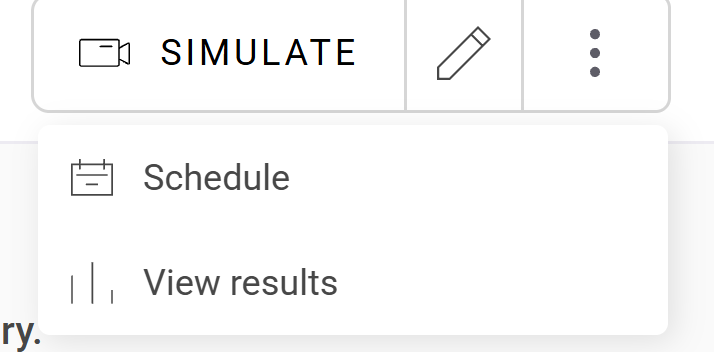
Alternatively, click Schedule at the bottom of the Configuration summary.
Advanced schedule lets you set the time zone and automate when the experiment ends. Automatic stops trigger when the reliability rate stabilizes at your configured value or when traffic reaches a defined threshold.
Avoid setting an end date for A/B experiments before launch. Use the confidence rate as your primary indicator for when to stop an experiment. For experiments tied to specific events or timeframes, you can define an end date. Always review the confidence rate before you analyze results.
When a scheduled experiment reaches its end date, Kameleoon pauses the experiment. You can resume it at any time.