Send survey responses to Google Sheets
If you want to collect responses from your widget in Kameleoon and export them to CSV, refer to this article.
In this article, you'll learn:
- How to configure your Google Sheet to receive survey data.
- How to set up the Survey Settings tab in the Widget Studio to send responses to Google Sheets.
Configure your Google Sheet
- Go to Google Sheets and create a new spreadsheet.
- Name the tab Sheet 1 (which is the default).
- In the first row, define the columns as follows:

Details:
- Column A > Enter Date. This cell will be automatically populate with the data and time of each submission.
- From Column B onward > Enter the name of each survey or form element added to your widget.
You can find an element's name in the elements tree in the Content tab of the Design section.
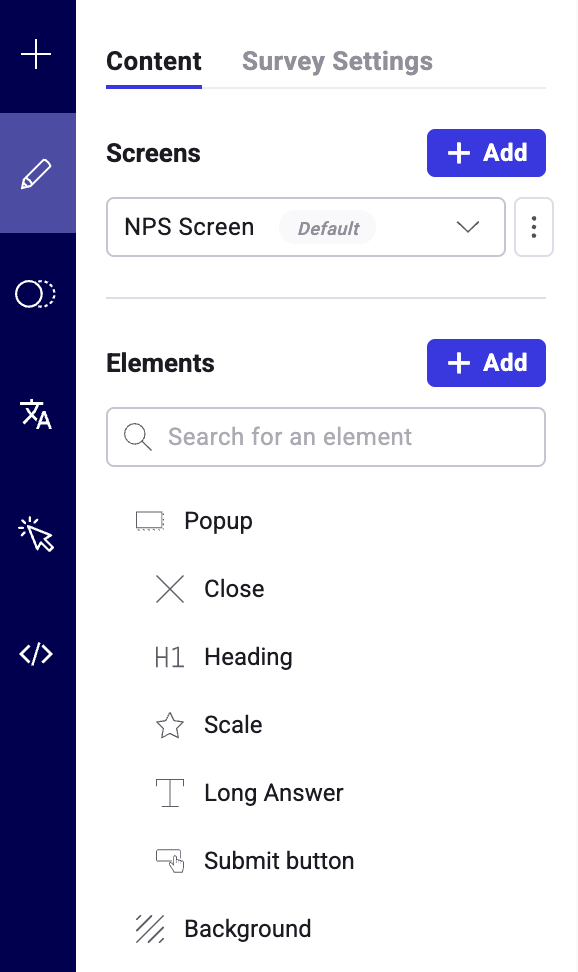
When you select an element (for example, a scale), its name appears at the top of the editing sidebar.
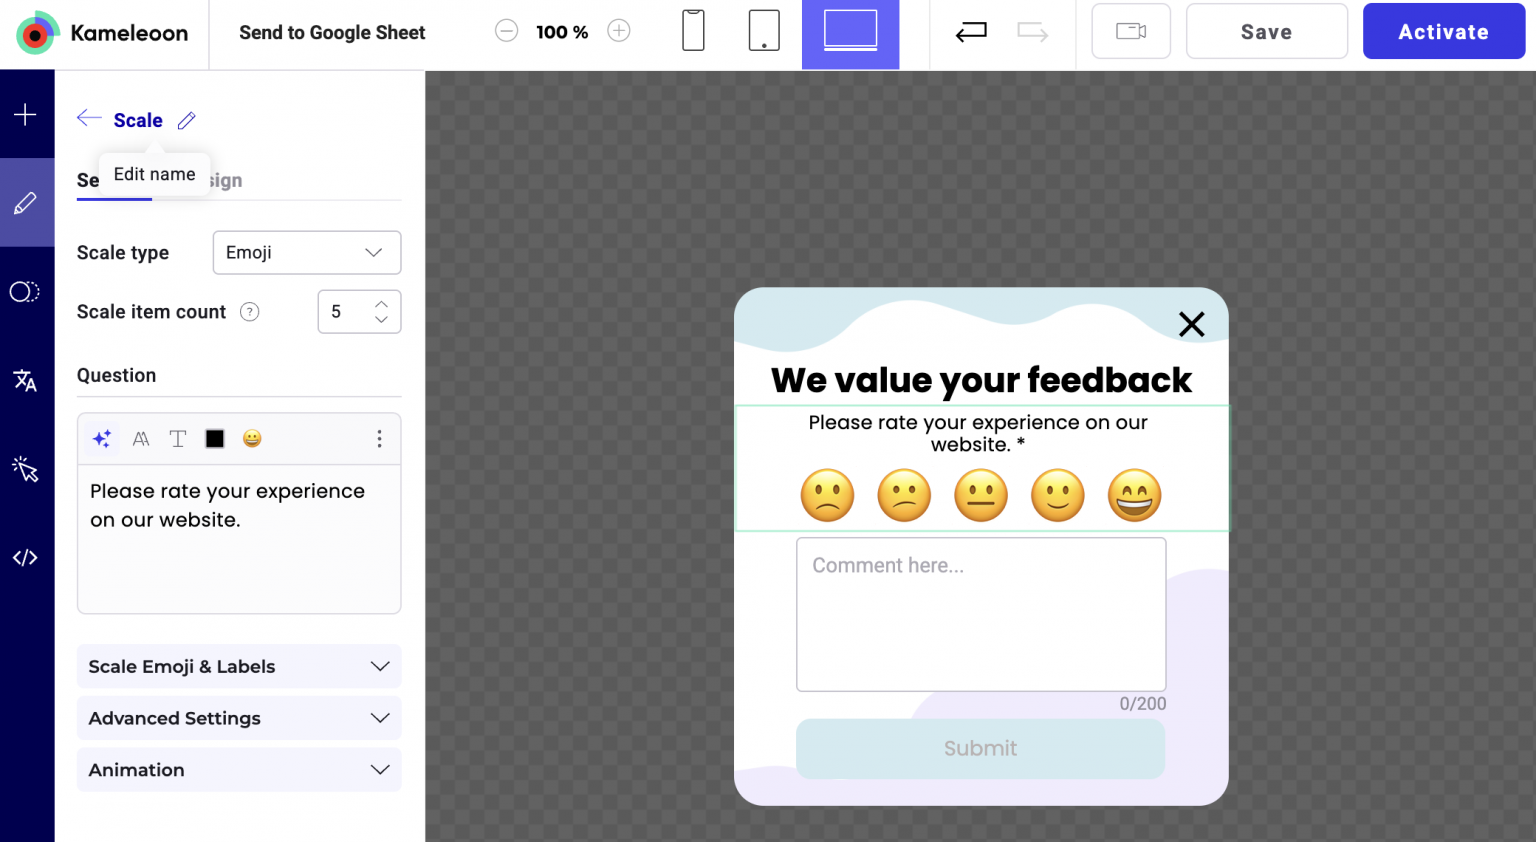
Let's use this widget as an example:
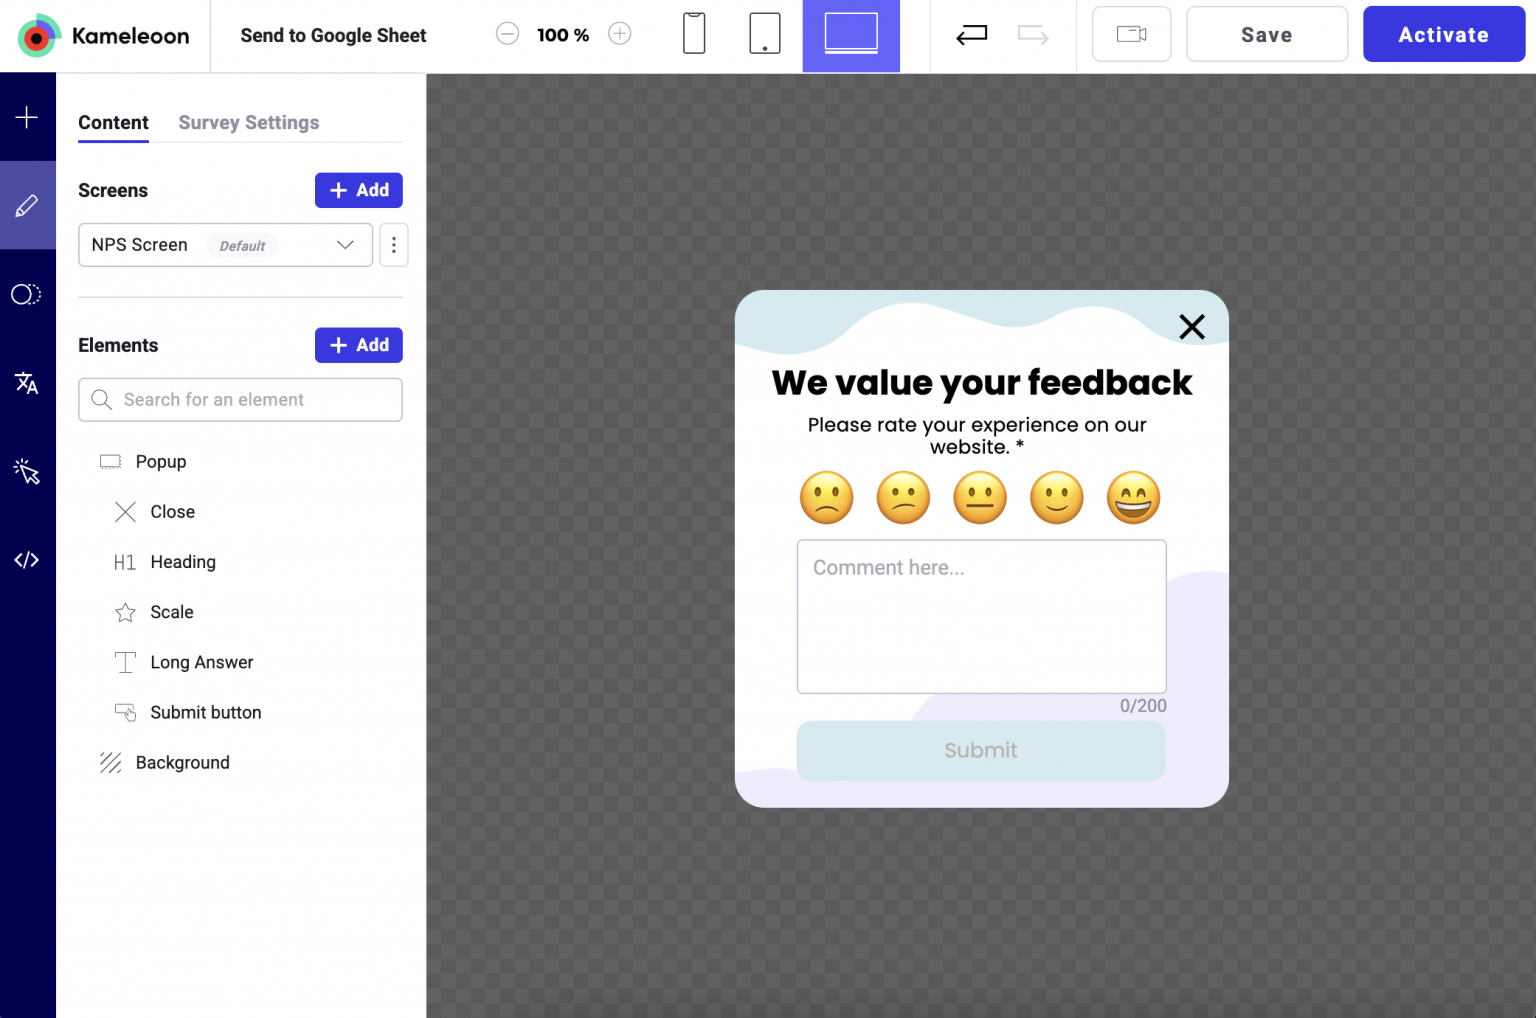
This widget has two survey elements. So, in the first row of the Google Sheet, we should enter:
- Column A: Date
- Column B: Scale
- Column C: Long Answer
- Add a Google App Script
- Click Extensions > App Script. A new Google Script opens. Rename it (for example, My form data).
- Replace all code with the following:
const sheetName = 'Sheet1'
  const scriptProp = PropertiesService.getScriptProperties()
  function initialSetup () {
    const activeSpreadsheet = SpreadsheetApp.getActiveSpreadsheet()
    scriptProp.setProperty('key', activeSpreadsheet.getId())
  }
  function doPost (e) {
    const lock = LockService.getScriptLock()
    lock.tryLock(10000)
  try {
      const doc = SpreadsheetApp.openById(scriptProp.getProperty('key'))
      const sheet = doc.getSheetByName(sheetName)
  const headers = sheet.getRange(1, 1, 1, sheet.getLastColumn()).getValues()[0]
  const nextRow = sheet.getLastRow() + 1
  const newRow = headers.map(function(header) {
  return header === 'Date' ? new Date() : e.parameter[header]})
   sheet.getRange(nextRow, 1, 1, newRow.length).setValues([newRow])
   return ContentService   .createTextOutput(JSON.stringify({ 'result': 'success', 'row': nextRow }))   .setMimeType(ContentService.MimeType.JSON)
  }
  catch (e) {
      return ContentService
        .createTextOutput(JSON.stringify({ 'result': 'error', 'error': e }))
        .setMimeType(ContentService.MimeType.JSON)
    }
  finally {
      lock.releaseLock()
    }
  }
If for any reason you can't name your tab "Sheet 1", change the first line of the script, and replace "Sheet 1" with your tab's actual name.
When you're done, your script should look like this:
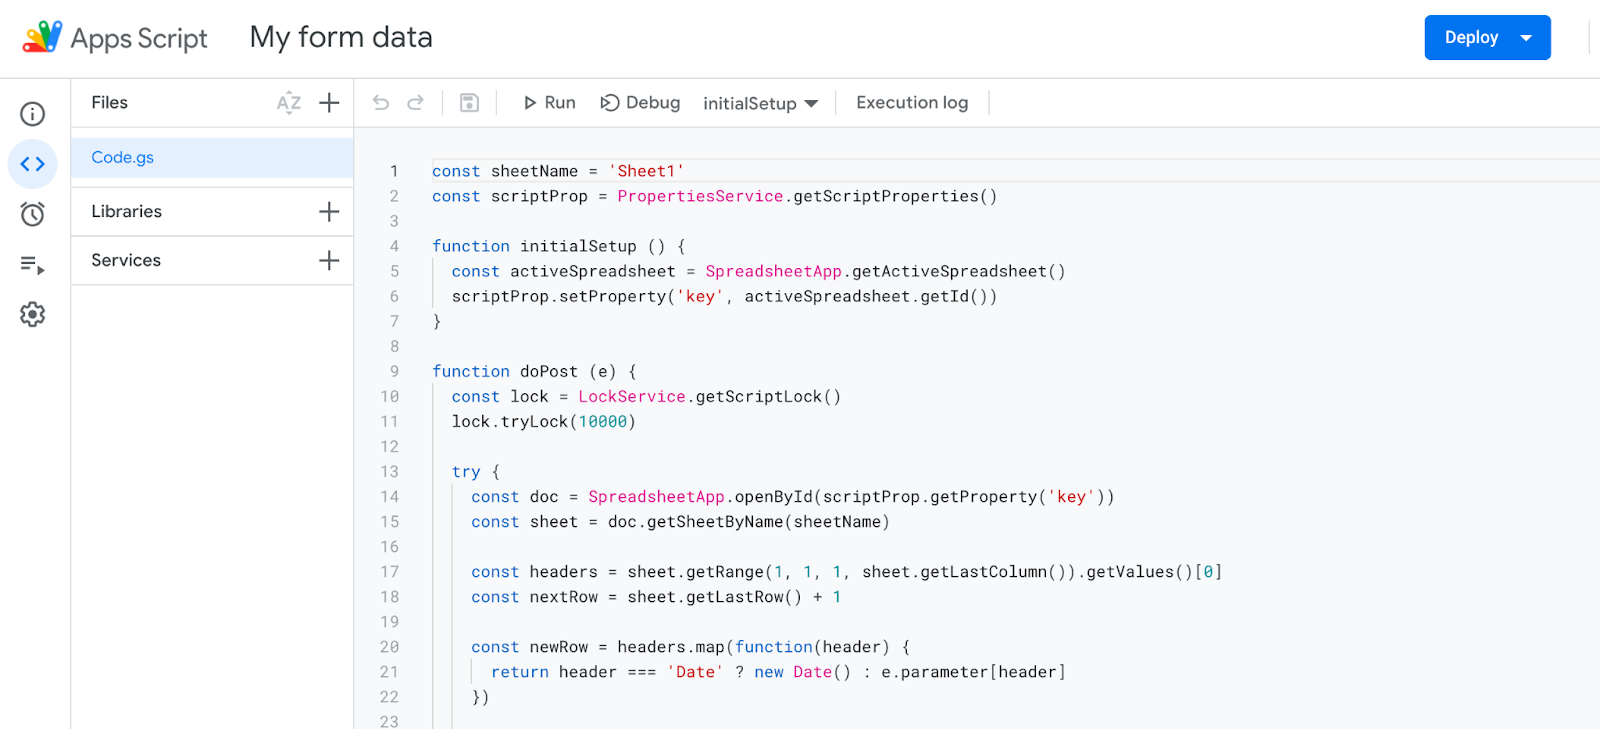
- Click Save project to Drive (to the left of Run).
- In the dropdown to the right of Debug, select
initialSetup(it should be selected by default). - Click Run.
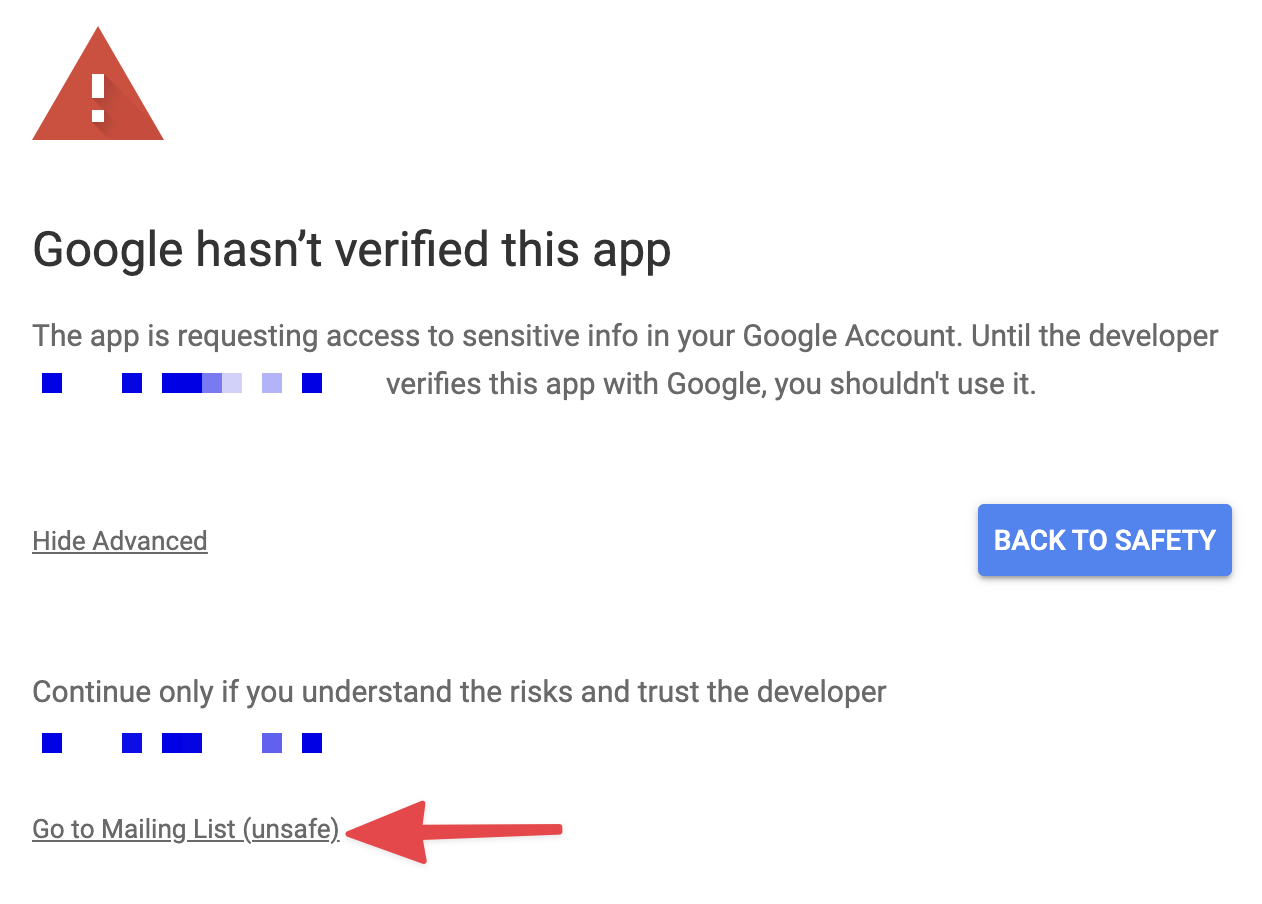
You might see a pop-in asking for permissions. Click Review permission and continue to the next screen.
Because Google has not reviewed the script, a warning message may appear. Click Go to Mailing List (unsafe) to set up the correct permissions to update your form.
Once the correct permissions are given to the script, you should see the following output in the script editor console:

In the left menu, click Triggers to add a trigger for the script/
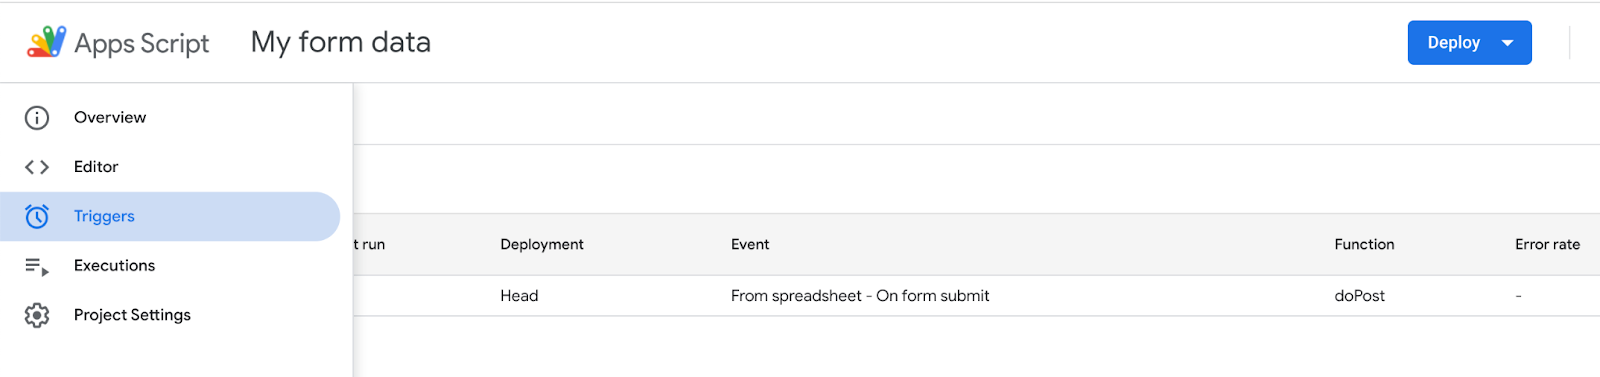
Then, click Add trigger.
In the window that appears, select the following options:
- Choose which function to run:
doPost - Choose which deployment should run:
Head - Select event source:
From spreadsheet - Select event type:
On form submit

Click Save.
Click Deploy > New deployment.

Click the cog icon next to Select type > Web app.
In the form that appears, select the following options:
- Description:
My Form Data(This can be anything you want; just make it descriptive.) - Web app > Execute as:
Me - Web app > Who has access:
Anyone
Click Deploy.
Who has access: Anyone is mandatory for the correct transmission of results.
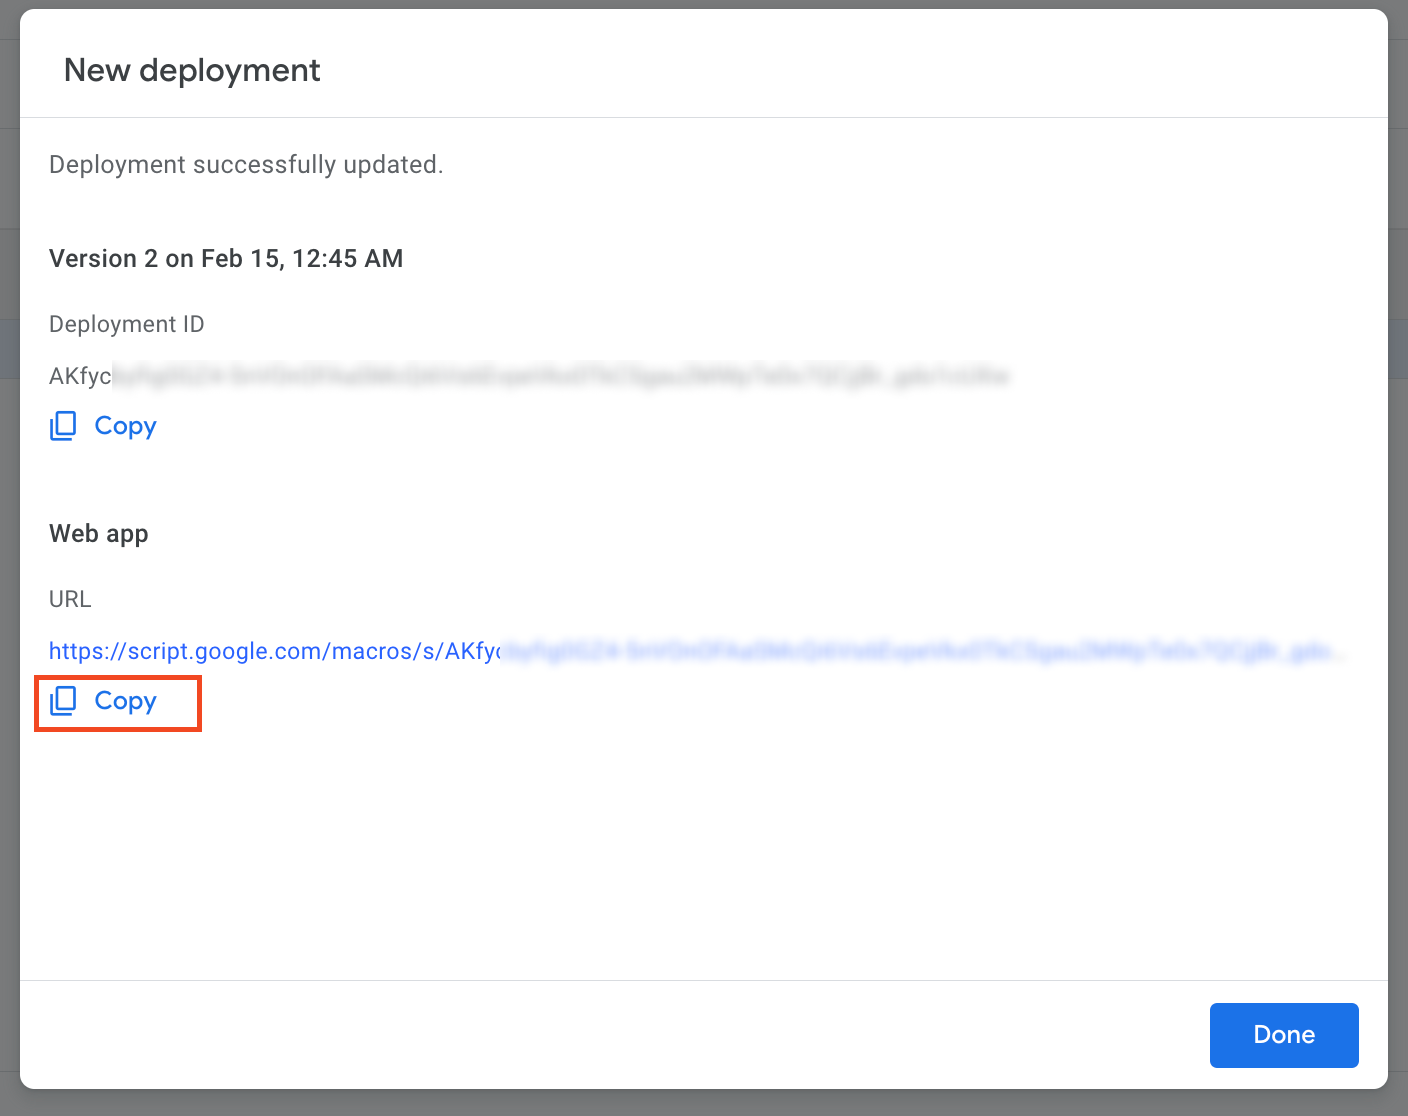
Copy the URL.
Configure Survey Settings in the Widget Studio
- In the Survey Settings tab, select the button that users will click to submit their response.
- Under How are responses collected?, choose HTTP Request (external).
- Request Name: Give your request a name (for example, Send data to my Google Sheet).
- Method: Select
POST. - Action URL: Paste the URL generated by your Google Apps Script.
- Save your configuration.
Test your setup
- Preview your widget.
- Fill out the survey and Submit.
- Go back to your Google Sheet.
You should now see a new row with your response.