Add a wheel of fortune to your widget
Add a wheel of fortune widget to your website to encourage user participation and boost engagement.
Add the wheel of fortune element
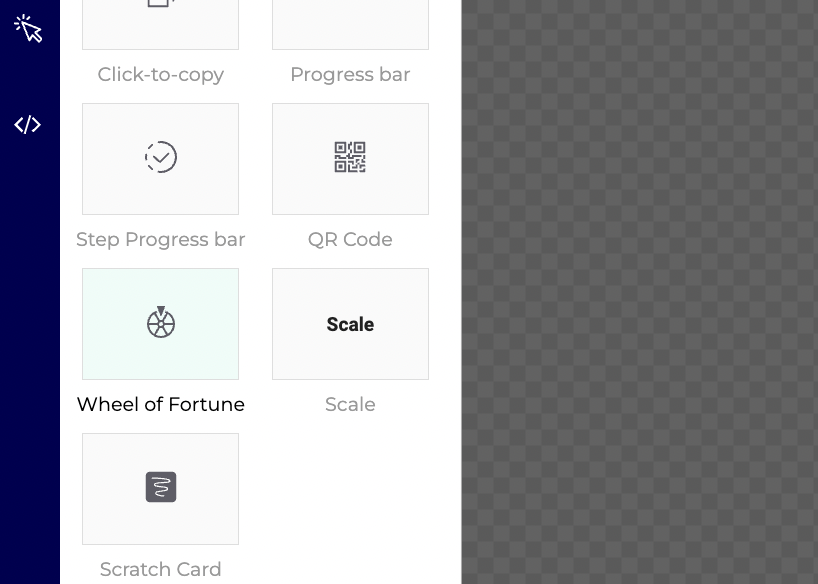
- In the Widget Studio, navigate to the left sidebar.
- Scroll down to the Media section.
- Click Wheel of Fortune to add it to your widget.
Once you add the wheel of fortune, a settings panel will appear on the left.
Adjust the position (x and y coordinates), width (W), and height (H) as needed.
Ensure Devices synchronization
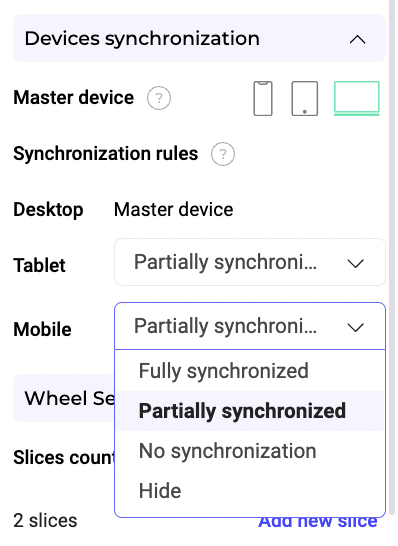
Ensure the Devices synchronization option is set to ensure consistent behavior across different devices.
Customize wheel settings
In Wheel Settings, set the wheel's number of slices.
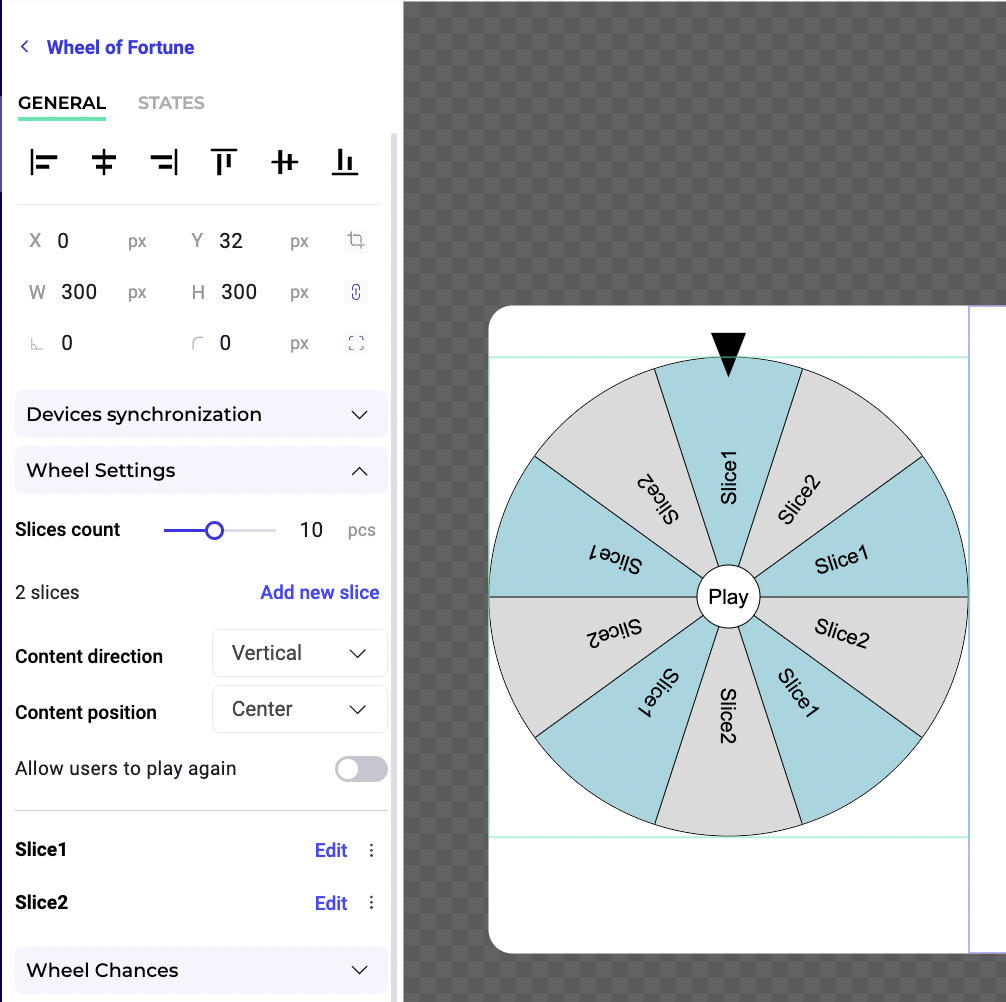
Click Add new slice to add new slices.
You can choose to let users play multiple times.
Customize slices
Click on a slice to edit its content.

Set the content type to Text and enter the desired text for each slice.
Adjust the background color and other style settings as needed.
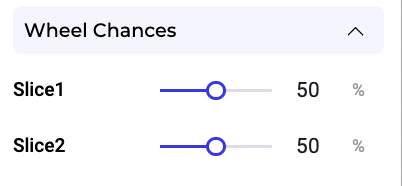
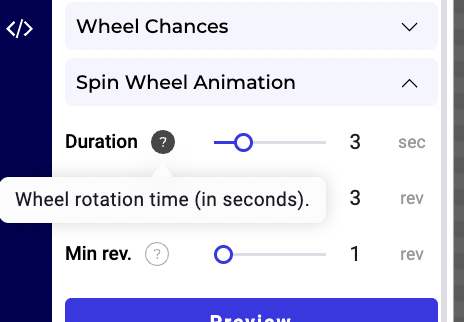
Set wheel chances and animations
Under Wheel Chances, configure the probability for each slice to be selected.
Set the spin animation settings under Spin Wheel Animation to customize how the wheel spins and stops.
Configure the play button and arrow
Click Wheel button to customize the "play" button.
You can enter any text you'd like. You can also edit the background color.
Customize the arrow button by selecting Wheel Arrow from the content list.
Edit the states of the element
Select the States tab to find additional properties that let you edit the style of the wheel's states (Hover, Active, Disabled).
Final adjustments and preview
Review all settings and adjustments.
Preview your widget to ensure your wheel of fortune is functioning as intended.
Save and activate
Click Save to save your widget.
Activate the widget to use the wheel of fortune in your campaigns.