Setting up Snowflake
To configure this integration, you need your snowflake account identifier. You also must create a Snowflake user and an associated role with specific rights in your Snowflake account that Kameleoon will use to interact with your warehouse. This tutorial will walk you through the commands you can execute in a Snowflake worksheet in your Snowflake user interface, and how to provide Kameleoon with the required credentials.
With the Snowflake integration, you can simplify data retrieval for targeted campaigns and personalized user experiences, and store campaign results in your Snowflake database for easy analysis and reporting.
Key benefits:
- Allows precise data collection, enhancing audience targeting for personalized campaigns tailored to specific audience needs and preferences.
- Set up Data Ingestion Tasks and extract data from Snowflake.
- Store campaign results with ease for centralized analysis.
- Benefit from secure storage and streamline data transfer, getting data you need for decision-making with just your project ID.
Kameleoon UI
To create a connection with your Snowflake warehouse, you must first fill in the following fields:
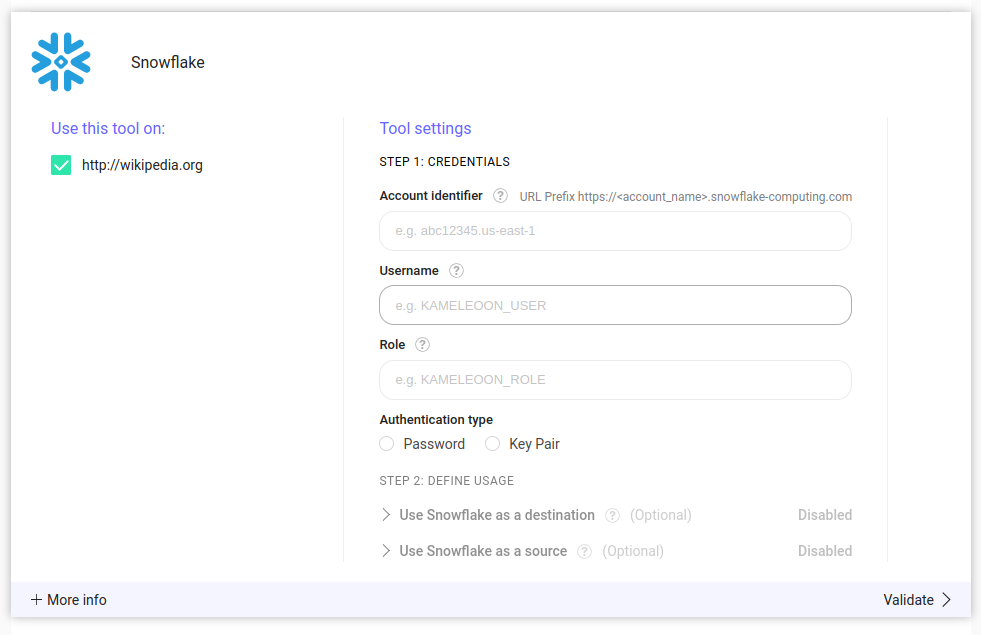
The following sections will explain each field and show you how to configure them in your Snowflake account.
Snowflake identifier
The Snowflake identifier is the string identifier described in the Snowflake documentation. In our back-end, this string will be inserted into the full URL to access your account : https://account_identifier.snowflake-computing.com
Only enter the substring account_identifier, not the full URL.
Creating a Snowflake user
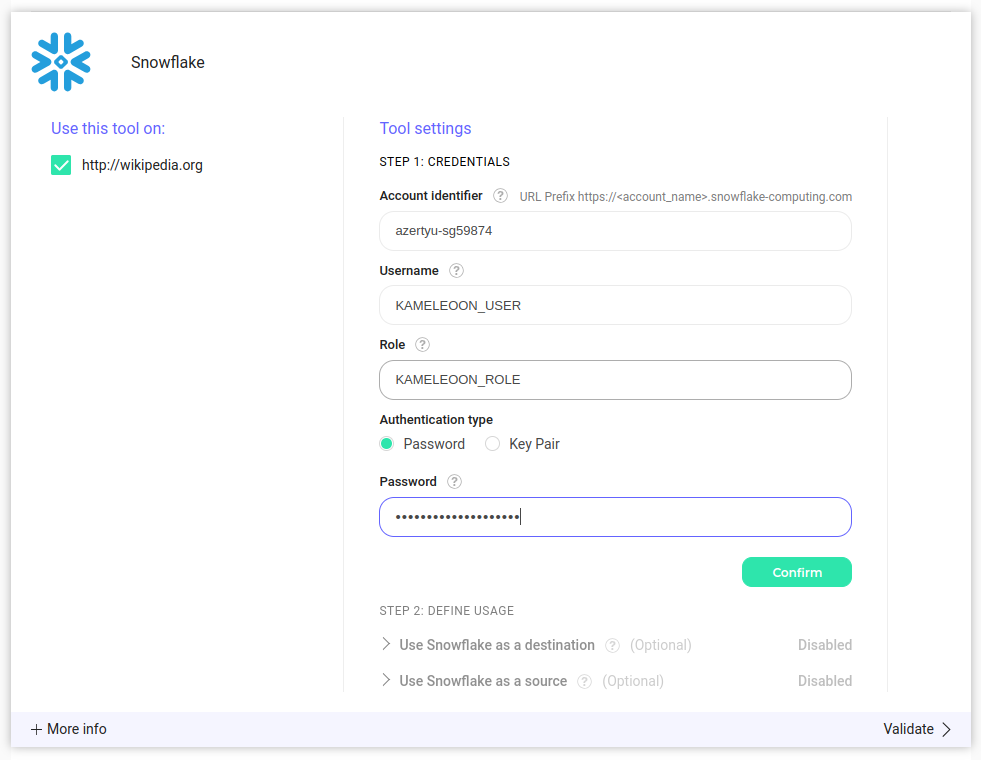
Password authentication
The Snowflake integration supports two authentication methods. The first is password authentication. For password authentication, use the following commands in your Snowflake UI to create a Snowflake user (called KAMELEOON_USER in this example) with a highly secure password:
CREATE USER KAMELEOON_USER PASSWORD='MySecurePassword';
You can then provide this password when setting up the integration.
If you wish to use Snowflake as a destination, you cannot choose this authentication method. Only the key-pair method described in the next section will work.
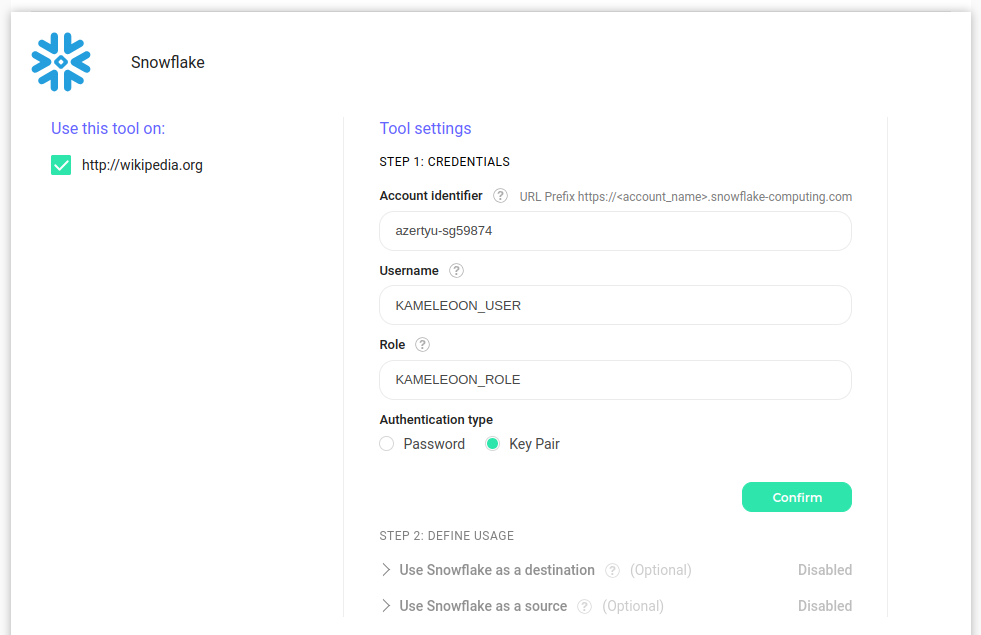
Key-Pair authentication
The second authentication method is via RSA key-pair, which consists of an RSA private key and an RSA public key. Kameleoon will generate this key pair in our back-end and provide you with the public key (the private key is stored on our servers to be used by our application when querying your warehouse).
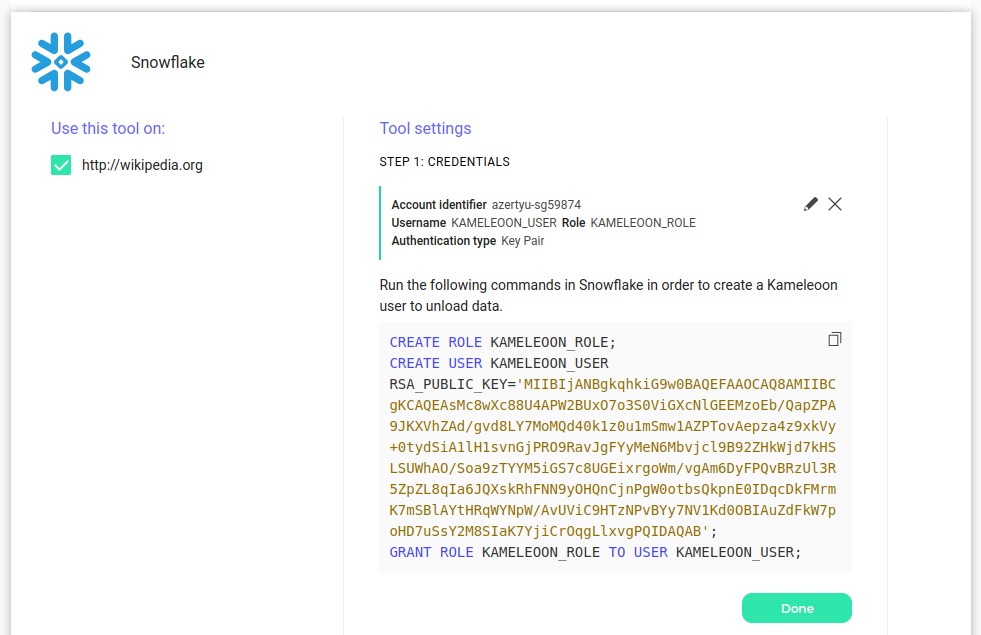
When you click Confirm, the public key is displayed in the Kameleoon UI with the command you can use to assign this public key to the user you create. Be sure to copy this public key, as it will not be displayed again. If you lose the public key, you can erase the connection and configure it again, thus generating a new key pair.
If you want to use Snowflake as a destination you must choose this authentication method and not password.
Snowflake role
Creation
Here are the commands to create a Snowflake role (called KAMELEOON_ROLE in this example, but again, you can use your internal naming practices) and assign it to our user KAMELEOON_USER:
CREATE ROLE KAMELEOON_ROLE;
GRANT ROLE KAMELEOON_ROLE TO USER KAMELEOON_USER;
Granting permissions
You have to first grant access to your warehouse (here, called MY_WAREHOUSE):
GRANT USAGE ON WAREHOUSE MY_WAREHOUSE TO ROLE KAMELEOON_ROLE;
Kameleoon will need a specific database called KAMELEOON (please use this name) with read and write access permissions to this database.
CREATE DATABASE KAMELEOON;
GRANT USAGE ON DATABASE KAMELEOON TO ROLE KAMELEOON_ROLE;
GRANT USAGE ON ALL SCHEMAS IN DATABASE KAMELEOON TO ROLE KAMELEOON_ROLE;
GRANT CREATE TABLE ON ALL SCHEMAS IN DATABASE KAMELEOON TO ROLE KAMELEOON_ROLE;
If you plan on using Snowflake as a source
If you plan on using Snowflake as a source, you must create a schema called KAMELEOON_CONFIGURATION (please use this name) and grant rights to this schema:
CREATE SCHEMA KAMELEOON.KAMELEOON_CONFIGURATION;
Now, you just need to give read access to your data to the Kameleoon user. For example, if you have a schema called MY_AUDIENCES containing tables you wish to poll audiences from that is contained in a database called MY_DATA, you can configure read access to the Kameleoon user with these commands:
GRANT USAGE ON DATABASE MY_DATA TO ROLE KAMELEOON_ROLE;
GRANT USAGE ON SCHEMA MY_DATA.MY_AUDIENCES TO ROLE KAMELEOON_ROLE;
GRANT SELECT ON ALL TABLES IN SCHEMA MY_DATA.MY_AUDIENCES TO ROLE KAMELEOON_ROLE;
If you plan on using Snowflake as a destination
If you plan on using Snowflake as a destination you must create a schema called **KAMELEOON_EVENTS** (please use this name) to store the Kameleoon exposure events table:
CREATE SCHEMA KAMELEOON.KAMELEOON_EVENTS;
The setup is now complete. You can now activate Snowflake as a source and/or as a destination.