Create a feature flag
This guide will help you create a new feature flag.
Access the Feature flag creation page
- Click Features > Flags & Experiments > New feature flag.
- Name your feature flag and choose the project on which you want to activate the flag.
- Associate a tag and a description (optional)
- Click Validate.
A feature key is automatically generated based on your feature flag's name; however, you can edit the feature key.
note
The feature key is the unique ID that identifies the feature flag in your source code. Be sure to update the feature key in Kameleoon before editing it in your source code.
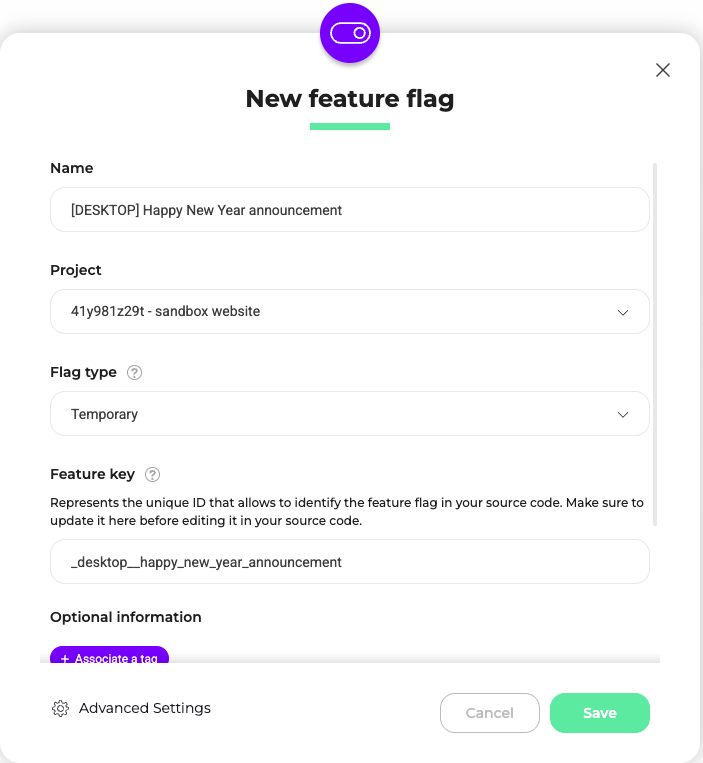
By default, your flag is OFF. You can activate it once it's configured.
Structure of the Rollout Planner
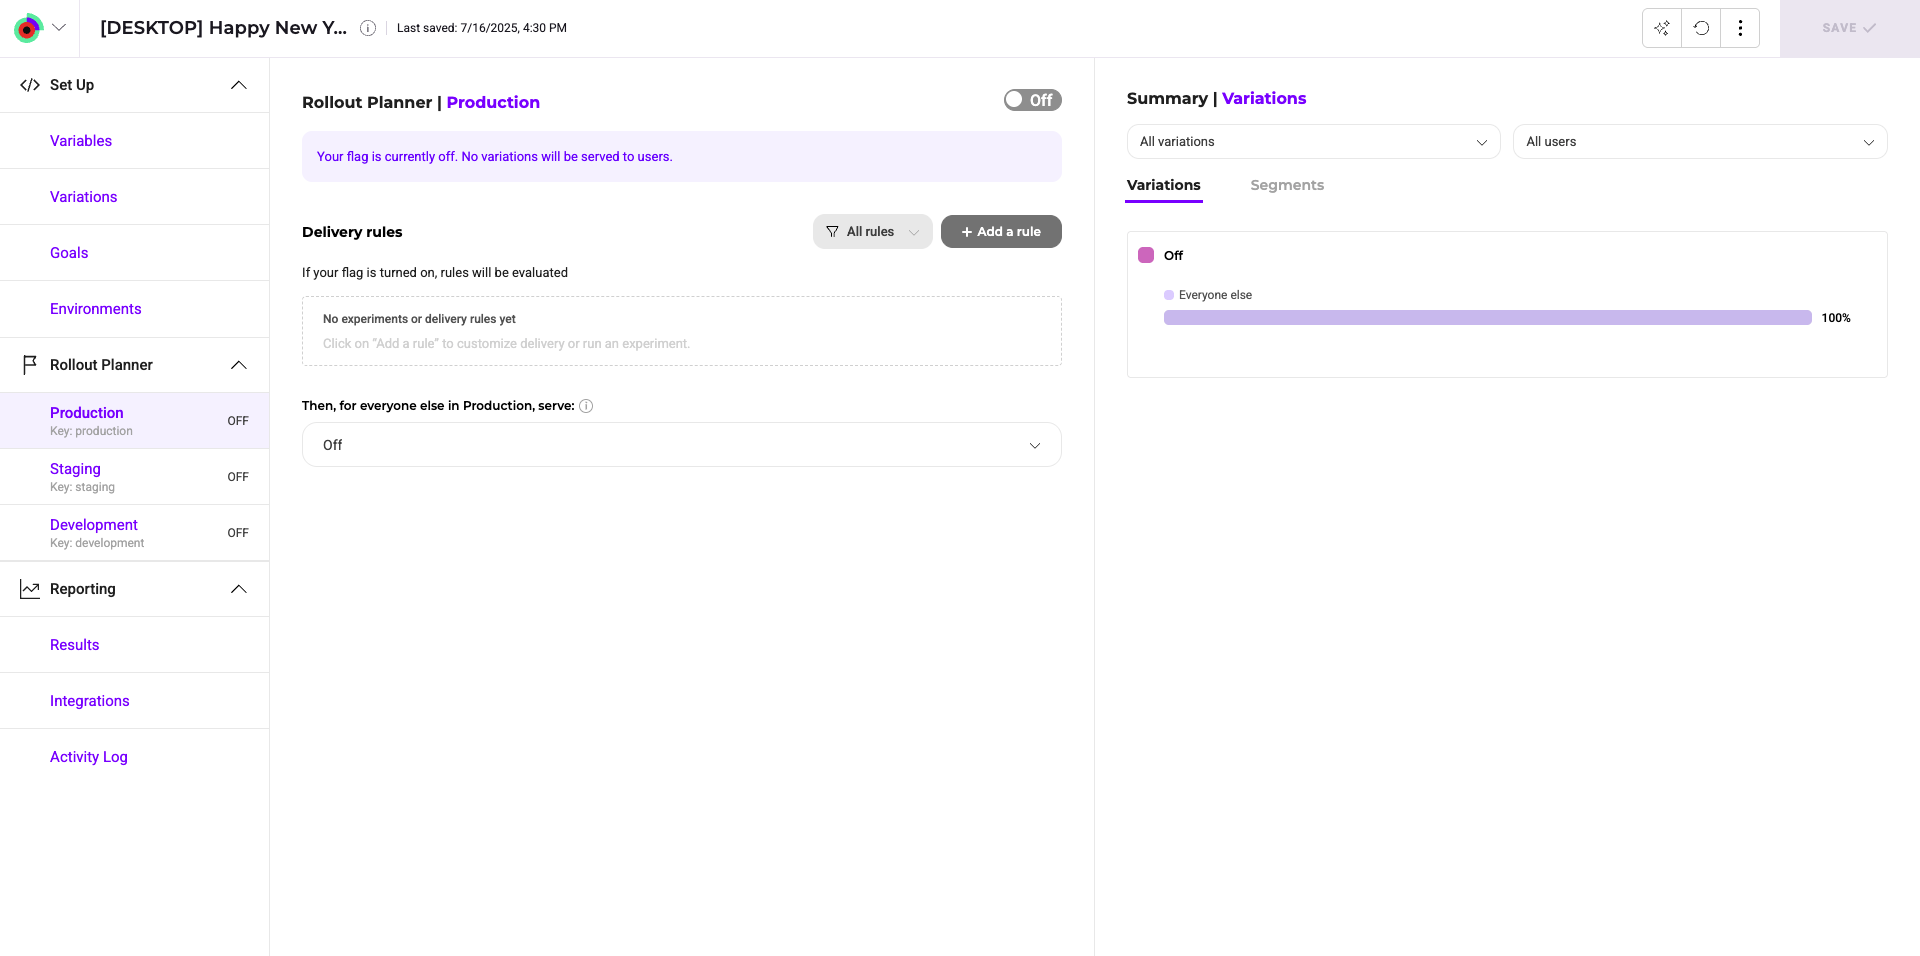
The Rollout planner consists of several blocks.
- A header indicating the flag's name, the associated sitecode (you can copy and paste it directly from here), and the feature key. Click the flag's name to edit its details.
- A Setup menu, to create and manage your feature variables and feature variations URL.
- A Rollout Planner specific to each environment. Changes made to a feature flag are specific to the environment you have selected in this section. Kameleoon lets you link your production and staging/QA environments to the app.
- A toggle that turns your feature flag On or Off.
- An area for you to add rollout rules.
- A toolbar that allows you to access the AI assistant, revert your changes, and access secondary actions (Simulate and Calculate duration).
- A Save button.
note
Check that the flag has been created and that you can retrieve it from your source code by using our SDK (by calling the isFeatureActive() or getVariation() method). Then, navigate to your feature flag in Kameleoon and continue configuration.