Widget Studio custom code editor
You can create custom CSS or JS code in the Widget Studio and apply your custom styles to any widget element or run your scripts on command.
In this article, you will learn how to:
- Add custom CSS
- Apply your CSS code to widget elements
- Add JS code
- Change code view
Example use case
A common use case of custom code is applying the same style to widget elements multiple times, rather than manually setting up style properties on each element. If you're a non-technical user, ask one of your developers to create predefined CSS classes for you.
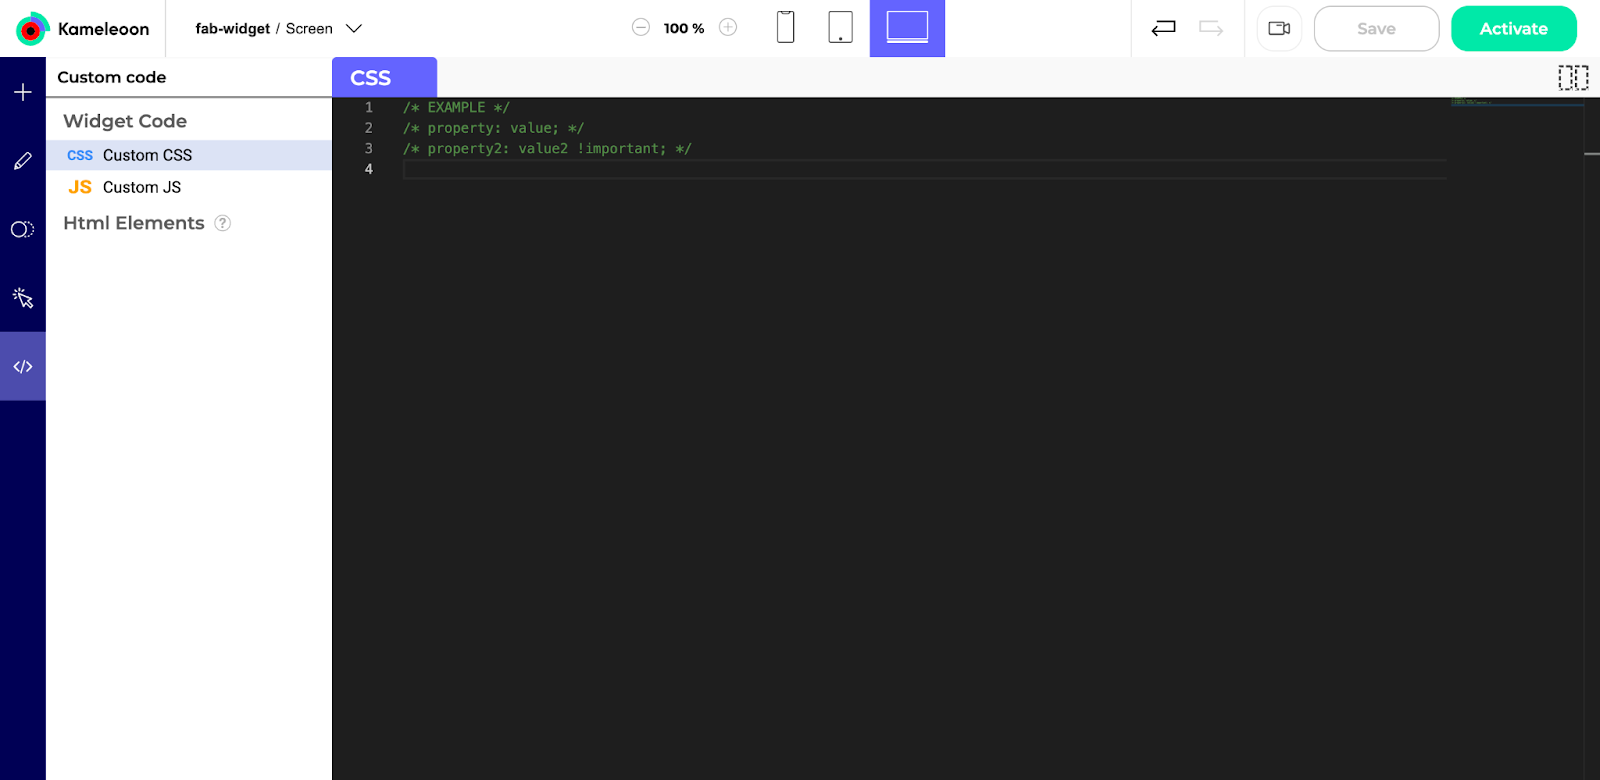
Add custom CSS code
- Click Custom code in the left menu. The page opens with the Custom CSS option selected.
- Add your CSS code in the code editor.
Apply CSS code to widget elements
- Open the Design section.
- Select an element. This element will be styled according to one of the classes you created in the code editor.
- Scroll down and unfold the Css and classes section.
- Add your class's name in the Element ClassName field, or in Container ClassName if you want to apply this class to the parent element.
Your selected element styled according to your custom code will not appear in the right preview area. You must click the camera icon to see your changes.
Add JS code
Adding JS code lets you run custom script on demand in your widget.
- Click Custom code in the left sidebar.
- Click Custom JS.
- Add your JS code in the code editor.
To check your script's execution, click the camera icon.
Change code view
If you're working with both CSS and JS code, you may want to read both codes at the same time. To add multiple code editors:
- Click the Add Panel icon in the upper right corner above the code editor.
- Manually resize each panel to suit your needs.
To close a panel, click the X to the right of the code bookmark (JS or CSS).