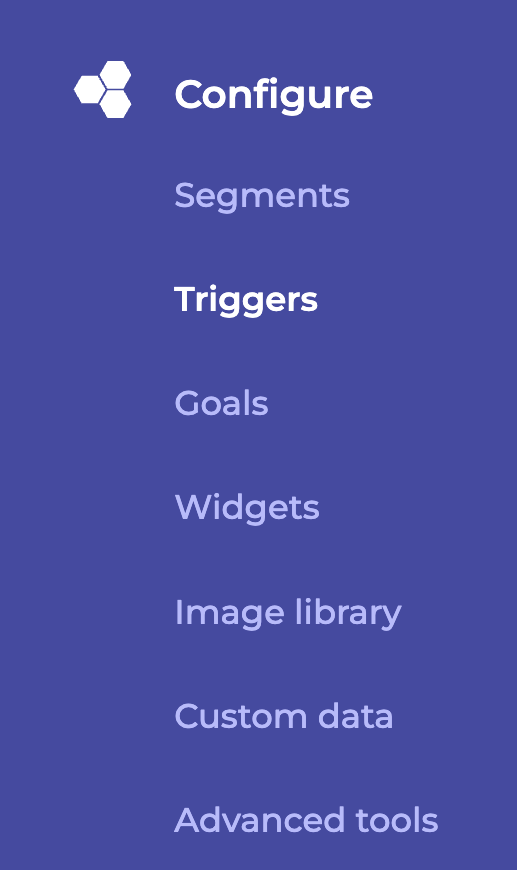
Access the Triggers page
To access the Segments page from the App, use the left side menu > Configure > Triggers.
Manage your triggers
Each trigger is represented by a card that indicates the main information.

Find a trigger
When you have created a large number of triggers, a search bar, a filter tool, and a sorting tool make it easy for you to find a particular trigger.
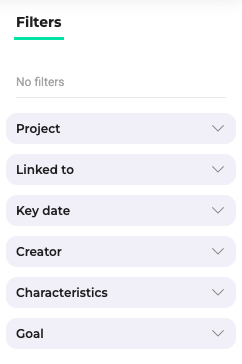
Filter triggers
You can filter the displayed triggers according to several criteria:
- Project
- Linked to
- Tag
- Key date
- Creator
- Characteristics
- Goal
- Project
You can filter the displayed triggers according to the project(s) they are associated with.
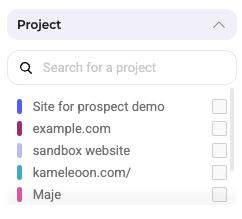
Check the project(s) and click on Apply.
- Campaign type
This filter is only available for Web experimentation + Feature experimentation customers.
You can filter the displayed triggers according to the type of campaign they are associated with.
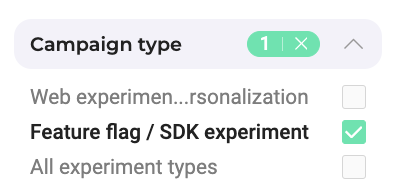
Here are the conditions for these filter criteria.
Feature flag / SDK experiment: Triggers containing the “Visitor code” condition or the Feature experimentation conditions and are not used in any experiment or personalization.
All experiment type: Triggers that are used in a Feature experiment and containing conditions common to both Feature experimentation and Web experimentation.
Web experiment / Personalization: All other segments.
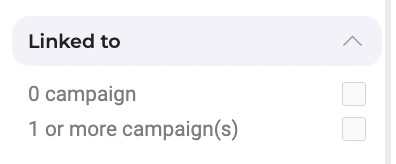
- Linked to
You can filter the displayed triggers according to whether or not they are associated with a campaign.
- Tag
You can filter the displayed triggers according to the tags they are associated with.
Select or search for a tag from all the ones you have already used. The triggers to which these tags are associated will be displayed on the page. You can also check or uncheck all tags.

Then click on Apply.
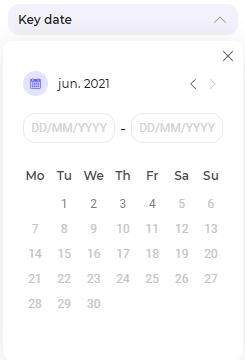
- Key date
You can filter the displayed triggers according to the key date they are associated with: last modification or creation date.
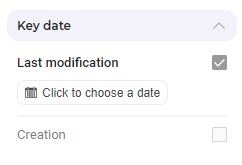
Select a date and click on Apply.
- Creator
You can filter the displayed triggers according to their creator.

Check the creator(s) and click on Apply.
- Characteristics
You can display triggers used in Audiences nor with AI Predictive Targeting

Check the filter and click on Apply.
Sort triggers
The sorting option allows you to sort your triggers according to several criteria:
- Name
- Linked to (Campaign)
- Edition date
- Segment ID
- Creation date
- Project

- Name
Hover over Name and then click on the chevron to sort triggers in alphabetical (or reverse alphabetical) order.
- Linked to
Hover over linked to and then click on the chevron to rank the triggers based on the campaign type.
- Edition date
Hover over Edited and then click on the chevron to sort triggers from newest edition to oldest or vice versa.
- Segment ID
Hover over ID and then click on the chevron to sort the triggers IDs in ascending or descending order
- Creation date
Hover over Created and then click on the chevron to sort triggers from newest creation to oldest or vice versa.
- Project
Hover over Project and then click on the chevron to organize the website on which they are set in alphabetical (or reverse alphabetical) order.
Edit a trigger
To edit an already existing trigger, find the card of the trigger you want to edit.

On the trigger card, click on the Edit button. A pop-in opens: the Trigger Builder enables you to make the changes of your choice.
When your changes are complete, click on Edit to save them.
Duplicate a trigger
With Kameleoon you can duplicate an existing trigger. This saves you time if you want to create several similar triggers.
Select the trigger of your choice, then click on the 3 dots menu on the very right side of the card and click on Duplicate.
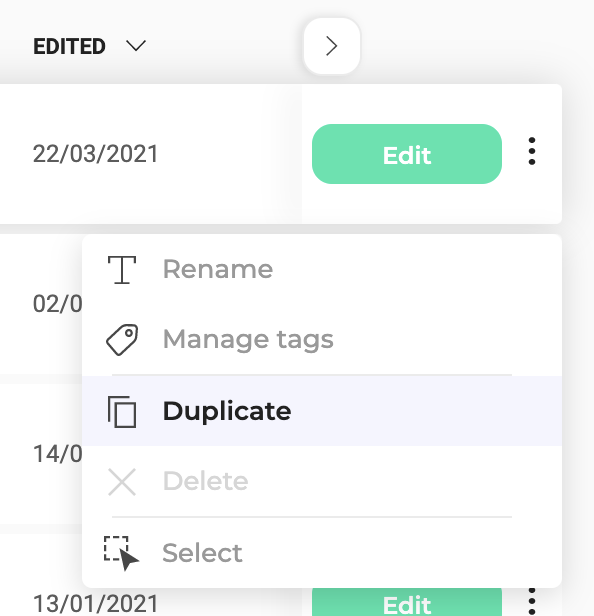
The Duplicate sidebar opens, with all the parameters of the trigger that you have duplicated. To validate the creation of the new trigger, click on the Continue button at the bottom of the pop-in.

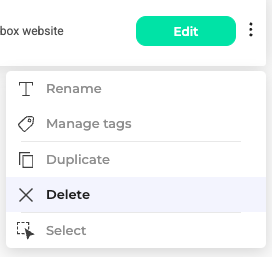
Delete a trigger
Select the trigger of your choice, then click on the 3 dots menu on the very right side of the card and click on Delete.
Multiple selection
You can select multiple triggers at the same time and apply a common action to them. For example, it is possible to delete several triggers or to disable all.
Select the trigger of your choice, then click on the 3 dots menu on the very right side of the card and click on Select.
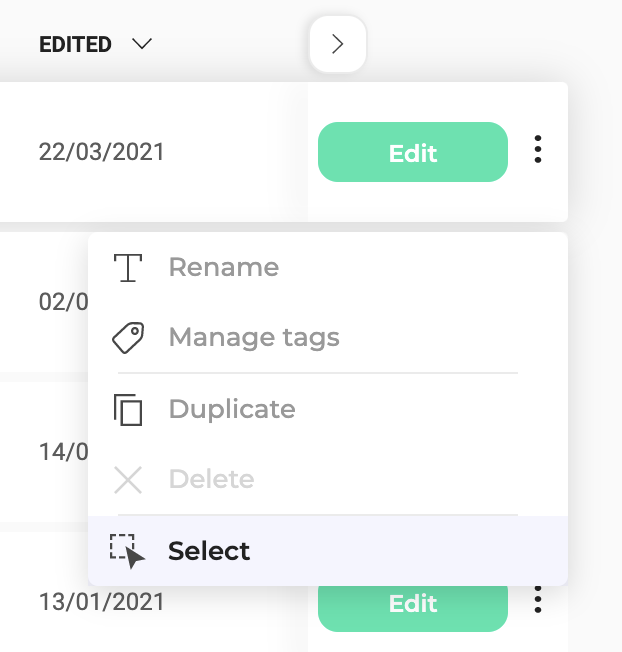
The triggers become selectable and the Grouped actions sidebar opens.
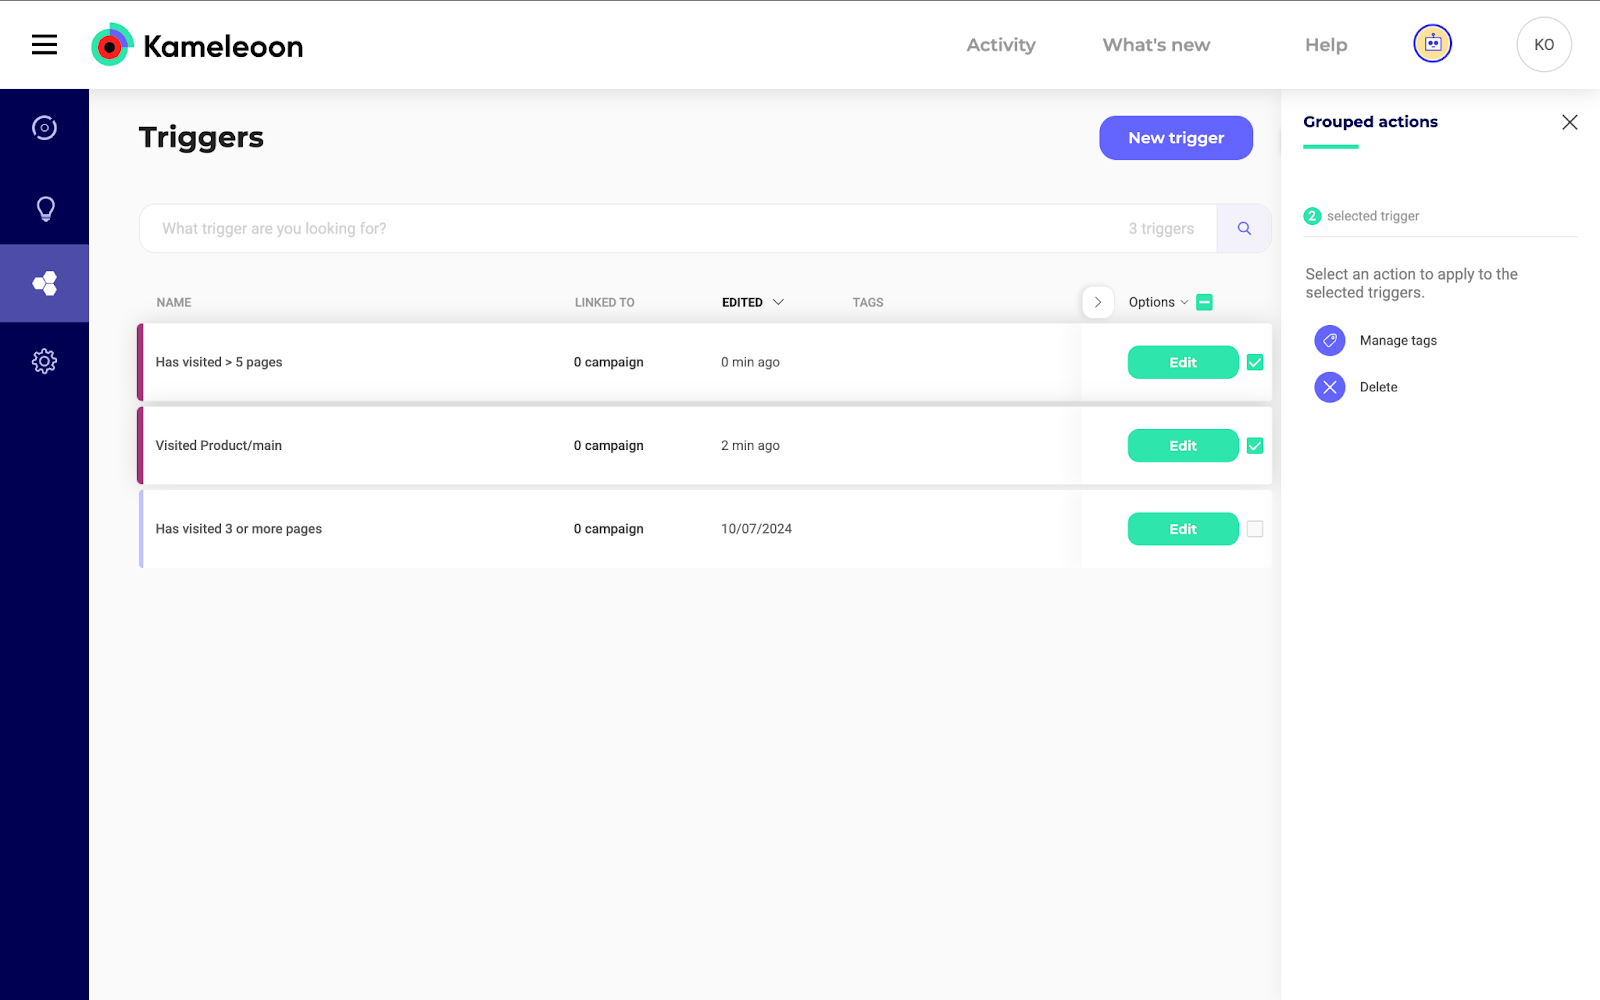
Several actions are possible:
- Select all / deselect all
When at least one trigger is selected on the page, but not all are, the icon looks like this:

To unselect all triggers of the page, click on Options > Unselect all.
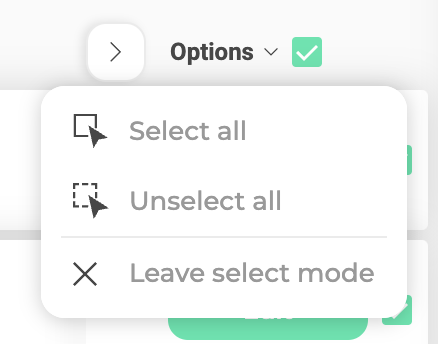
The actions you will perform later via the menu bar will be applied to all selected triggers. This feature saves time!
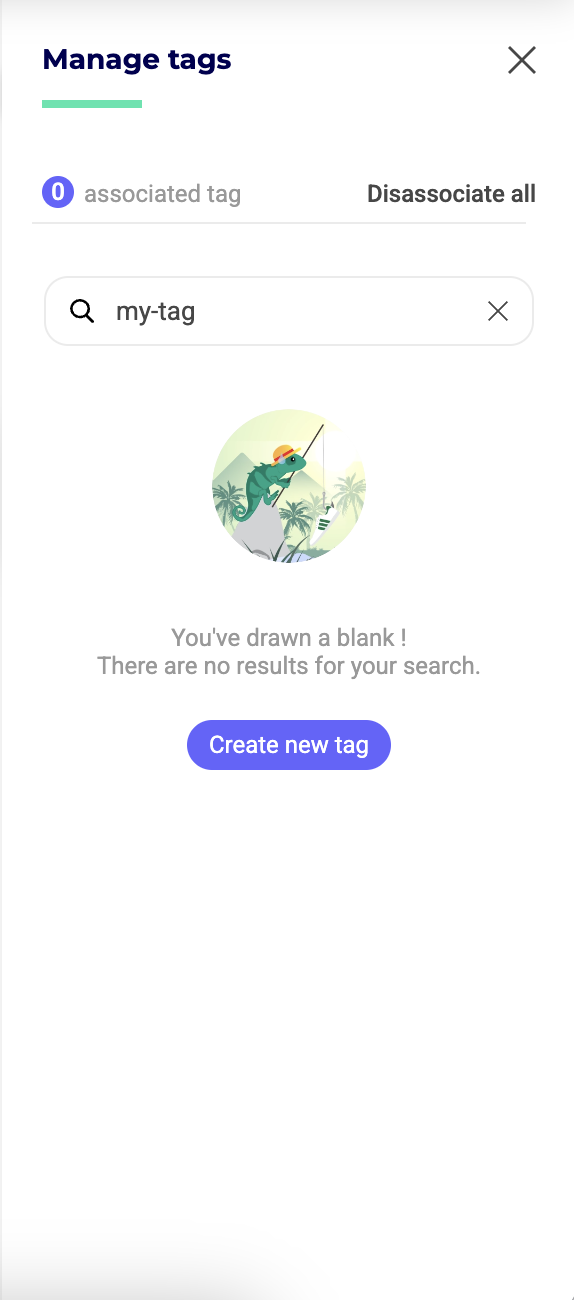
- Manage tags
In the Grouped actions sidebar, click on Manage tags.