
Advanced tools improve your visitor segmentation by adding conditions to new segments.
Use criteria such as acquisition channel and key pages to fine-tune your visitor segmentation.
Note: Advanced tools are available with a Premium account only. If you want to adapt your package to your personalization needs, please contact us!
Access advanced tools
To access advanced tools, open the Configure tab in the sidebar menu, then click on Advanced tools.

You can create 2 types of advanced tool: acquisition channel and key page.
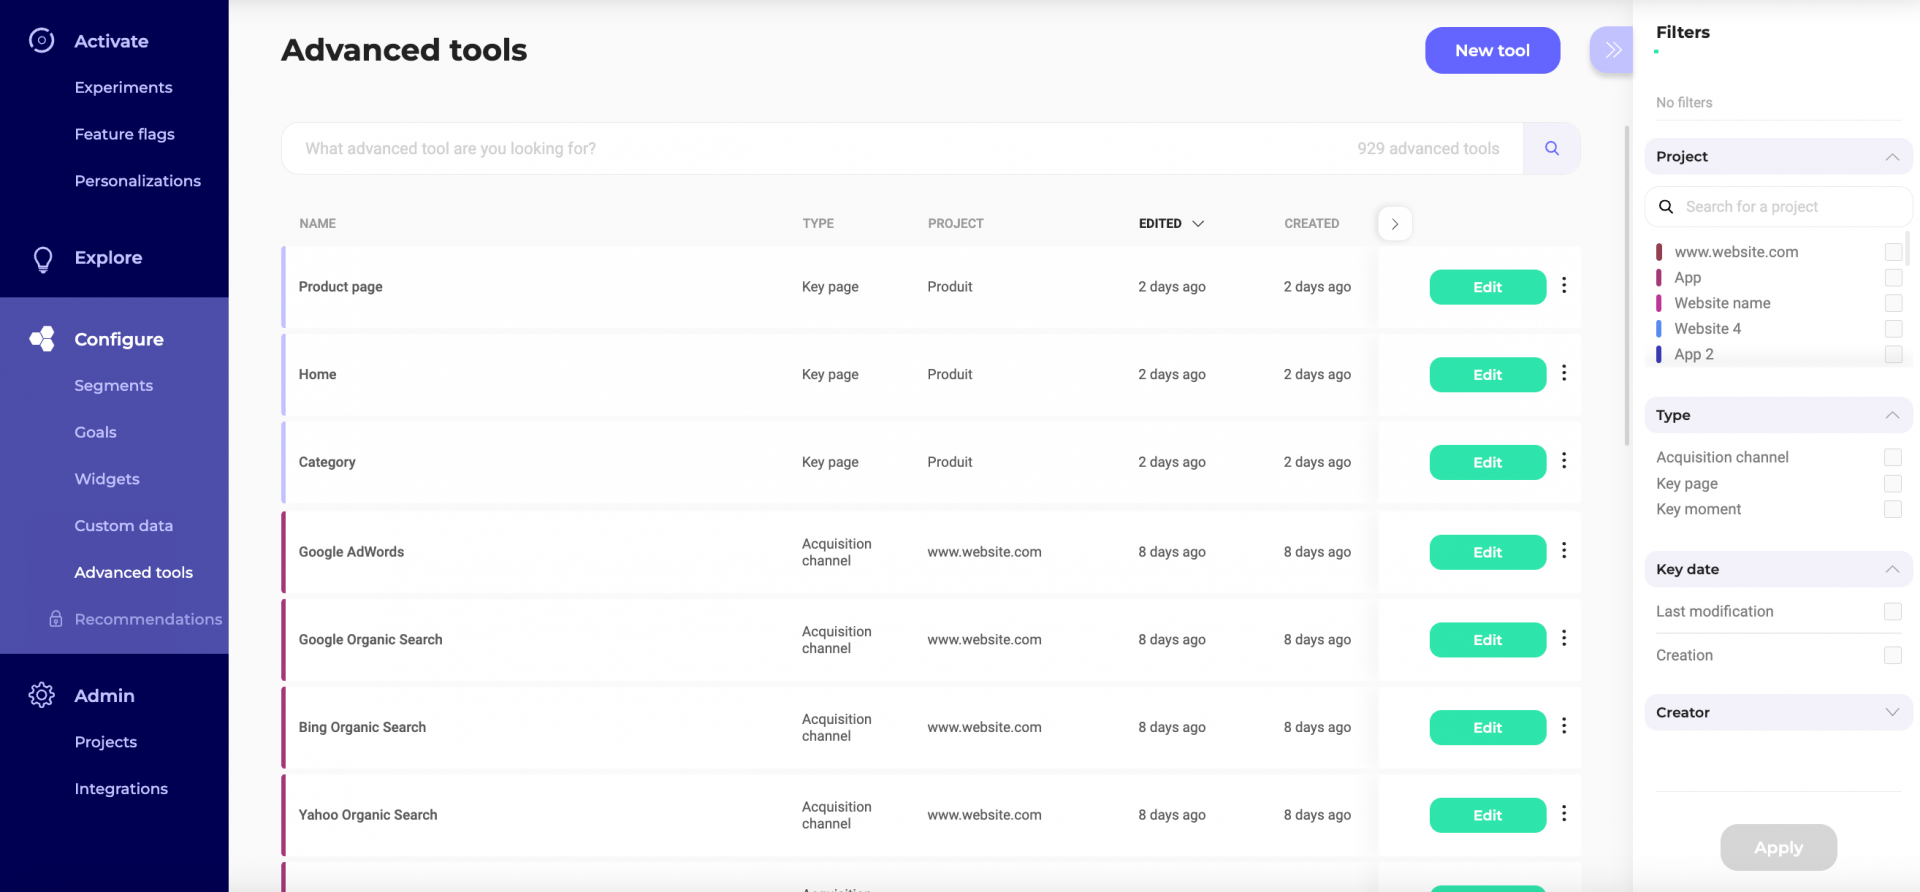
You can find existing elements by typing their name in the search bar.
Filter them by project, type, creation date, edition date, creator or the project on which they have been set up.
Create a new advanced tool
To create a new advanced element, click on the New tool button in the upper right-hand corner of the page.

A pop-in will appear. Choose the kind of advanced tool you want to create.

The pop-in now shows your tool’s specific setup options.
Edit an advanced tool
In the Advanced tools dashboard, click on the Edit button at the end of a tool’s line.

With a click on the 3-dot menu at the end of a line, you can edit the tool’s parameters, or duplicate the element, or delete it. A click enables you to select several elements. Select one element to display checkboxes for all other elements.
If an element is used in a live experiment, it cannot be deleted. In that case, an icon will appear in the bottom left-hand corner of the confirmation pop-in indicating which elements are being used in which experiment(s).
