Shopify Plus
The Kameleoon x Shopify Plus integration allows Kameleoon users to connect their A/B testing and personalization tools with their Shopify Plus stores. This powerful combination enhances data-driven decision-making and optimizes customer experiences.
Key benefits:
- Automatically feed data from your store on Shopify Plus to Kameleoon.
- Easily use customer data (for example, visits, conversions, shopping behavior) from Shopify to quickly create A/B tests and personalizations in Kameleoon.
- Track e-commerce events in real-time. Get notified about important transactional activity, such as cart abandonment by loyal customers with large AOVs.
- Serve specific customers personalized product recommendations and content. Reduce shopping cart abandonment with exit-intent popups, price drop emails, and more.
In this article, we provide step-by-step instructions on how to integrate Kameleoon with your Shopify Plus store.
These guidelines apply exclusively to users with both a Shopify Plus and Kameleoon account.
Use case examples
- Prevent cart abandonment: With event tracking, find out when a customer with a large AOV abandons a cart, and take action with pop-ins, automatic discounts, and other personalizations. Help your customers follow through with their purchases.
- Maximize checkout: Kameleoon AI automatically measures the purchase intention of each shopper in real-time. Trigger the right actions to convert visitors into buyers with Kameleoon Conversion Score (KCS). You need the Contextual Bandit and AI Targeting add-on to activate KCS.
- Personalize customer journeys: Serve relevant products, messages, and content in real time, to every customer, across all your channels, from arrival to checkout to keep them engaged and loyal to your brand.
Prerequisites
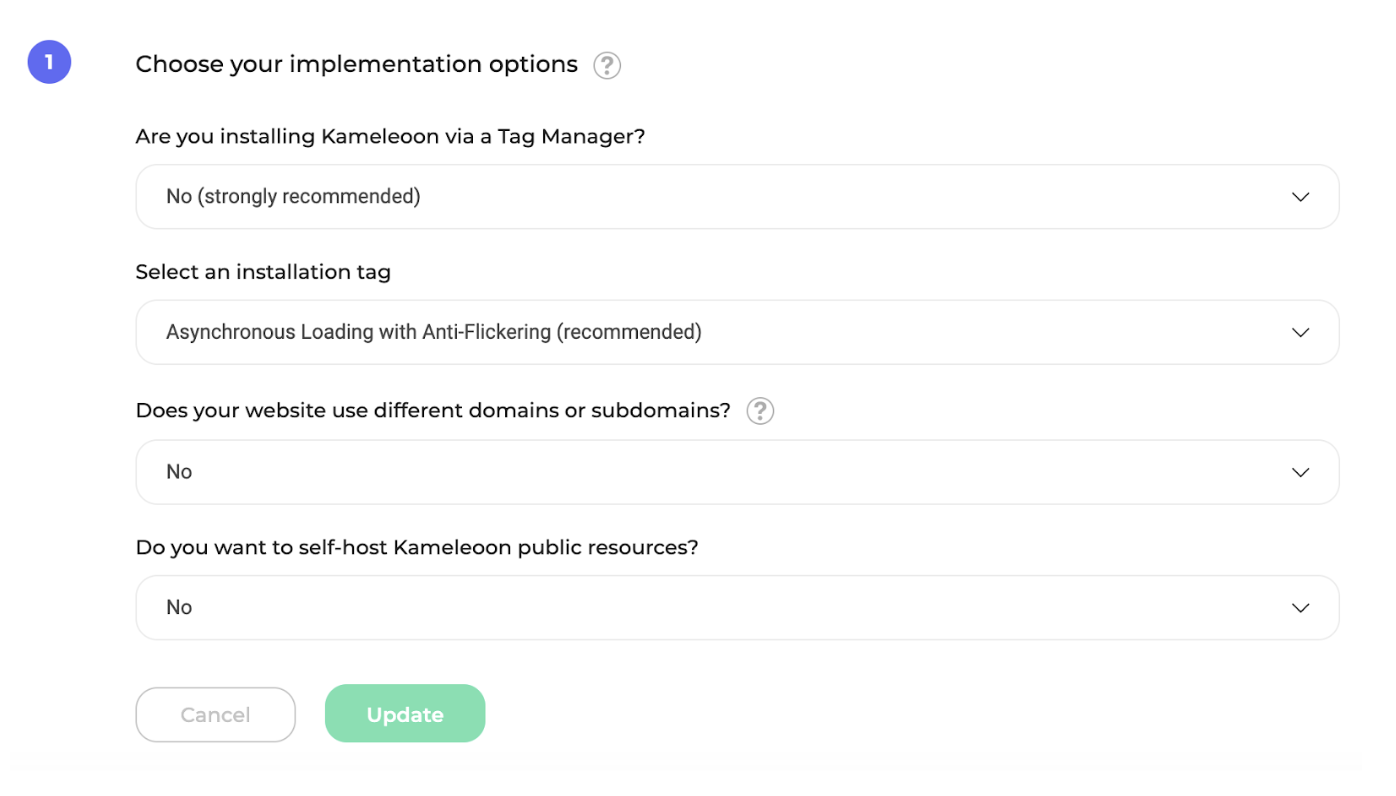
First, you must have a project in your Kameleoon account dedicated to your Shopify store. If you don't have a project, you can create one by following the guidelines provided in this article. We recommend you implement Kameleoon's asynchronous snippet with anti-flicker. The setup should look like the image below.
Installation via the Shopify app
- Install the Kameleoon app (available in the Shopify App Store).
- Click Install.
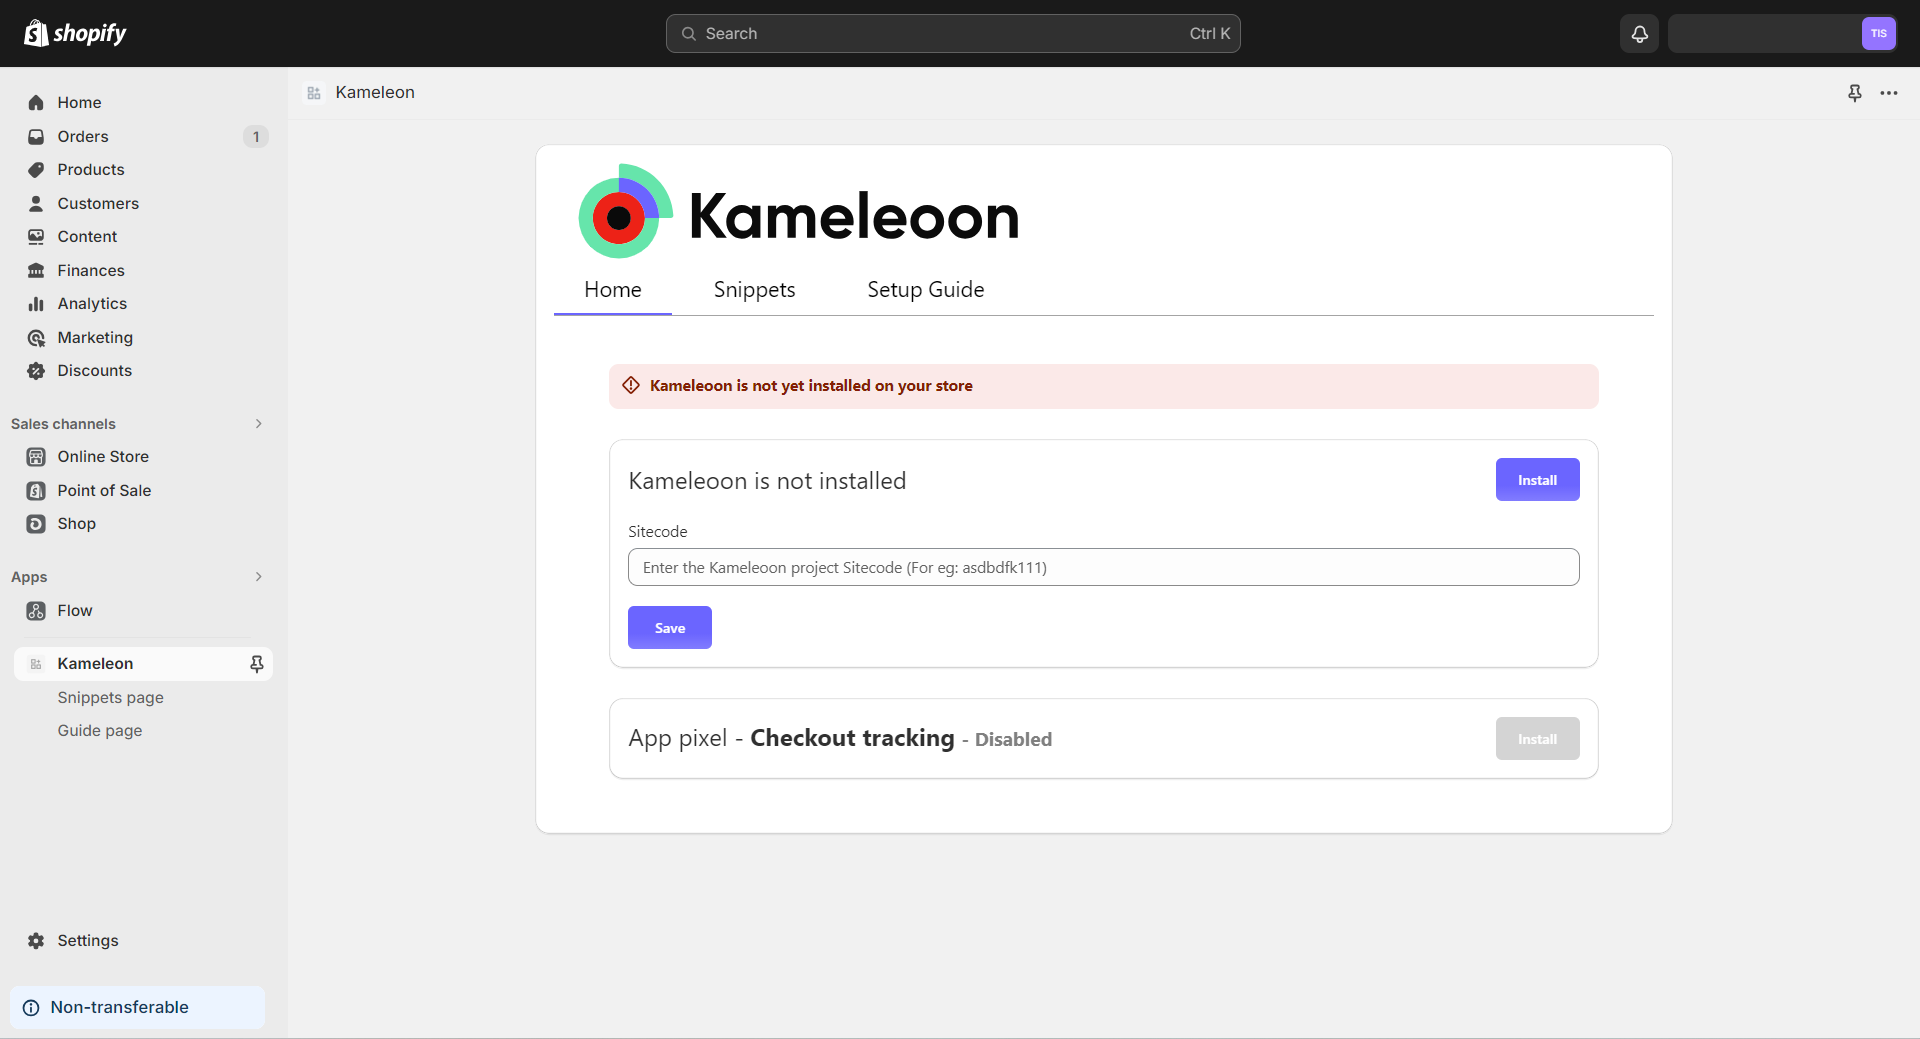
- Enter your Sitecode and click Save.
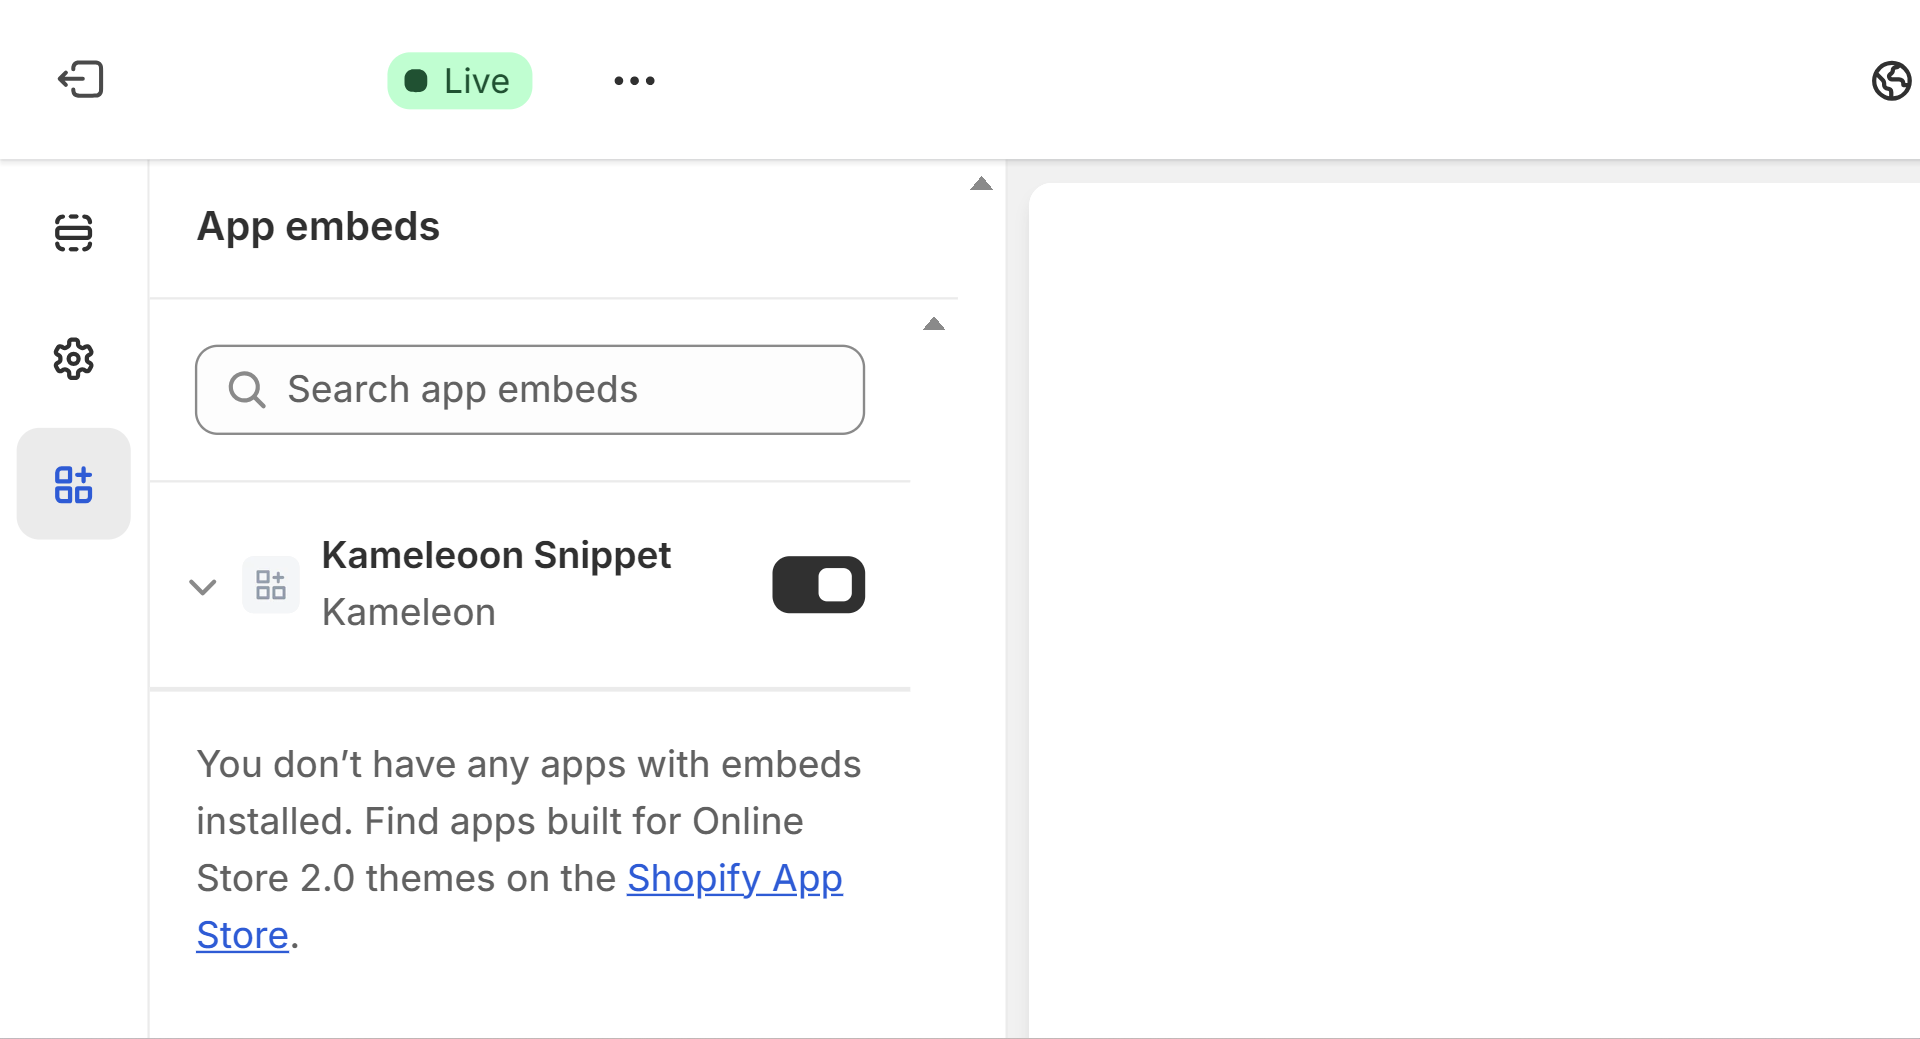
- Once saved, navigate to your theme, where you'll find the "Kameleoon Snippet" extension.
- Enable the Kameleoon Snippet extension to install the Kameleoon snippet on your theme.
- Click Save.
Events tracking
The Kameleoon script is then automatically injected into all of your shop's pages.
Kameleoon will also automatically handle the tracking of the main e-commerce events that happen in your shop, including transaction, product views, collection views, access to the cart page, and transaction. Once the App is enabled on your Shopify store, our API will send events to Kameleoon whenever your visitors view a product, a specific collection of products, add a product to cart, or make a purchase. It lets you obtain statistics about a given product (for example, how many times it was bought or viewed in the last hour or day) or create groups of audiences you can then use in our Segment builder. It is also used to obtain a set of automatic product recommendations by utilizing Kameleoon's machine learning product algorithms.
Installing a Web Pixel to track the Checkout page
If you are using Shopify's checkout extensibility platform features suite, you must create a web pixel that lets you track Shopify events and send the appropriate data to Kameleoon.
The Kameleoon app lets you install the web pixel to track the Checkout completed event. If you want to track more events, you can create your own custom web pixel (see the dedicated article).
To install the web pixel to track the Checkout completed event using the Kameleoon app:
- Log in to your Kameleoon account.
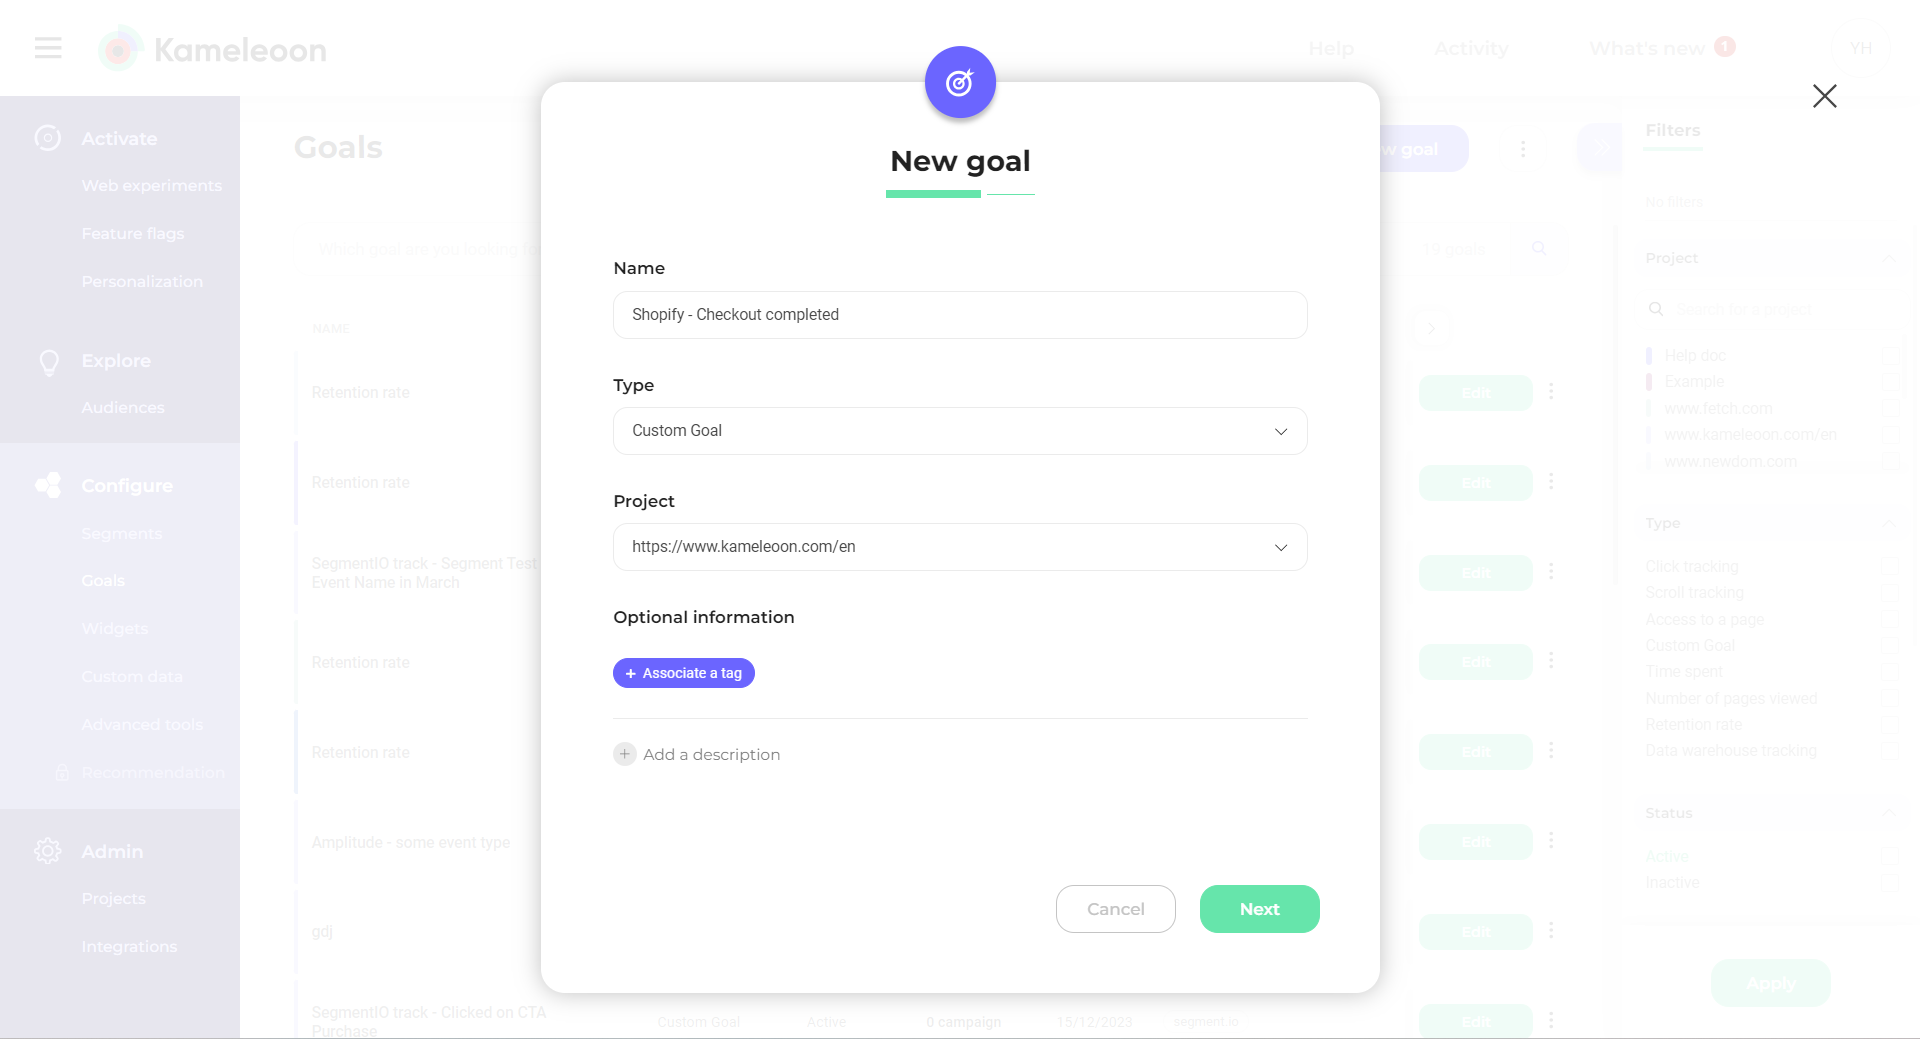
- Navigate to the Goals dashboard.
- Click New goal.
- Enter a name for the goal.
- Select the Custom Goal type.
- Select the same project that is used in the Kameleoon snippet you installed on your Shopify store.
- Click Next > Create.
- Return to your Shopify store.
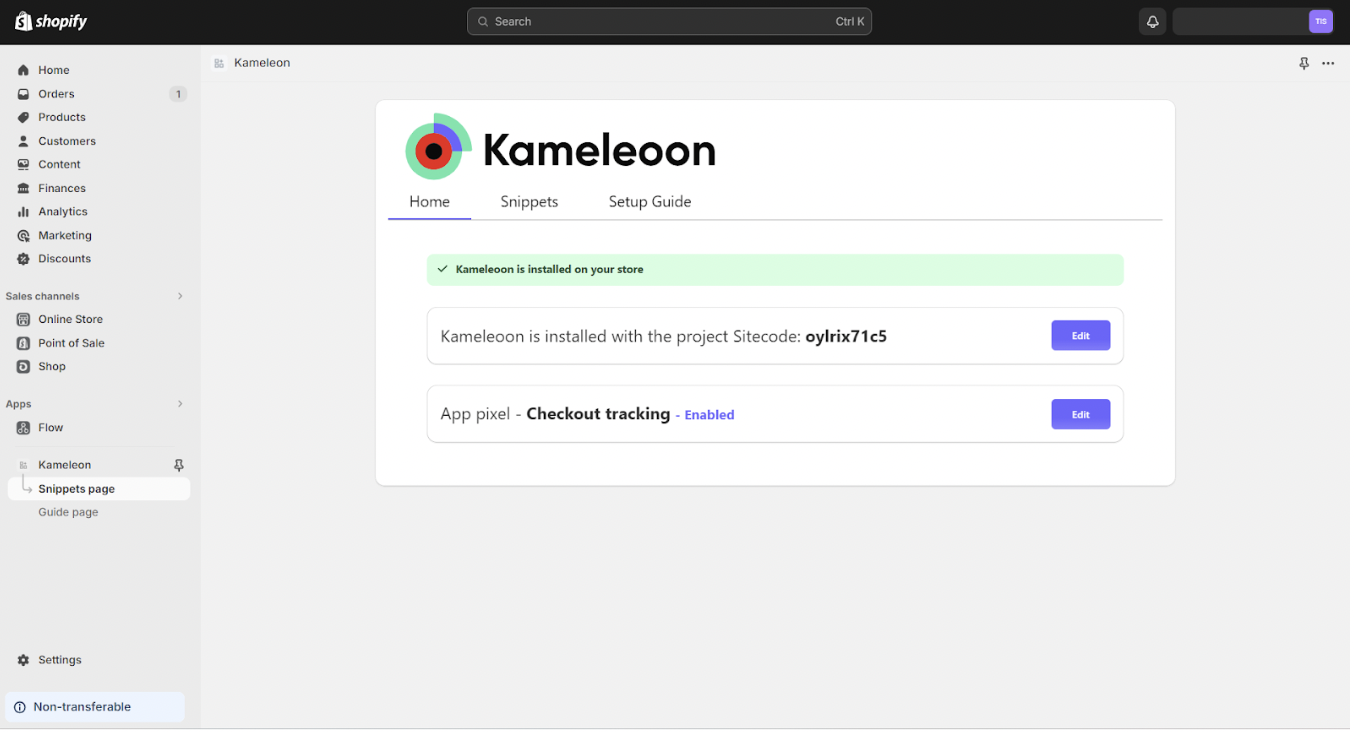
- Click Install on the Checkout tracking section.
- Enter the ID of the goal you created and click Save.
Manual installation
- Install the Kameleoon app (available in the Shopify App Store).
- Enter your Sitecode and click Save.
- Navigate to the Snippets tab.
- For each snippet:
- Copy the code from the snippet.
- Got to the theme menu and click Edit code.
- Create a snippet according to the folder structure.

How to migrate from the old version to the new version of Shopify's Kameleoon app
If Kameleoon is already installed on your Shopify store (either manually installed or installed using the previous version of this integration) and you want to switch to the new integration, follow this guide.
Migrating to the new version lets you install and uninstall the Kameleoon snippet very easily, with a click on the toggle, for each theme that you use.
To migrate to the new version:
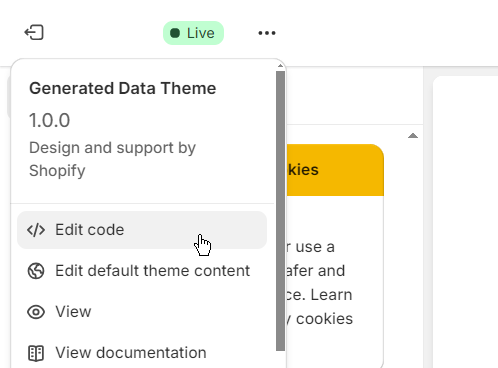
- Go to the theme menu and click Edit code.
- Remove all the Kameleoon snippet files from your theme:
./Snippets/kameleoon-cart-script.liquid./Snippets/kameleoon-root-script.liquid./Snippets/kameleoon-product-script.liquid./Snippets/kameleoon-collection-script.liquid./Snippets/kameleoon-checkout-script.liquid
- Remove the Kameleoon script from the main file (
theme.liquid). You should remove the following rows:
{% capture snippet_content %}{% include 'kameleoon-root-script' %}{% endcapture %}
   {% unless snippet_content contains "Liquid error" %}
   {%if content_for_header contains 'sh-app.kameleoon.com' %}
     {{ snippet_content }}
   {% endif %}
   {% endunless %}
- Proceed with the installation via the Shopify app as explained here.