In this article:
– How to install and set up Kameleoon’s A/B testing and personalization platform on your website
– Step-by-step instructions for the installation process, including creating an account, adding the Kameleoon tracking code to your website, configuring the website’s settings, and verifying that the tracking code is working properly
Before launching experiments on your website or mobile app, you must install the Kameleoon script. This script has to be added to the <head> tag of your website or mobile app’s source code. It contains your unique project code. Don’t worry: we can guide you step by step; and our adaptable solution will take all the distinctive features of your project into account.
If your package allows you to do so, you can set up multiple websites or mobile apps with your Kameleoon account. This can be particularly useful for testing your website and mobile version or if you want to test Kameleoon on your pre-production website first.
Several setup options are available. Their sequence follows this pattern:

At any time, if you have any doubt or difficulty, don’t hesitate to contact your developer by clicking on the corresponding button at the bottom of the setup page. The necessary information will then be sent to them so that they can help you.
Project Configuration
In your Kameleoon App, navigate to the Projects page from the Admin menu option in the left-hand sidebar.

On this page, you will find a list of all projects configured in your account. By default, you will have a project card present on this page for the website or mobile app you entered when you registered.
Configuring existing projects
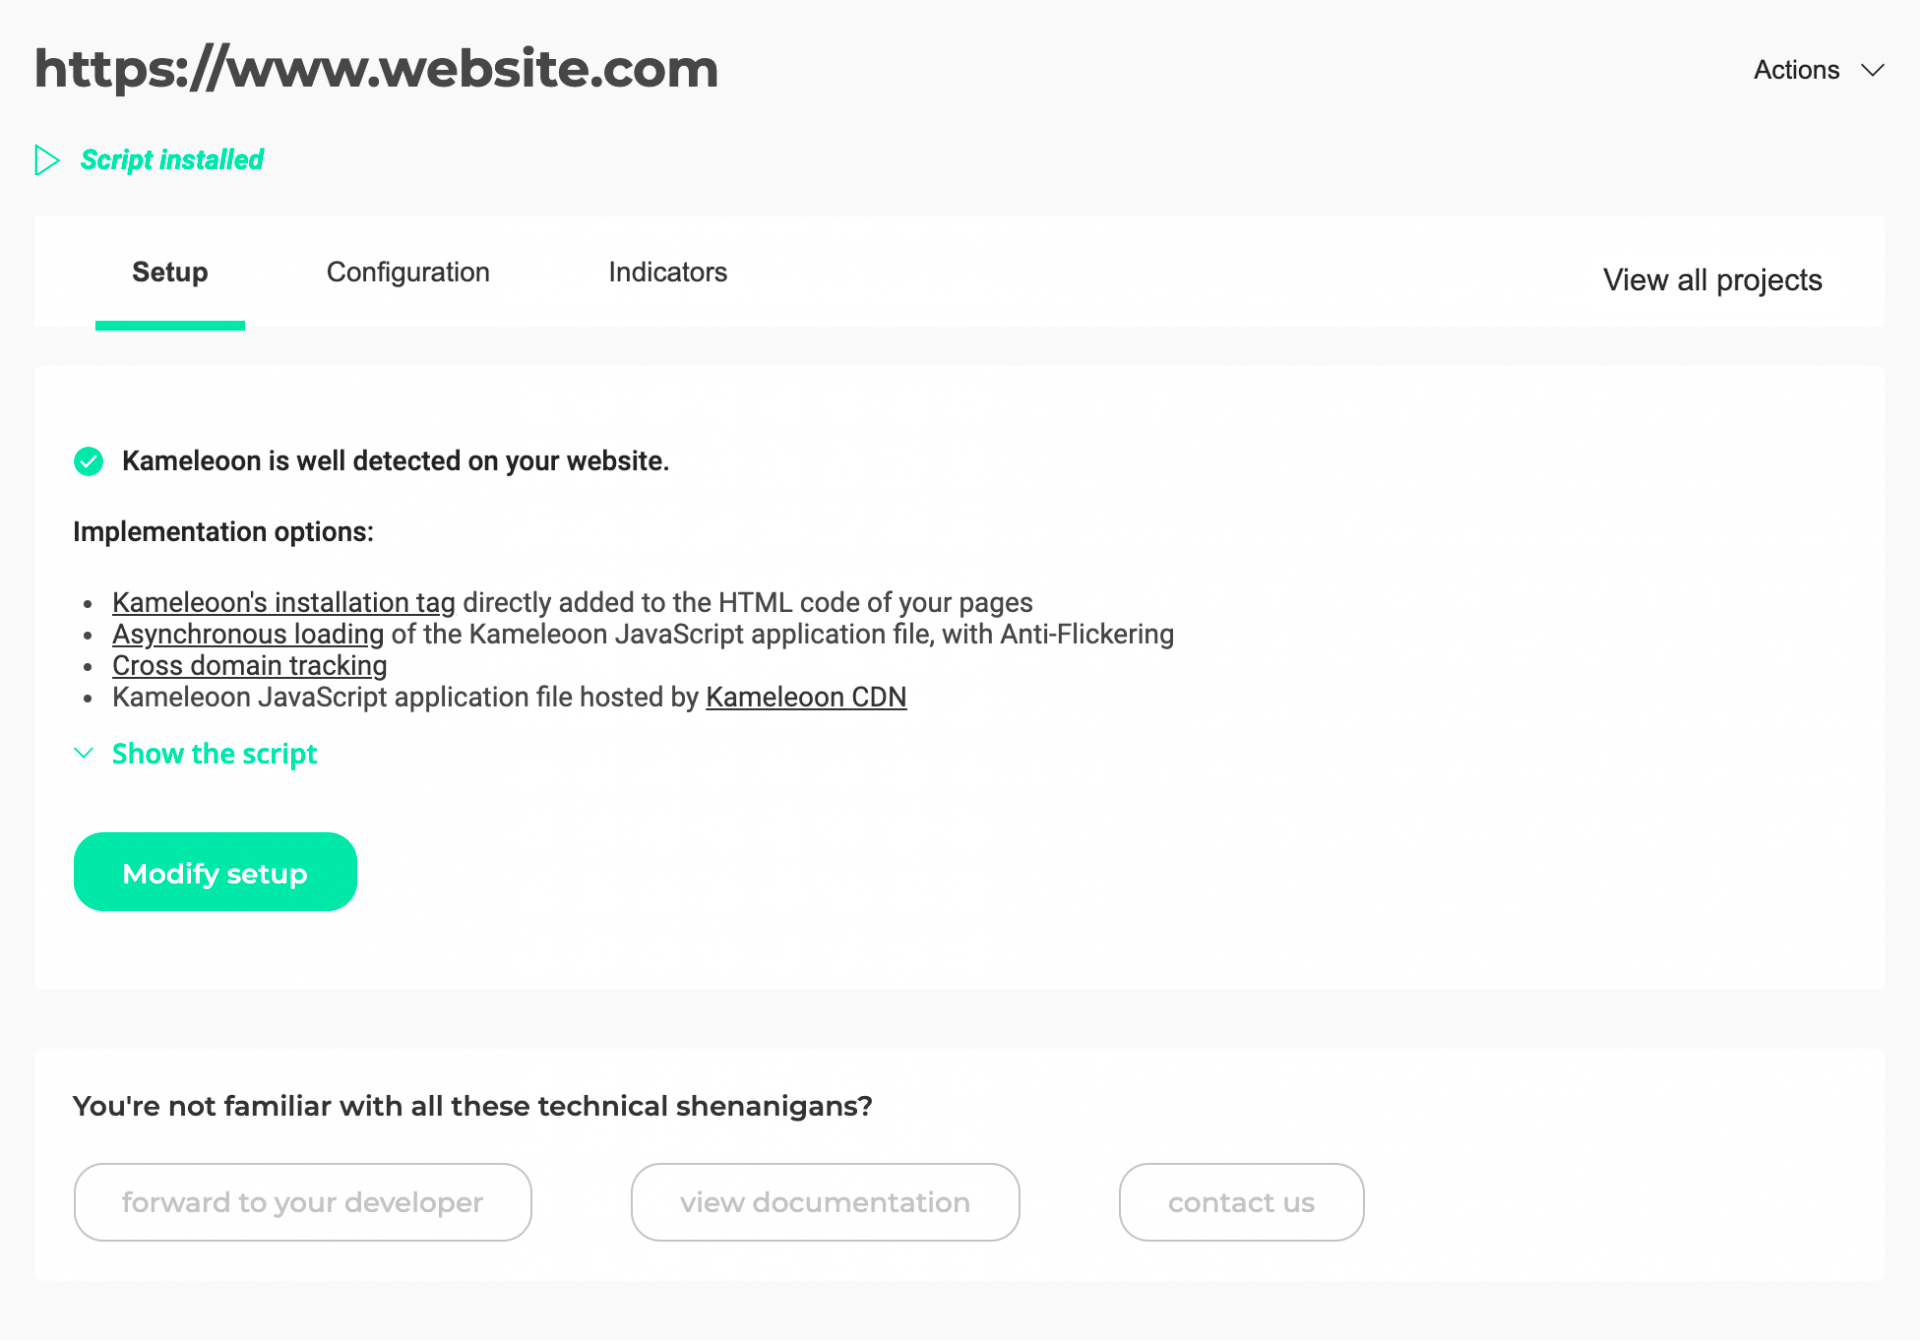
To modify the configuration of an already added and installed project, click Setup on the project’s card.

After reviewing your current Setup configuration, you can proceed by clicking Modify setup.
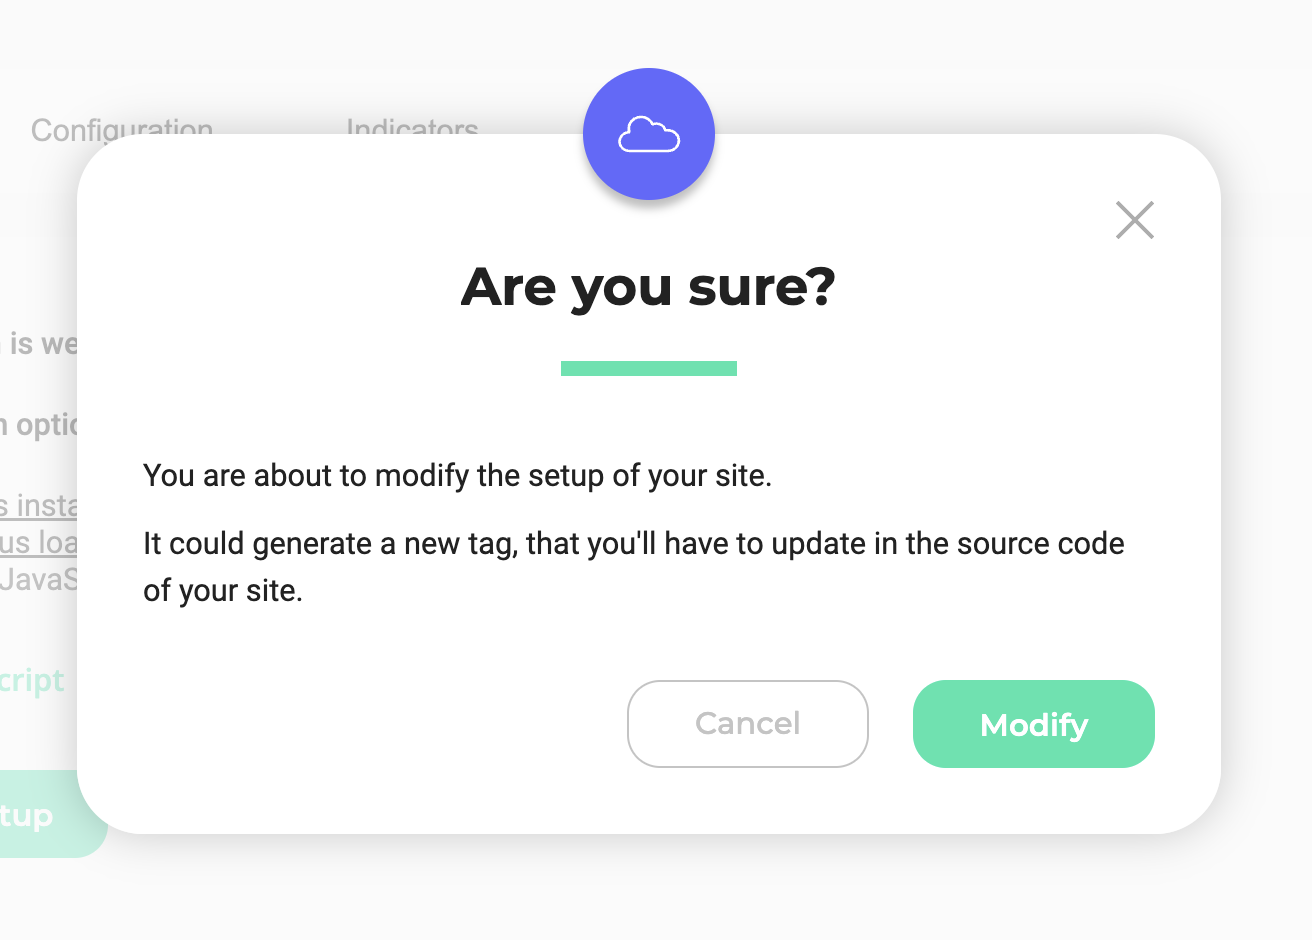
Next, click Modify in the pop-in that appears.
Jump to Step 1: Choose your implementation settings to learn more about Setup configuration options.
Configuring new projects
To add a new project, click on New project. (Note that your ability to create additional projects depends on your Kameleoon package.)

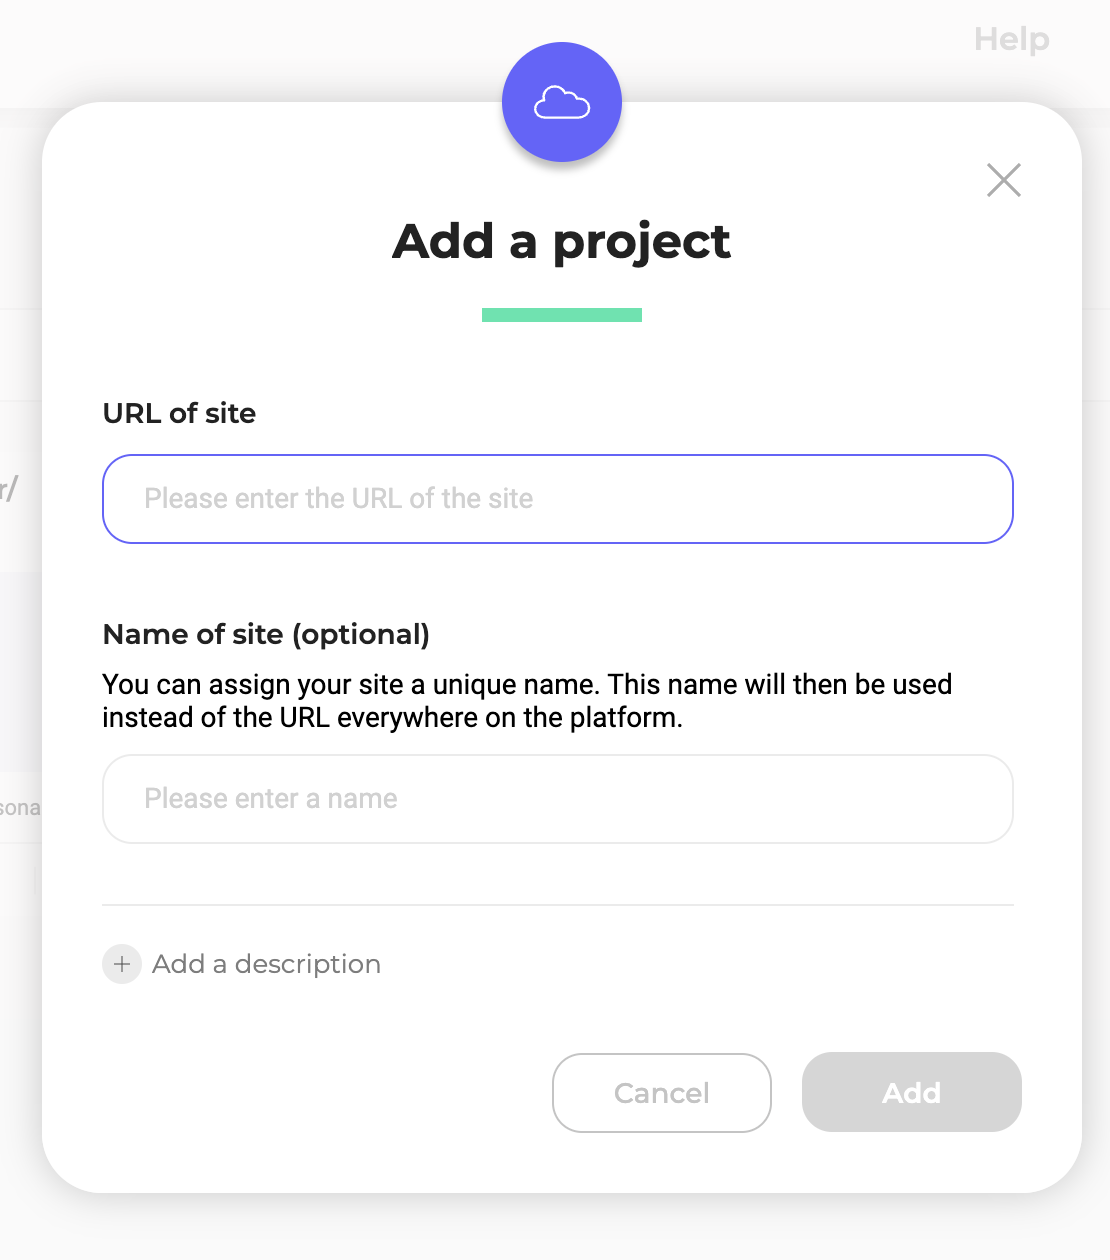
Enter your site URL and, optionally, a name and a description in the pop-in that appears.
Note: If you associate a name with your site, Kameleoon will use it across the platform, as opposed to its URL.
Click on the Add button.
A new page will open that will guide you through the installation of the Kameleoon script.
Step 1: Choose your implementation settings
It takes two simple steps to set up a new project. In Step 1, you’ll have to choose your implementation settings and decide how to configure your script type, your domain, and your resource hosting. We provide further information about advanced implementation options here.
Script Type
Are you installing Kameleoon via a Tag Manager?
Kameleoon is compatible with all the major Tag Management Systems (TMS), including Google Tag Manager, Tag Commander, Eulerian Tag Master, etc. However, we recommend you install Kameleoon directly in the source code of your site, and not via a Tag Management System. The reason for this is that using a TMS delays loading for Kameleoon and increases flickering. This is especially problematic if your TMS is loaded at the bottom of your HTML page. Moreover, the tag manager needs to be loaded first in order to load Kameleoon, which can add a latency period.
If you use a Tag Management System, you won’t be able to use Kameleoon’s asynchronous script with anti-flickering as it is not designed to work within a TMS.
Therefore, we strongly recommend that you select No in this drop-down and add the script directly to the HTML code of your page(s). This way, you will avoid any performance issues related to the use of a tag manager. With this method, you’ll be able to put the Kameleoon script in the right place yourself.
How to install Kameleoon via Google Tag Manager
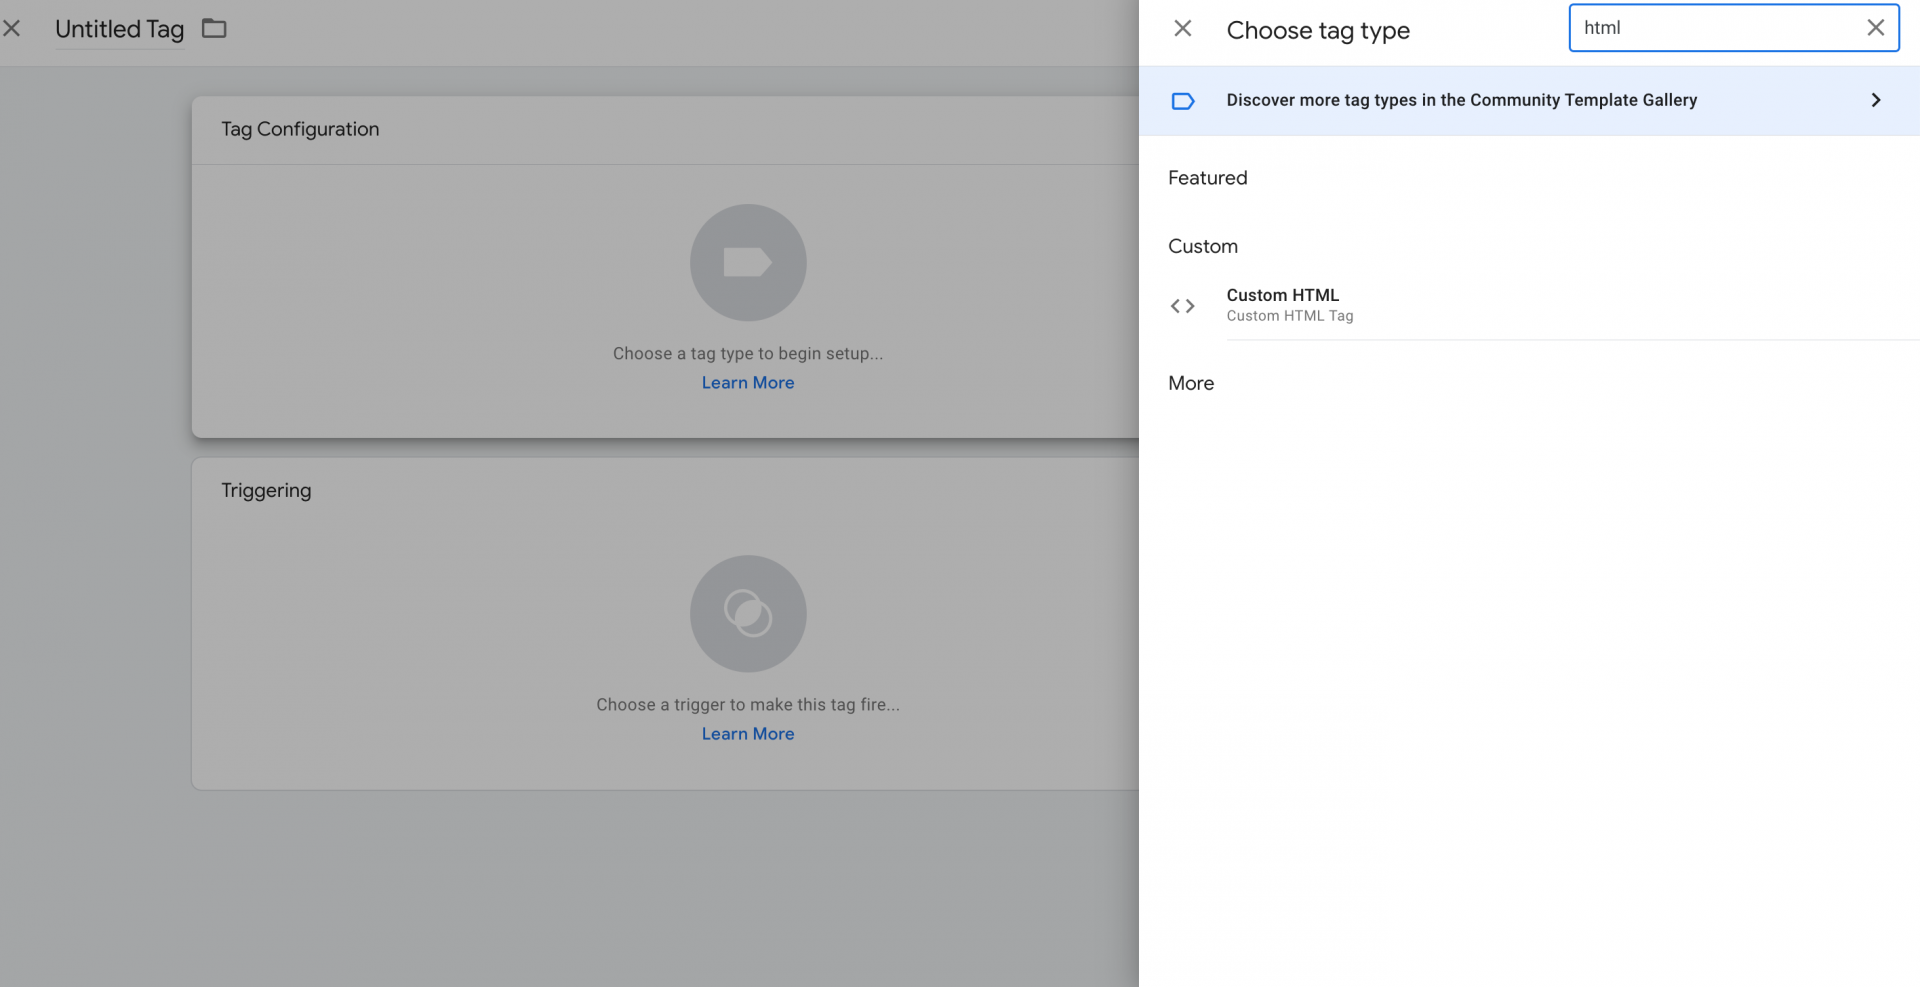
To install Kameleoon via Google Tag Manager, click on Tags > New > Tag configuration then choose the tag type Custom HTML.
Then copy paste this code:
<script>
window.kameleoonStartLoadTime = new Date().getTime();
var scriptNode = document.createElement("script");
scriptNode.src = "//SITE_CODE.kameleoon.eu/kameleoon.js";
scriptNode.type = "text/javascript";
scriptNode.async = true;
scriptNode.setAttribute("data-tagmanager", true);
document.head.appendChild(scriptNode);
</script>
Note: The domain for snippet scripts may vary from one project to another. Projects can be hosted on either “kameleoon.eu” or “kameleoon.io” depending on their creation date. Please use the snippet displayed in your project/account.
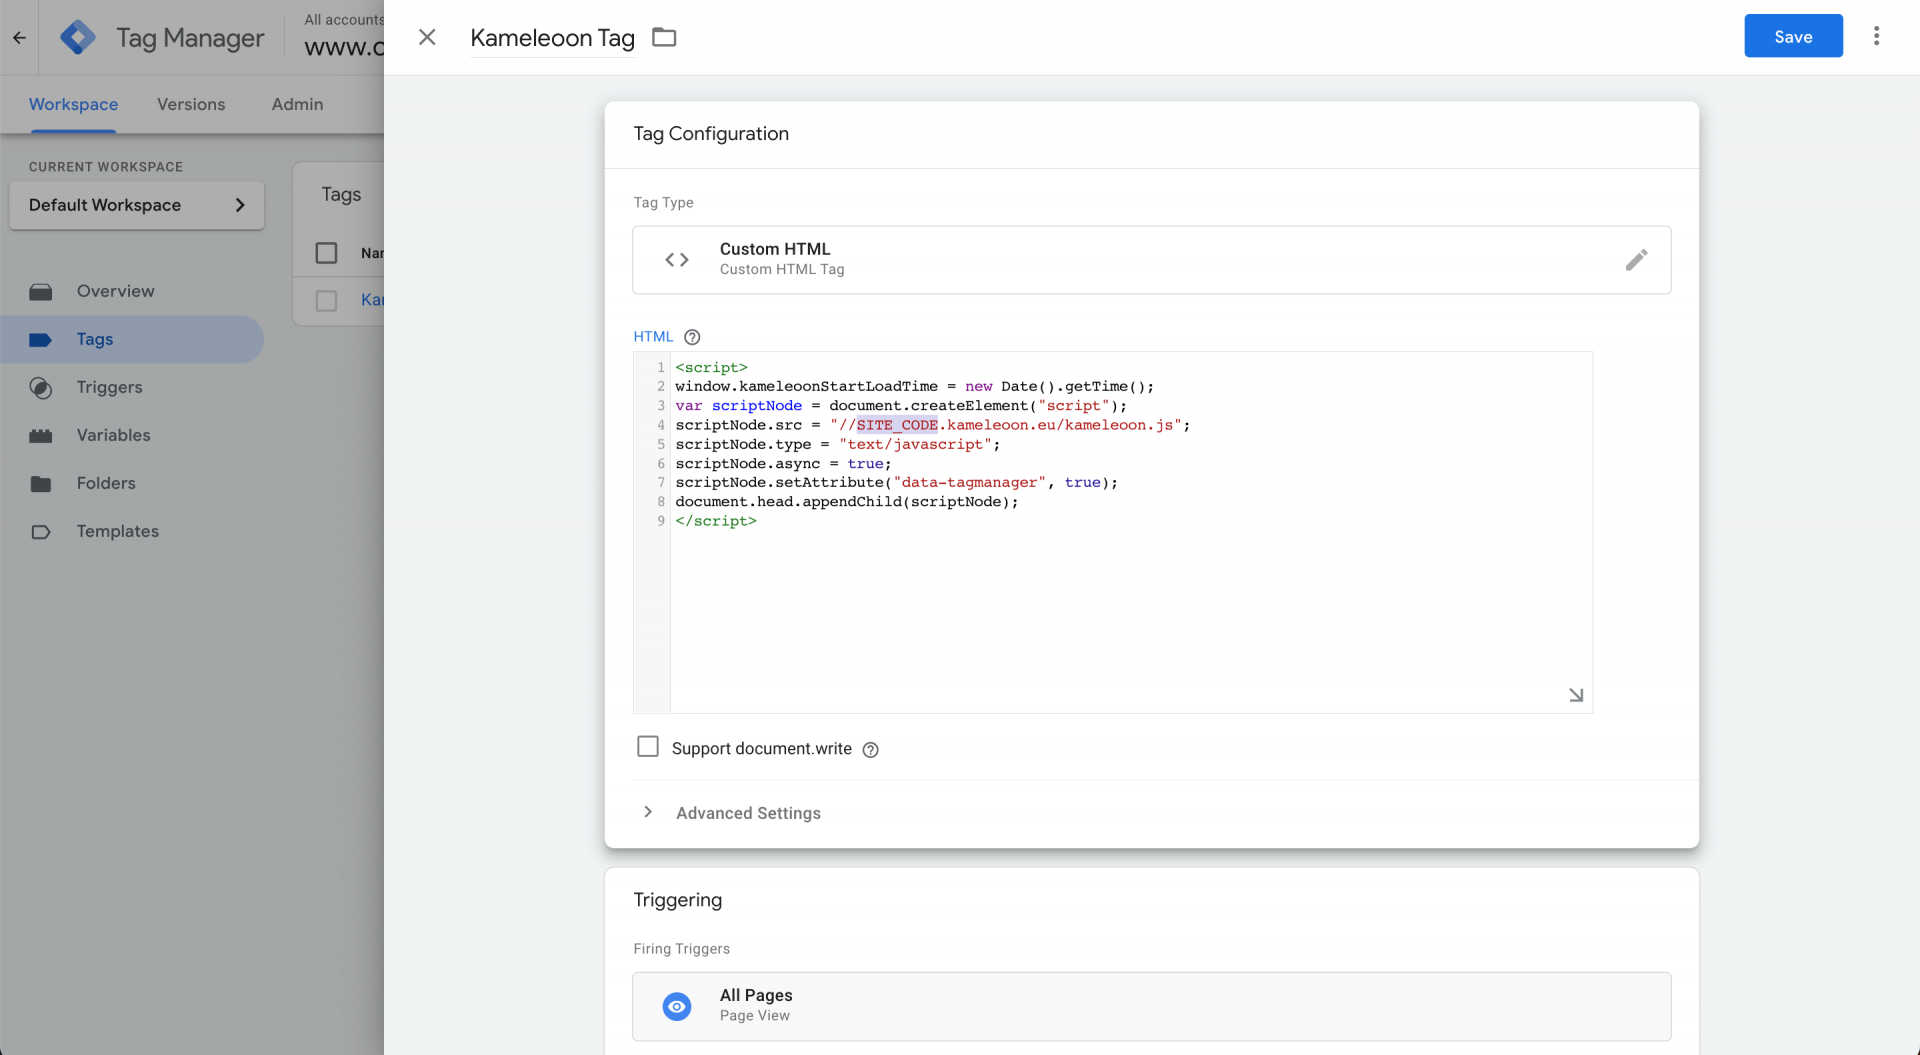
For GTM, you need to add the <script></script> tags.
Don’t forget to replace the SITE_CODE.
Select an installation tag
After choosing the option to add the Kameleoon script directly to the HTML code of your page, you’ll be able to select your installation tag. (Remember, this option is only available if you do not use a Tag Management System.)

Asynchronous loading with anti-flicker (recommended)
This integration simulates a blocking effect, preventing the loading of the page until the Kameleoon JavaScript is received by the browser. This is done to mitigate the flickering effect, while ensuring that, if the script takes a long time to download, the page will still be displayed.
Learn more about installation tags.
Asynchronous loading
For modern sites loading a large number of JavaScript files, best practice suggests that every script should be loaded asynchronously.
This ensures that page loading is not blocked while scripts are being downloaded by the browser. In addition, ideally, scripts that are important should be loaded at the top of the page, whereas scripts that are less important or that can wait should be loaded at the bottom of the page.
A script is loaded asynchronously when the browser doesn’t wait for the script to load to display the requested page to the user. Consequently, an asynchronous script loads in parallel with the loading of the page, and doesn’t prevent it from being displayed.
This can cause flickering: for a few seconds, the user can see the original page before it is replaced by the variation (in the case of an experiment) or the custom page (in the case of a personalization) when the Kameleoon script has fully loaded.
Synchronous loading
The scripts of the page are loaded one after the other following their order in the code. The page only appears once each script is loaded. So, if one of the scripts blocks, the page remains blank.

Domain Configuration
Enter the URL of your domains and subdomains
Under Domain configuration, you can add domains and subdomains for cross-domain tracking.
By default, you can only load the graphic editor from your main domain and its subdomains (*.example.com) . To whitelist additional domains, click ‘Add a domain/subdomain‘ in this section. If you attempt to load the graphic editor from a domain not listed here, Kameleoon will halt the loading process with a CORS policy error message in the browser’s web console.
Note: this list also controls which domains can read / write the visitor data stored in the local storage of your main domain for cross-domain tracking.

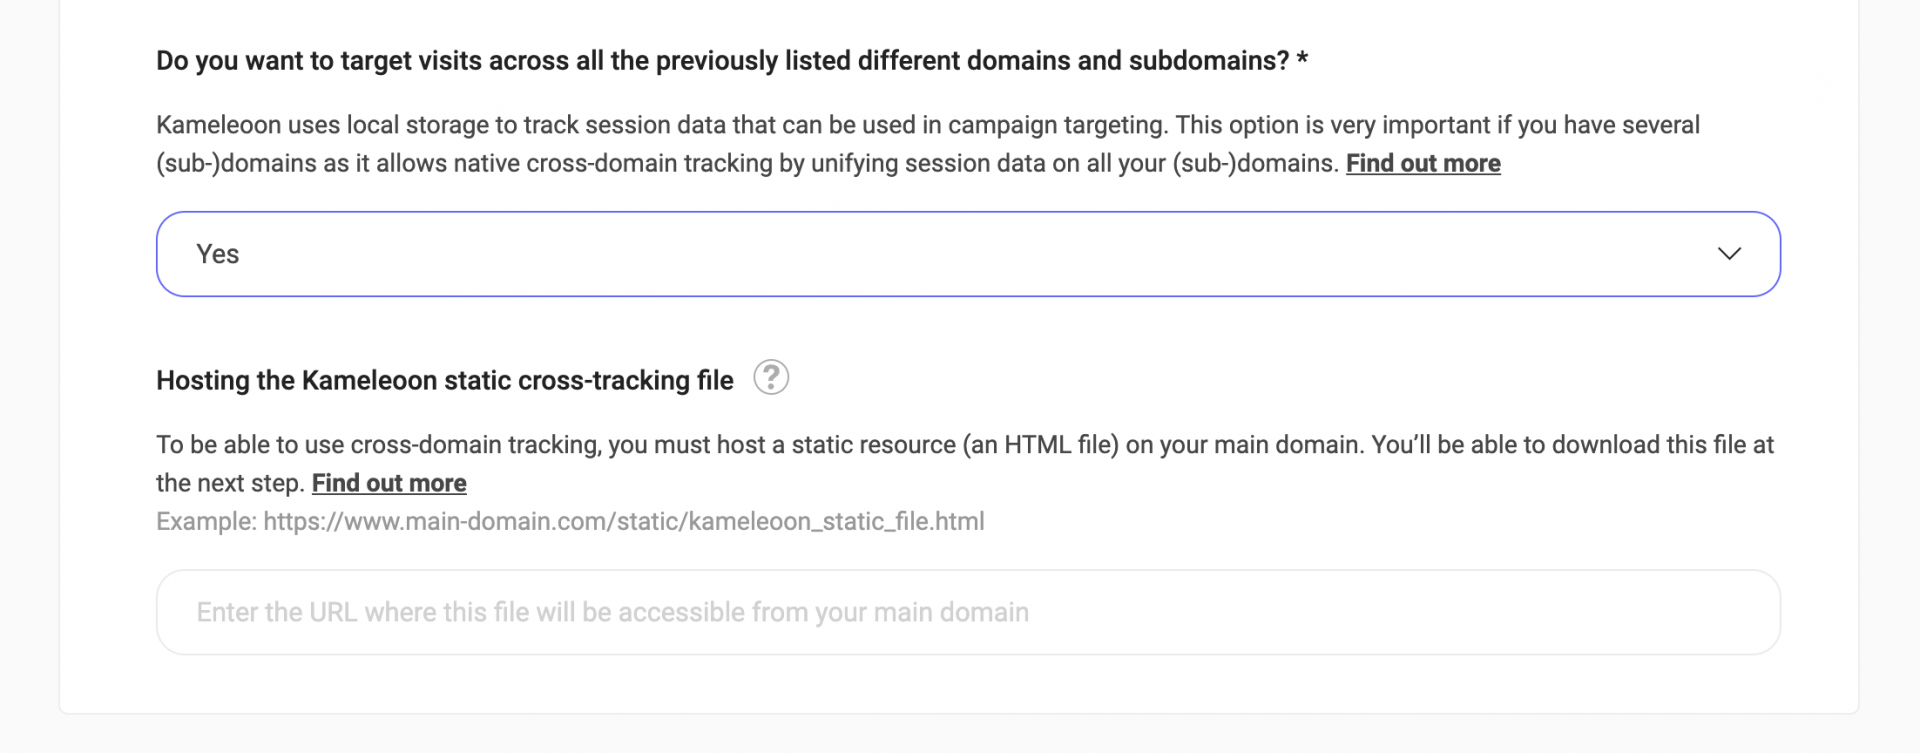
Do you want to target visits across all the previously listed different domains and subdomains?
Kameleoon uses local storage to track session data that can be used in campaign targeting. This option is very important if you have several (sub-)domains as it allows native cross-domain tracking by unifying session data on all your (sub-)domains. This list also controls which domains can read / write the visitor data stored in the local storage of your main domain for cross-domain tracking.
By default, all domains can load your Kameleoon script and access the data associated with your users (such as custom data), which can create a risk. If you want to allow access to Kameleoon only on a specific list of domains, enter them here. For each added domain, all subdomains will be included automatically.
In simple terms, cross-domain tracking makes it possible to track visitors on different subdomains (e.g., example.fr and payment.example.org). We recommend enabling it because it allows you to track visitors for all of your domains. This way, your visitors will not be considered new visitors when they navigate across your domains and subdomains, and their experiences will be consistent across your digital properties. If you do not enable it, we won’t be able to track visitors from one domain to another: they will be considered as new visitors when they arrive on another domain and will once again be exposed to the personalization or to another variation of an experiment.
However, cross-domain tracking is only required if you intend to use session data across all your domains for advanced behavioral targeting purposes, as it will allow Kameleoon to read the data stored in the local storage.
Authorizations
When you choose the tag with subdomains, you must set 2 authorizations:
What is ITP?
Apple’s ITP aims to increase user privacy by preventing unwanted tracking of users by sites and the various scripts installed on them. It is present on all Safari browsers. Find out more about Apple ITP
Resource Hosting
You can choose to host the application file yourself or to let Kameleoon host it. Select the option that best suits you from the dropdown menu. Learn more.
If you choose to self-host Kameleoon public resources (Yes in the drop-down), you will have to enter the URL of your CDN (Content Delivery Network).
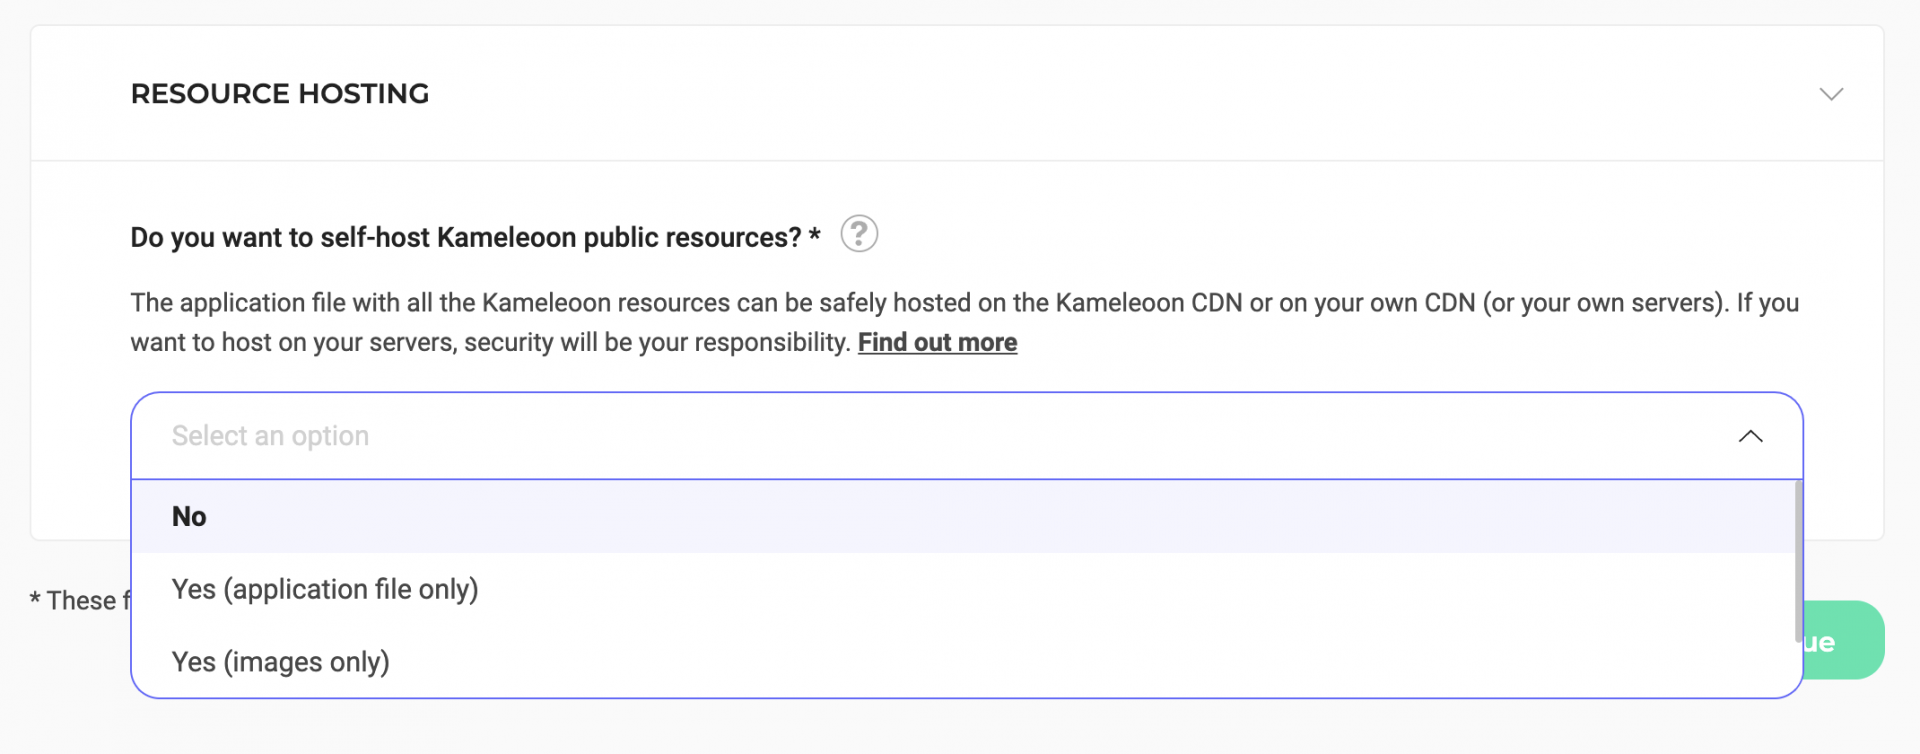
When you’re done with your implementation settings, click Continue to proceed to Step 2.
Step 2: Install Kameleoon
When you defined your site’s URL earlier in the configuration process, Kameleoon created a script to install on your site, which you can access on this page. Copy this code snippet and paste it immediately after the <head> tag in your web page’s source code.
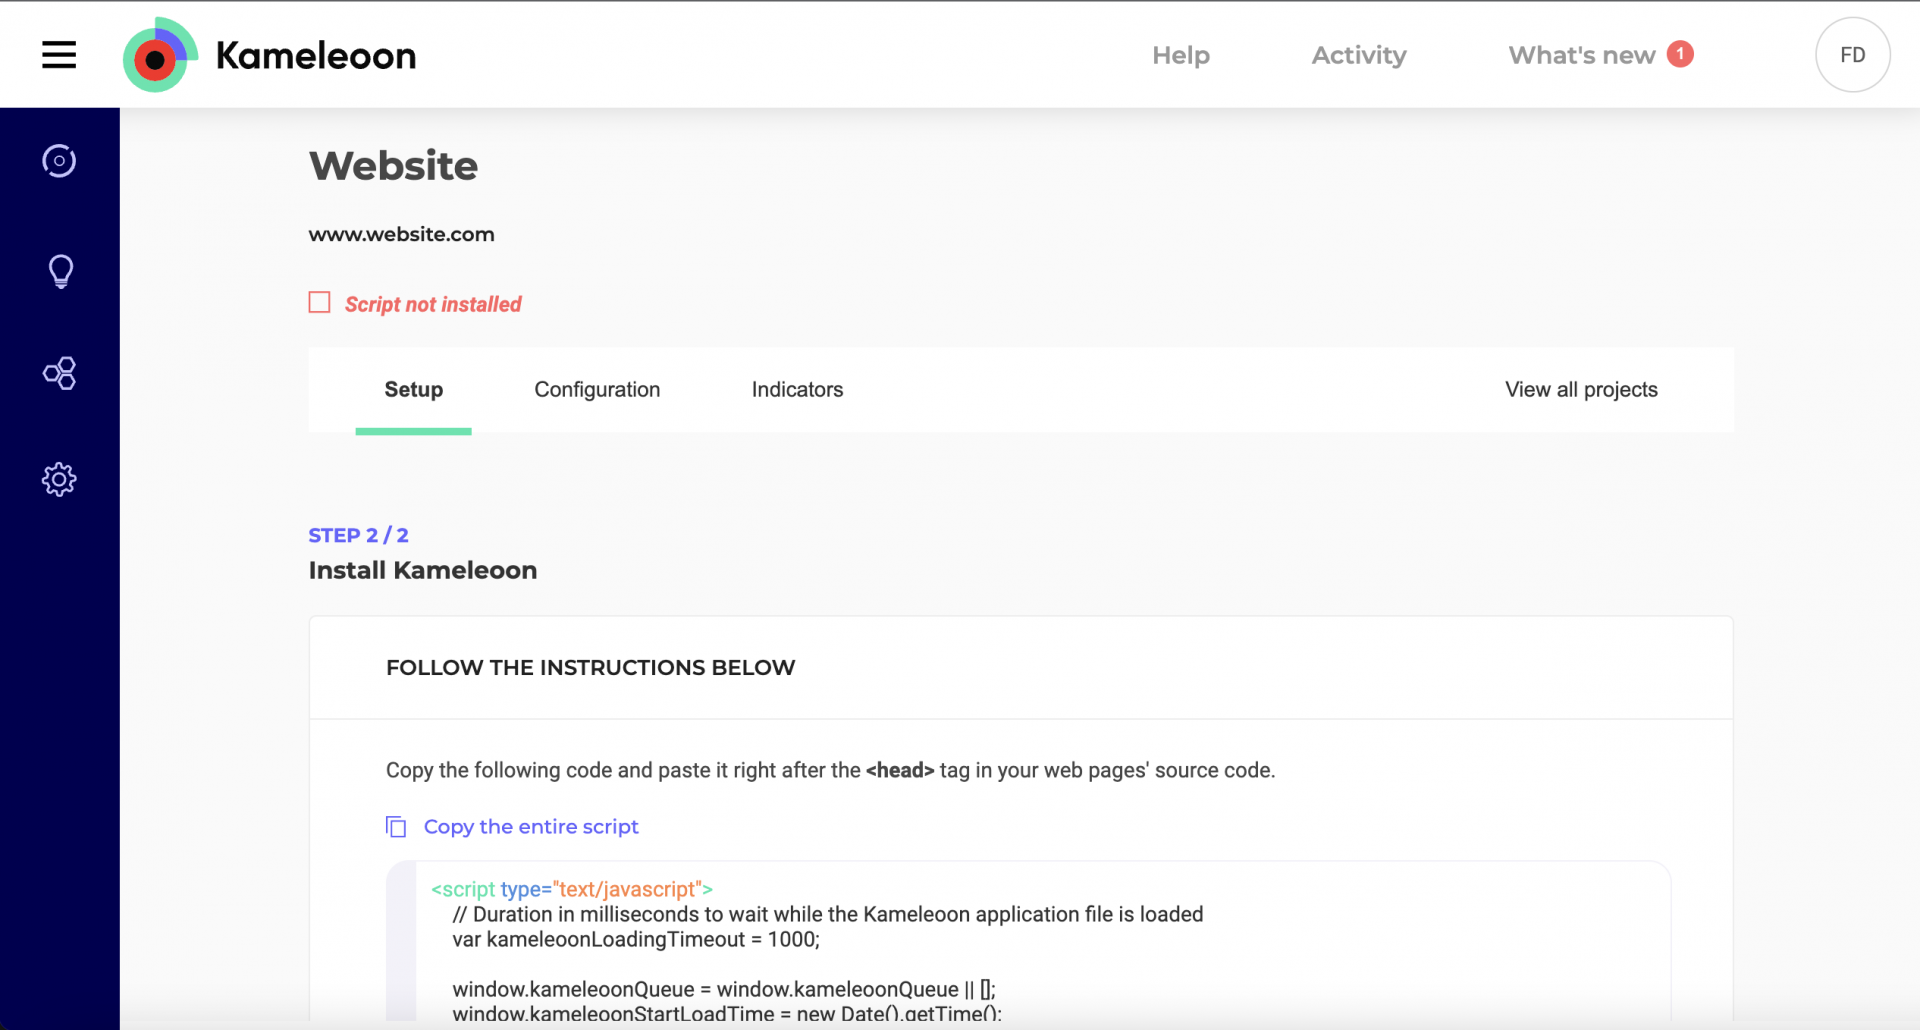
The detailed instructions on the page depend on the options you selected in Step 1.
It’s very important that this script is copied before any other tag so as to load your variation as soon as possible and thus avoid the flickering effect.
Once the Kameleoon script is copied to your web pages, save them and transfer them to your server. You can then click on Validate.

Note: If you don’t know how to integrate this script, let your developer do it by clicking on Forward to your developer.

Kameleoon then ensures that the script is present and that everything is in order. The verification process takes a few seconds.
If Kameleoon warns you that it could not detect the script, make sure that it’s present on your website or mobile app; otherwise, the experiments created on Kameleoon will not be launched on your website or mobile app. If the script is present and correctly integrated, then you can skip the verification step and validate the installation.
For more information on installation tags, don’t hesitate to consult the developer documentation section.
