
You can now create A/B experiments using AI in just a few seconds. Our new experiment creation flow lets you generate tests by simply writing a prompt—no code required.
What is prompt-based experimentation?
Prompt-based experimentation refers to a new methodology of creating, configuring, and analyzing experiments using natural language prompts and generative AI. In prompt-based experiments, users describe what they want to test and their criteria for success to the AI, rather than using a visual editor or writing code. The AI generates an experiment that is targeted and measurable.
Prompt-based experimentation possesses all of a visual editor’s creative capabilities and more. The AI can handle intricate layout changes, creating new elements, and brand-oriented features that are often impossible with visual editors. Prompt-based experimentation allows users to optimize existing websites, rather than solely supporting the creation of new web products.
With prompt-based experimentation, you can:
- Add dynamic “Add to cart” buttons on product pages and align them with your brand’s visual identity.
- Implement sticky headers or call-to-action bars that are consistent with your site’s design.
- Introduce persistent personalized pop-ups and tooltips that are triggered by user behavior.
- Add infinite scroll to your website’s category pages.
- Generate quizzes, forms, pop-ups, banners, and surveys that accelerate the customer journey and increase user engagement.
Benefits of prompt-based experimentation
- Speed: Experiments can be built in minutes instead of hours.
- Accessibility: Non-technical users can create meaningful tests without coding.
- Scalability: Teams can run more experiments and increase their testing velocity.
- Quality: Prompt-based experimentation automatically generates code that is secure, responsive, and accessible.
Prerequisites
Use a Chromium-based browser
To create a prompt-based experiment, you must install the Kameleoon Prompt Testing extension, which is only available on browsers that support the Chrome Web Store (for example, Chrome, Arc, Brave, Edge).
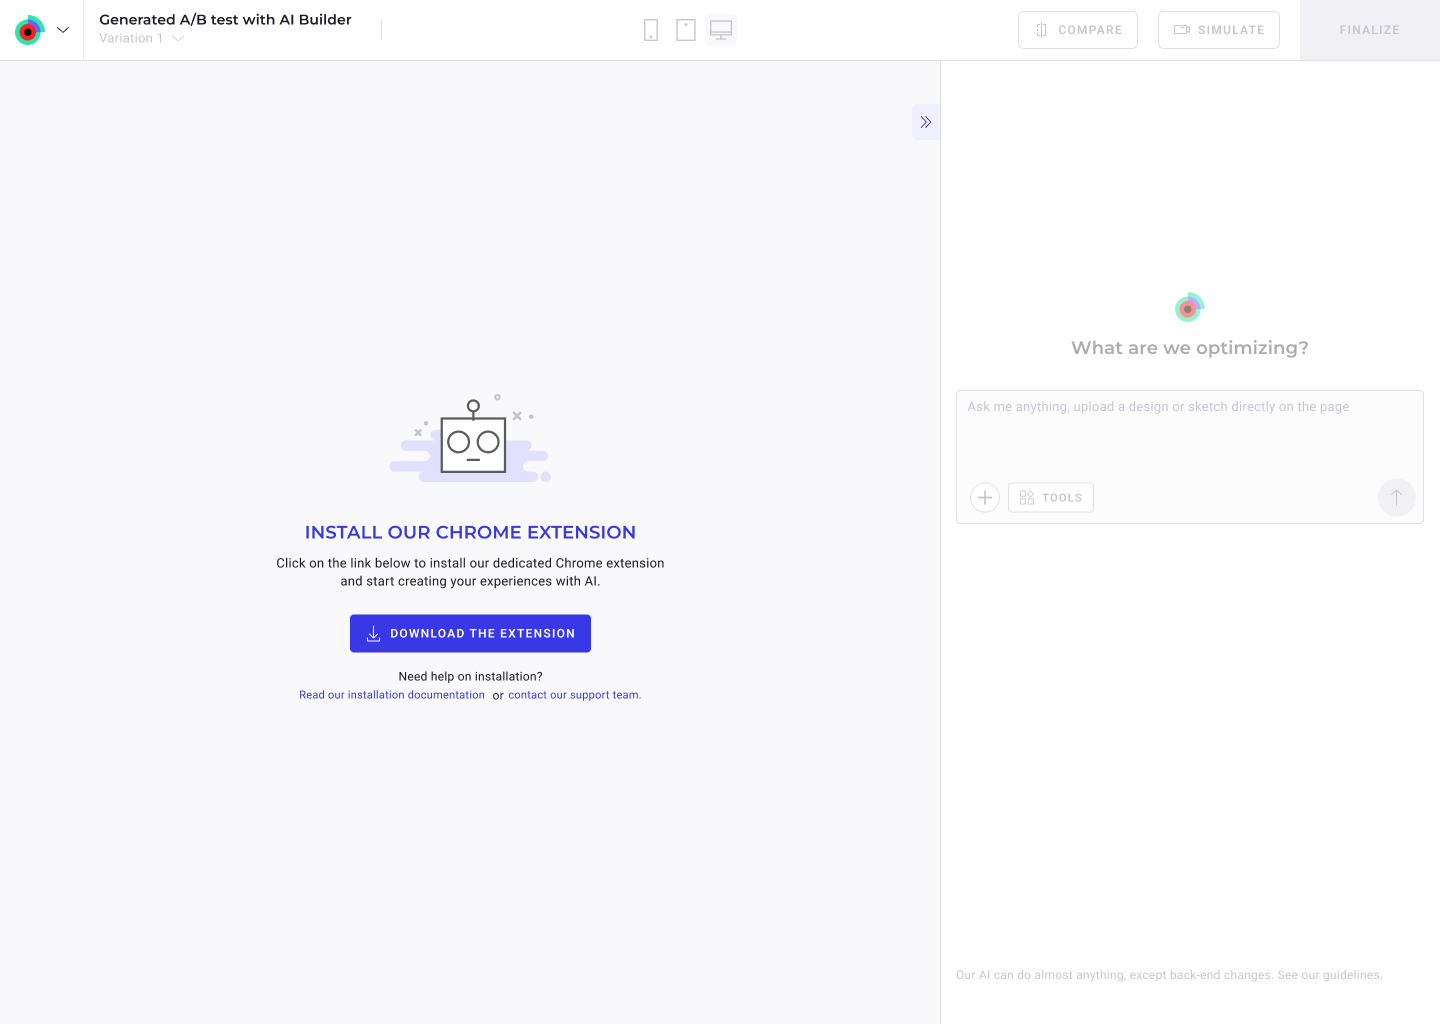
Install the Prompt Testing Chrome Extension
Install the extension from the Chrome Web Store
This lightweight extension lets you create and preview prompt-based experiments directly on your live site, without using a visual editor or writing any code.
With this extension, you can:
- Type a prompt in natural language
e.g. “Add an Add to Cart button to listings for returning users“ - Upload a sketch or mockup as a design reference
- See your changes rendered instantly
- Refine and review the JS/CSS code the AI generates
- Simulate your experiment on your web pages
- (Coming soon) Set targeting, traffic allocation, and goals
- Track performance via the Kameleoon dashboard or any connected data/analytics tool
Note: If you don’t have the extension installed, and you’re using a compatible browser, you’ll be asked to download it before continuing.
Access the prompt-based creation flow
To get started, go to the A/B Test dashboard and click New experiment.
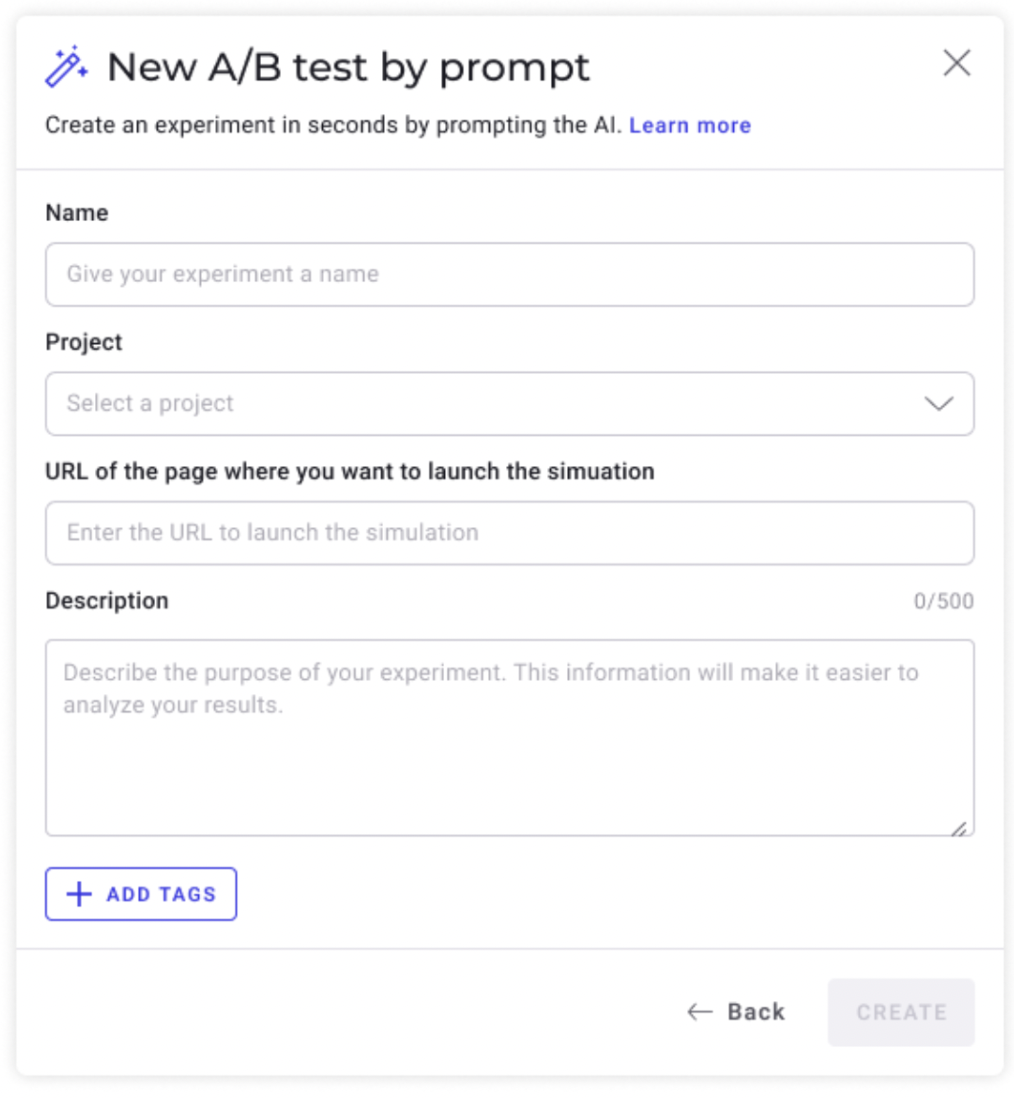
A pop-in will open, asking how you want to build your experiment. You’ll have three options:
- By Prompt
- With the graphic editor
- With the code editor

Select By Prompt and fill in the required information, then click Create.
Configure your prompt-based experiment
1. Define your prompt
In the right-hand text field, enter a natural language instruction describing your intended modification.
Examples:
- “Update the product listing grid to display 2 products per row instead of 4”
- “Change the default sorting option to ‘Price, low to high’”
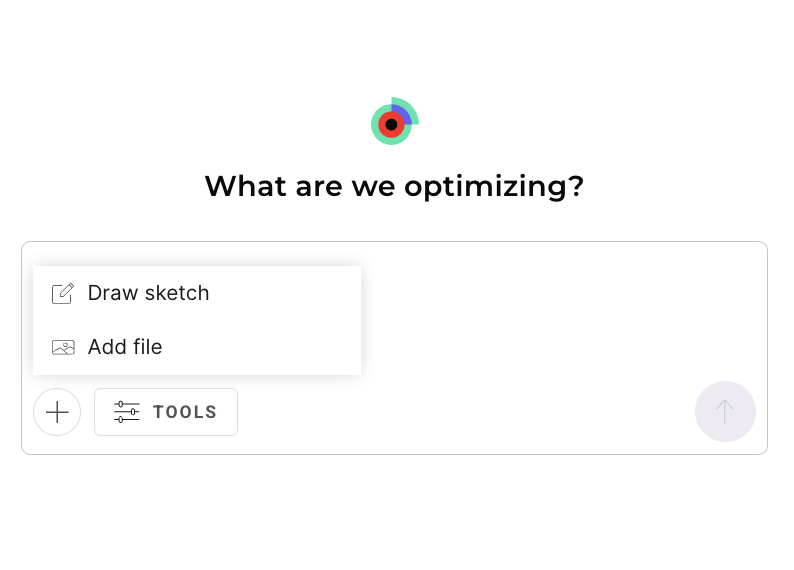
You can also click the + icon and select Add file to upload a mockup (banner, popup…) and ask the AI to recreate it on your site.
How to select an element for modification
There are two ways to help the AI identify the element to update:
- Describe it precisely in your prompt:
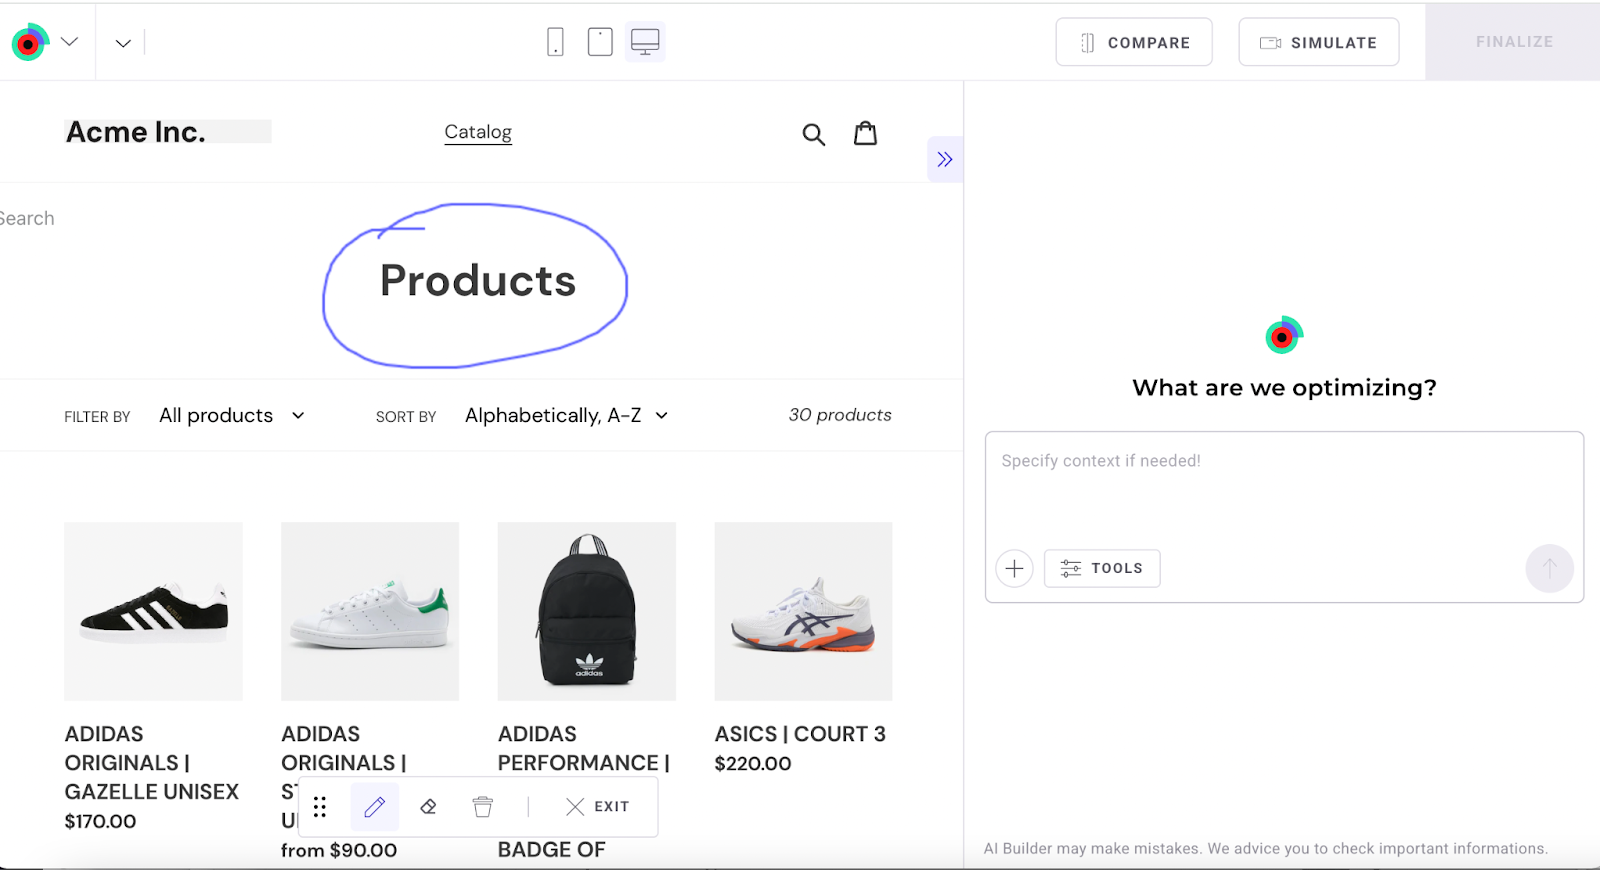
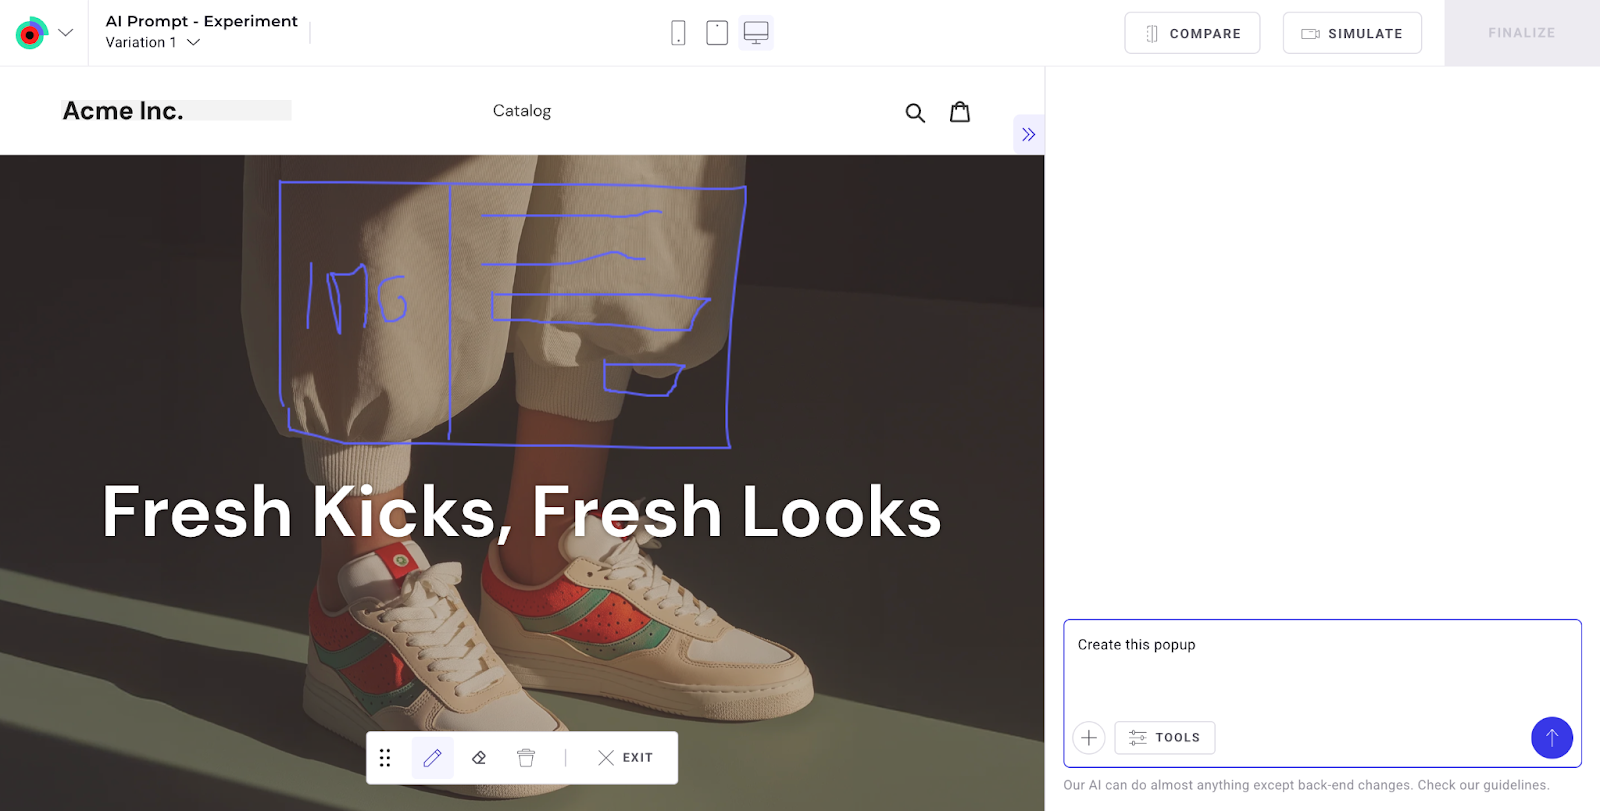
For example: “Move the product grid below the banner“ or “Change the hero heading to ‘Welcome to our Summer Sale’ and change its color to #FF6600“. - Draw a selection box:
Click the + icon > Draw sketch. Use your mouse to outline the target element directly on the page. Using the toolbox that appears at the bottom of the selection area, you can draw a line, partially erase it, or delete it entirely.
To help you get more targeted results, we’ve designed specific prompt tools like Suggest Ideas, Insert Overlay Element, etc. While optional, they can improve the quality and relevance of your output. Simply click on TOOLS to access these predefined prompts:
- Suggest ideas
- Insert overlay element
- Insert element within the page
- Change element style
- Improve text
- Add animations or visual effects
- Edit page theme
Generating optimization ideas
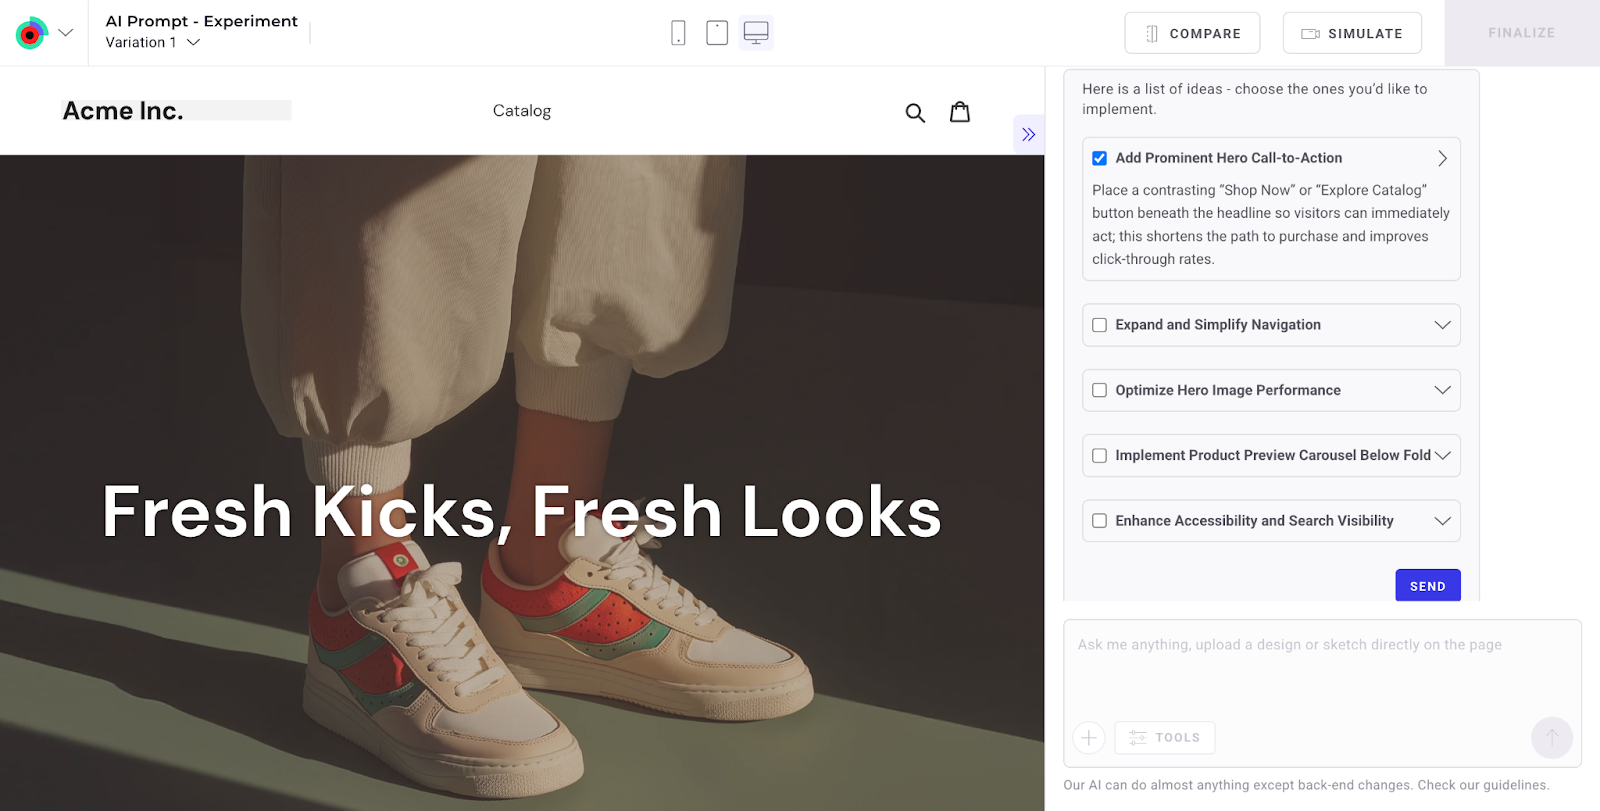
- Ask for inspiration: In the right-hand Ideas panel, type a prompt such as “Suggest ideas to optimize this page“. Kameleoon’s AI will analyse the current variation and return a curated list of actionable improvements.
- Review the suggestions: Each idea appears with a short title and a concise explanation of the expected benefit—for example “Add prominent hero call-to-action” or “Optimise hero image performance“.
- Pick what you like: Tick the checkbox beside every idea you want to apply.
- Let the AI build it: Click Send. Kameleoon will automatically implement the selected ideas on the page in code, creating a new version you can compare, simulate and test.
You can re-run the prompt at any time to generate a fresh set of ideas, helping you iterate quickly toward the highest-performing version of your page.
2. Let Kameleoon AI work
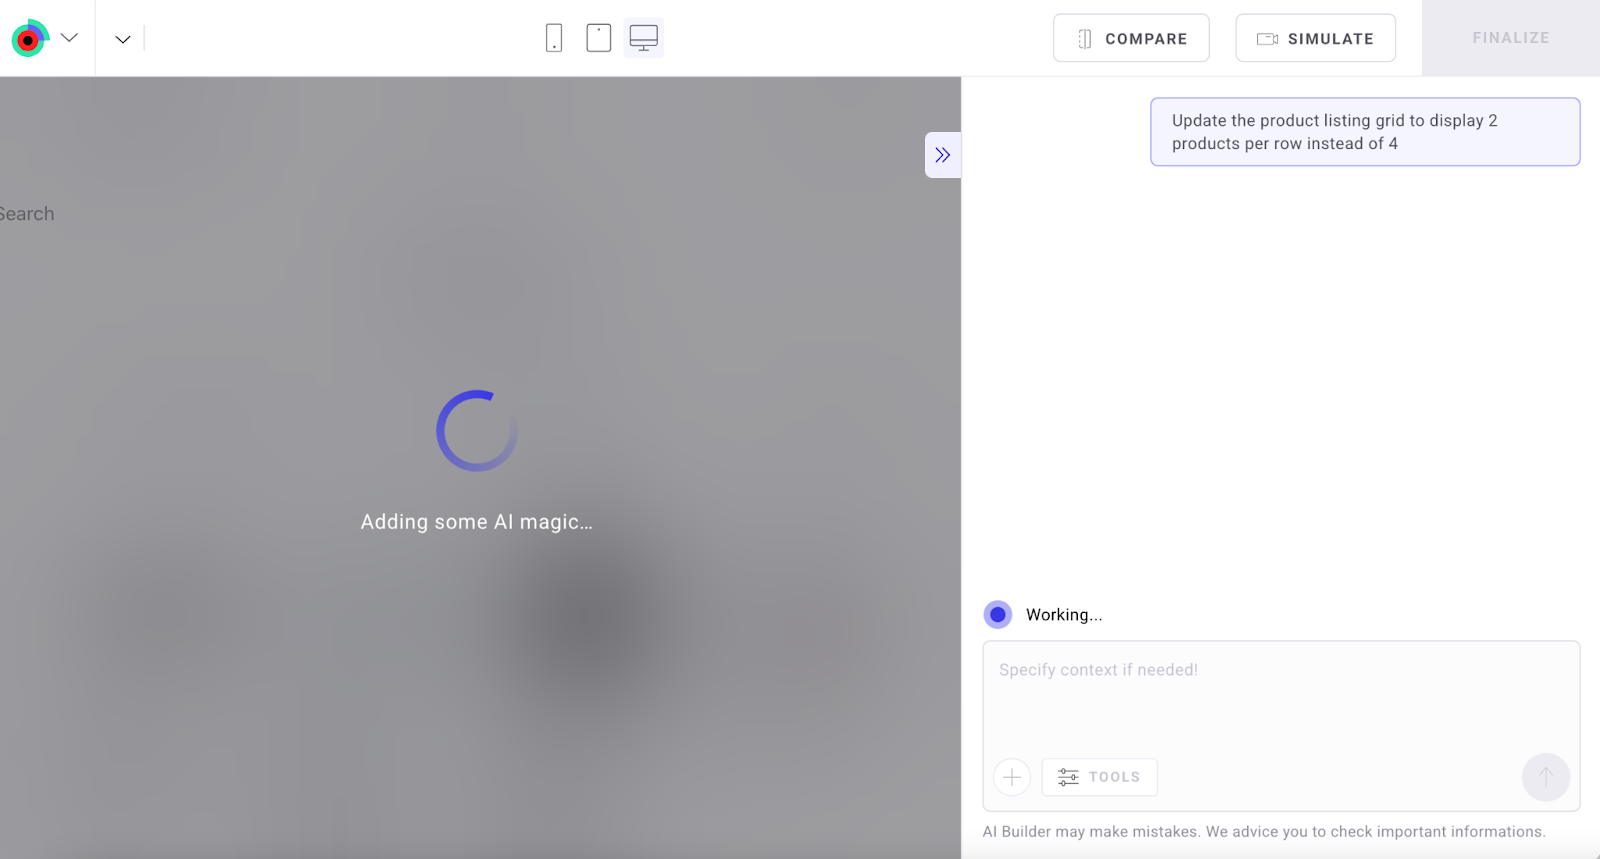
Once you submit your prompt:
- Kameleoon AI identifies target elements.
- It generates all the detailed specifications for the use case, including accessibility checks, responsiveness requirements, and QA steps to ensure the generated code is perfectly tailored to the use case.
- It generates the JavaScript and CSS updates needed to implement your change.
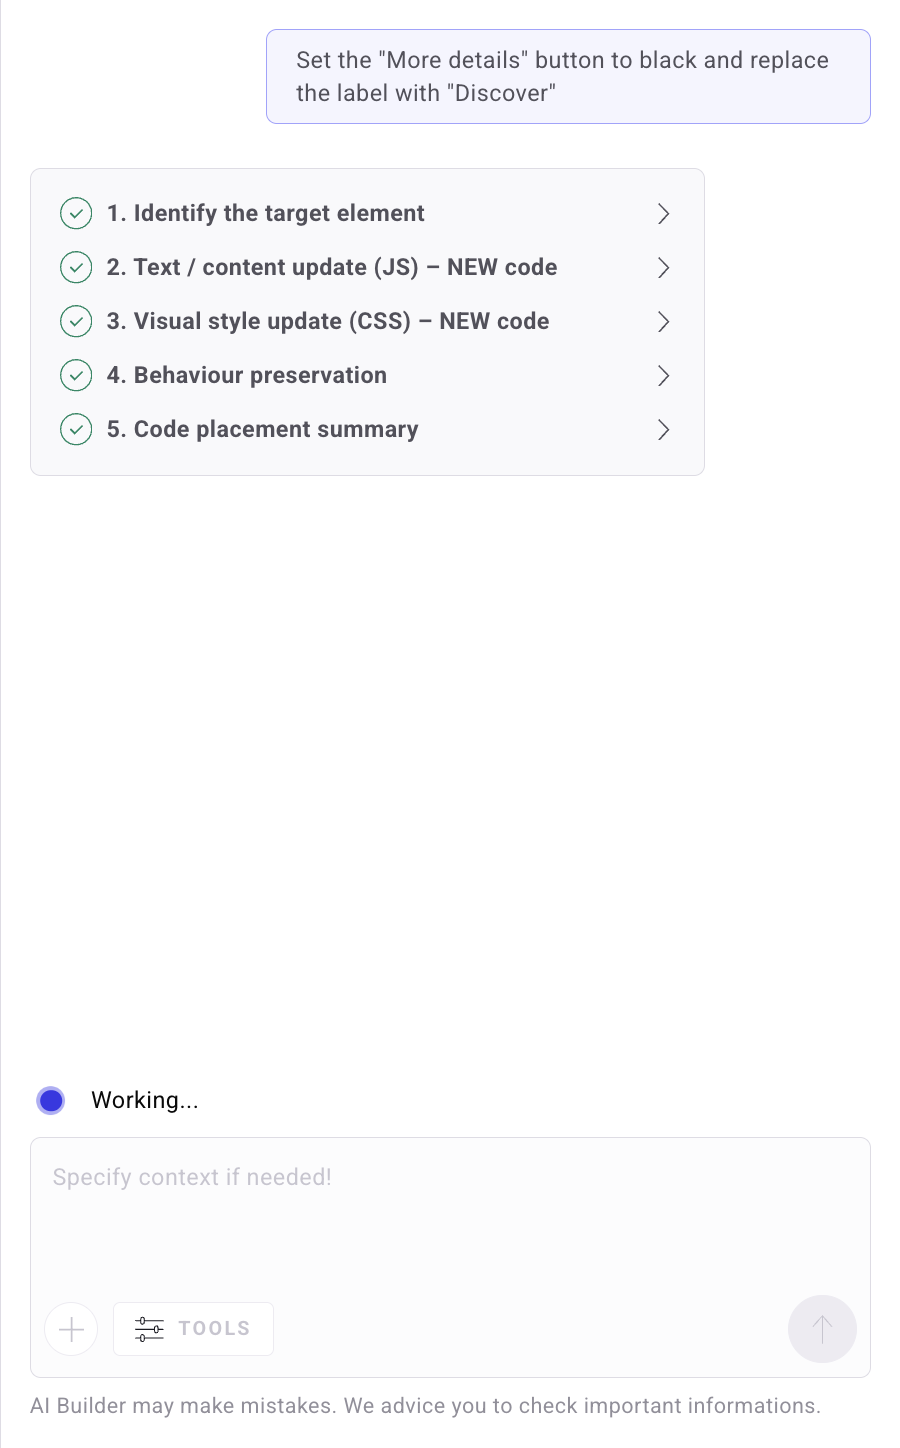
- A checklist appears with detailed steps. You can click each section to get more details about what Kameleoon AI did.
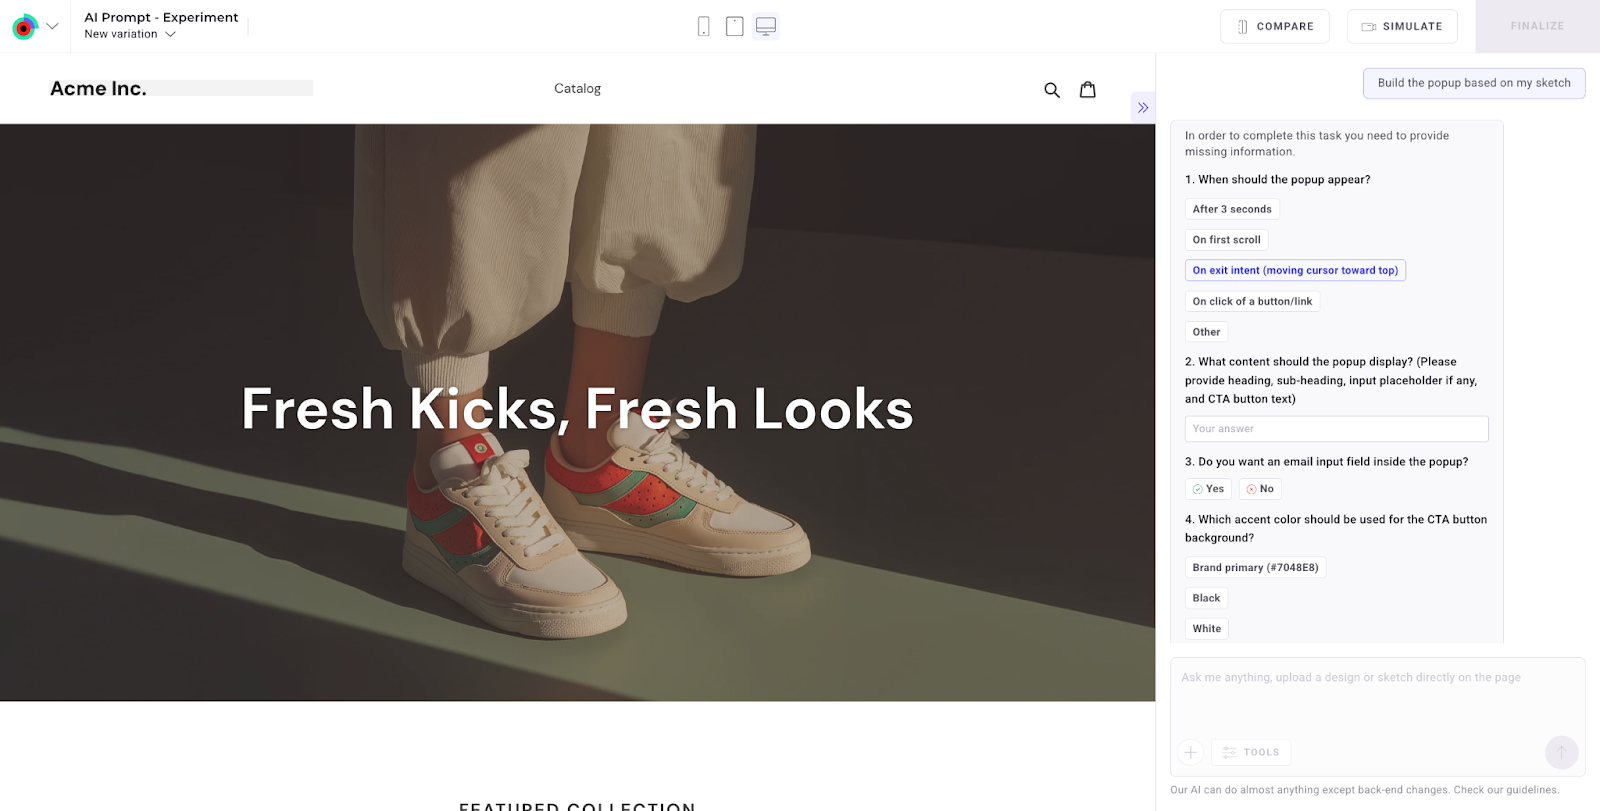
Depending on your prompt, Kameleoon AI may ask for more details or confirmation. For example, if you prompt the AI to “Create a two-column popup with an image on the left and content on the right, allowing users to subscribe to our newsletter“, Kameleoon AI will ask additional questions.
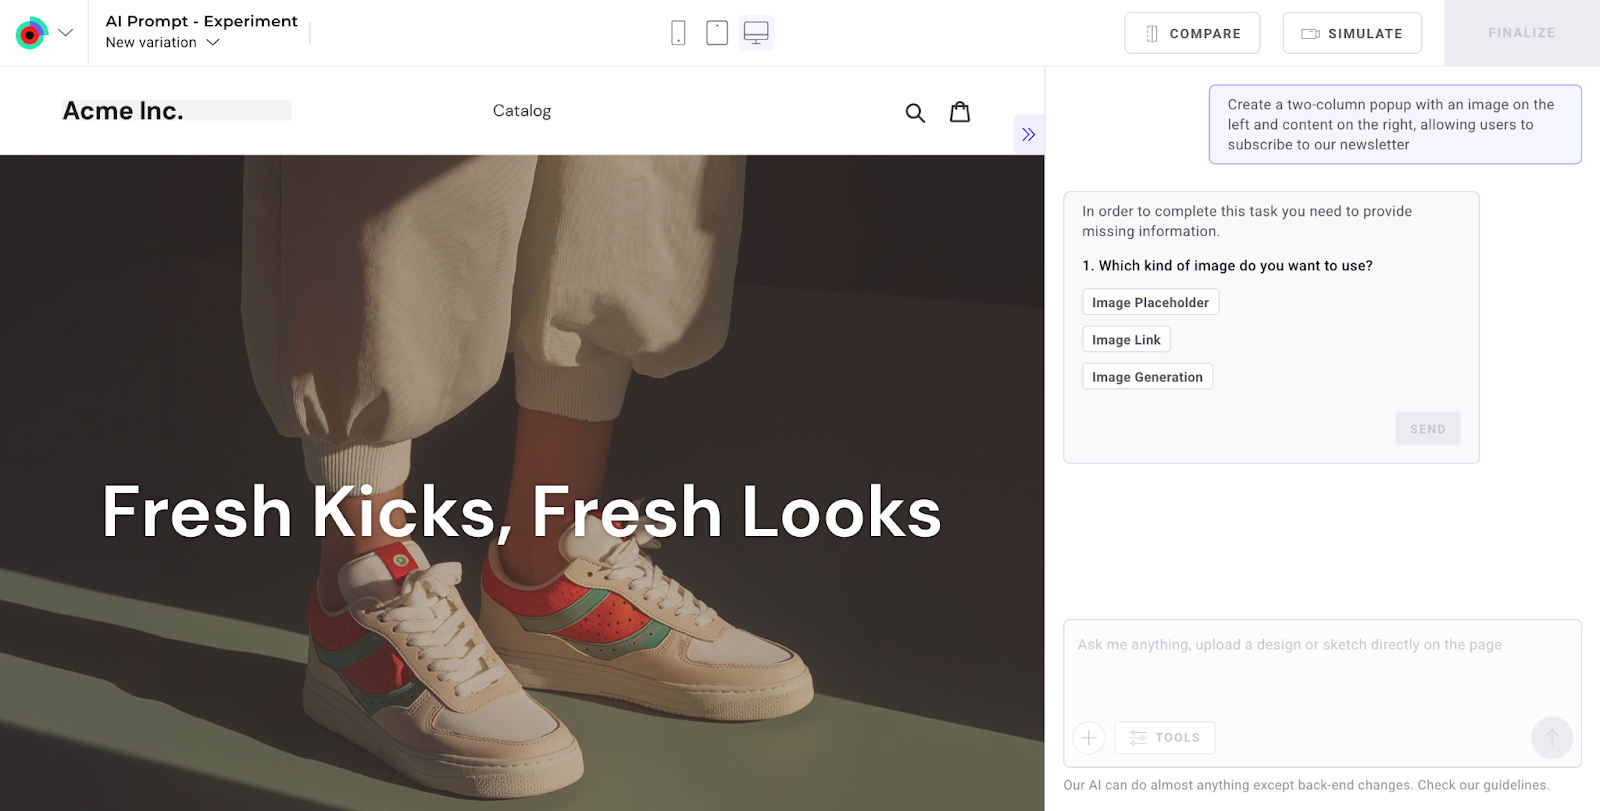
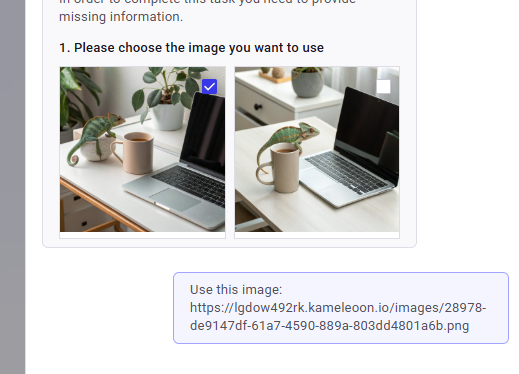
These questions may include which image to use, what the popup’s purpose is, or what kind of content should appear.
This refinement process ensures the AI’s generated result matches your intent before any changes are applied.
Kameleoon can also generate images using Recraft.ai. These AI-generated images are available directly in your Image Library and can be used in your variations. Recraft typically grants commercial usage rights for the images it produces.

In addition, you can sketch directly on the page to design a popup, overlay, or any other component. Once your sketch is ready, simply prompt: “Build the popup based on my sketch“.
Kameleoon AI will interpret your drawing and come back with any clarifying questions if needed before generating the variation.
Learn how to write effective prompts for prompt-based experiments. Follow best practices and avoid common mistakes to get accurate, visually relevant results every time.
3. Review and adjust the generated code

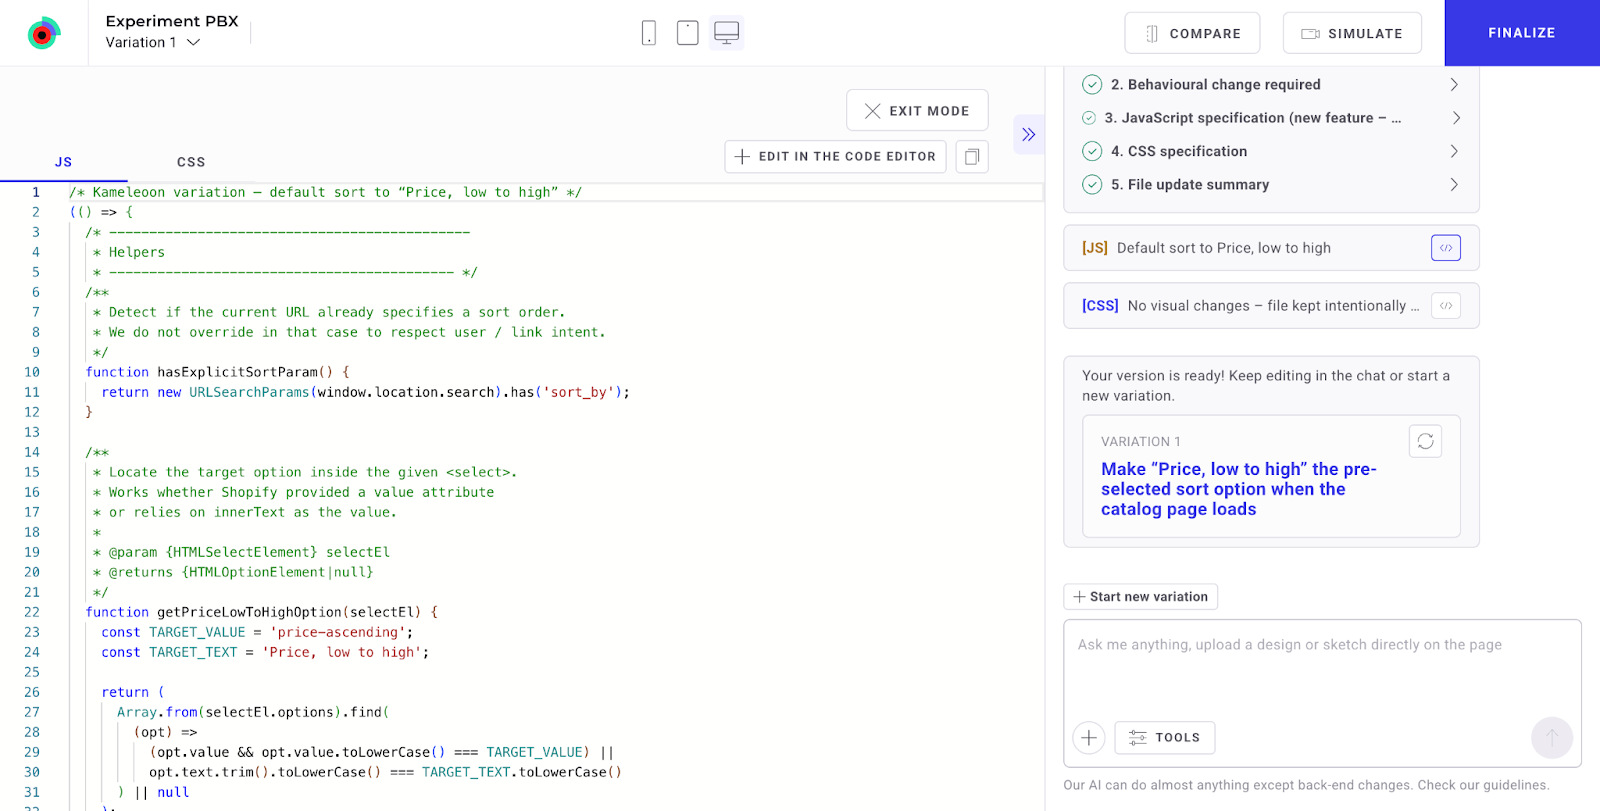
Click [CSS] or [JS] in the right-hand panel to inspect the relevant code.
Once the AI generates content for your experiment, you can refine its output by editing the underlying code.
To modify an AI-generated variation, you must first duplicate it. At this stage, Kameleoon does not allow direct edits to the original code generated by the AI (see the FAQ section below).
Steps to follow:
1. Click the Edit in the code editor CTA.
2. The code editor will open, allowing you to make your desired changes in the newly duplicated variation.
4. Compare and simulate your variation
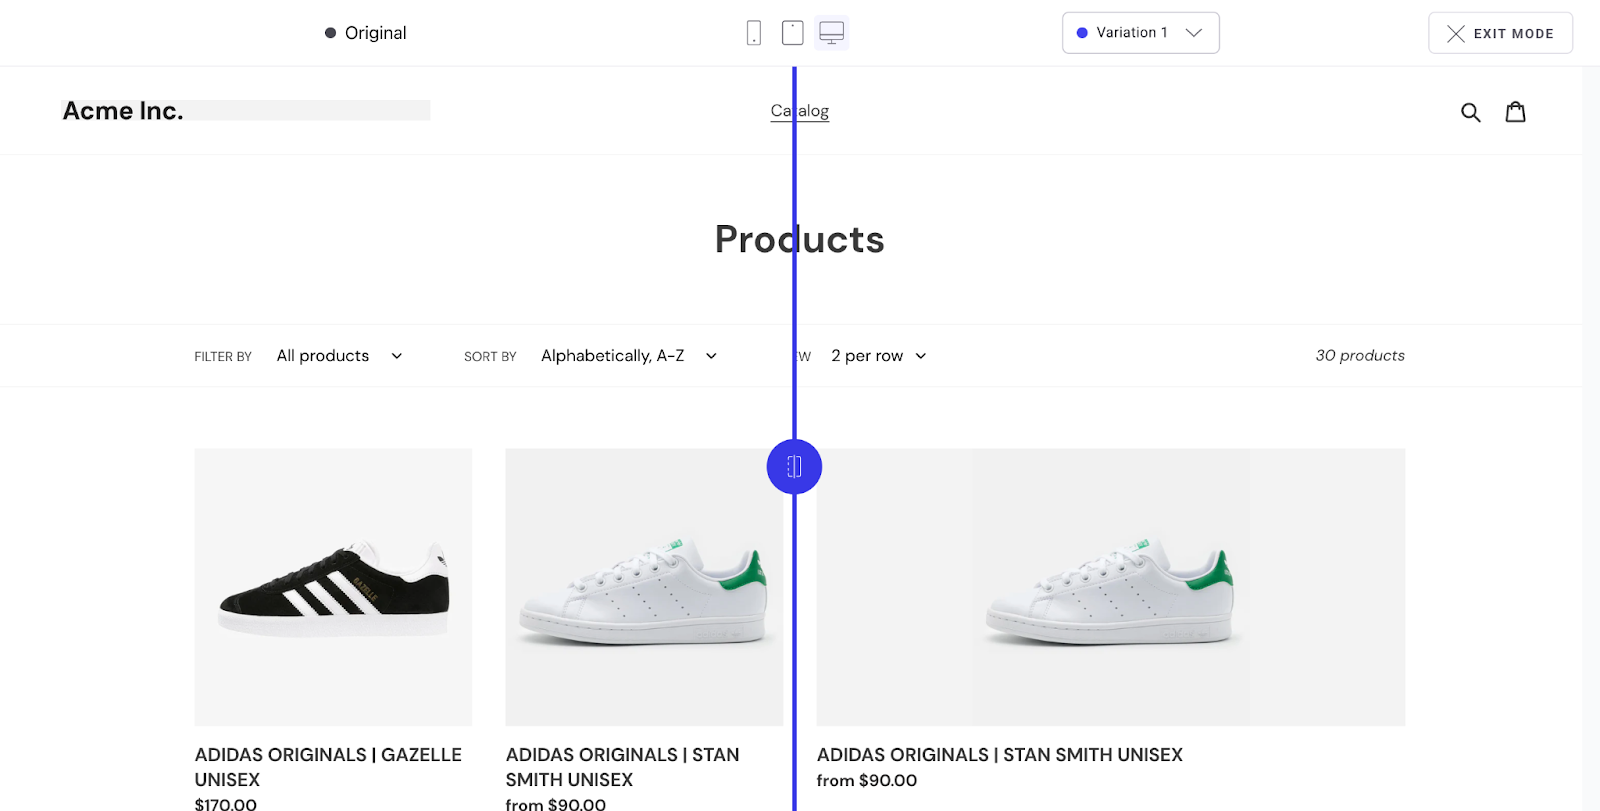
Use the toolbar in the top right to:
- Compare the original and variation side-by-side. Simply drag the vertical slider left or right to visually compare the variations.
- Simulate the experience live on your site.
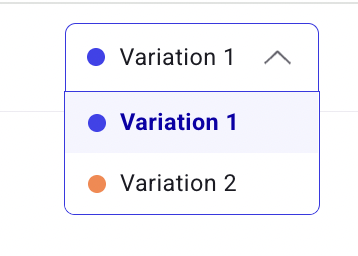
You can switch between variations using the dropdown, and exit the editor at any time by clicking Exit Mode.
Finalize the prompt-based experiment
Once your variation is complete:
- Click Finalize.
- Set your goals, audience targeting and traffic allocation.
- Launch your experiment.
You’re ready to experiment, faster than ever, with no code and no delay.
