
Mouseflow allows marketers to understand why their visitors behave the way they do and to see how visitors are really using their website by combining session replays, heatmaps, funnels analysis and user feedback (polls, surveys…) tools.
With our Mouseflow integration, Kameleoon will automatically flag all your heatmaps and session replays with additional tags to allow you to segment your analysis based on each experiment variation.
Key benefits
- Understand why visitors leave your website with the help of engaging polls or surveys designed by Mouseflow.
- Analyse how your visitors behave while they are exposed to an experiment by watching session recordings on Mouseflow based on a large number of filtering options.
- Identify area of optimization thanks to Mouseflow heatmaps and prioritize your roadmap of experiments in Kameleoon.
Activate Mouseflow on Kameleoon
Warning: You should either activate the Mouseflow extension in Kameleoon OR the Kameleoon extension in Mouseflow. Activating both may result in sessions being double-tagged.
The first step is to enable Mouseflow.
Log in to your Kameleoon App, click on Administrate and then Integrations in the sidebar.
For more information on this page, see our article about it.

By default, the tool is not installed. This is signaled by this icon:

By clicking on Install the tool, you will be able to select the projects on which you want to activate it, so that information can be correctly reported to Mouseflow.
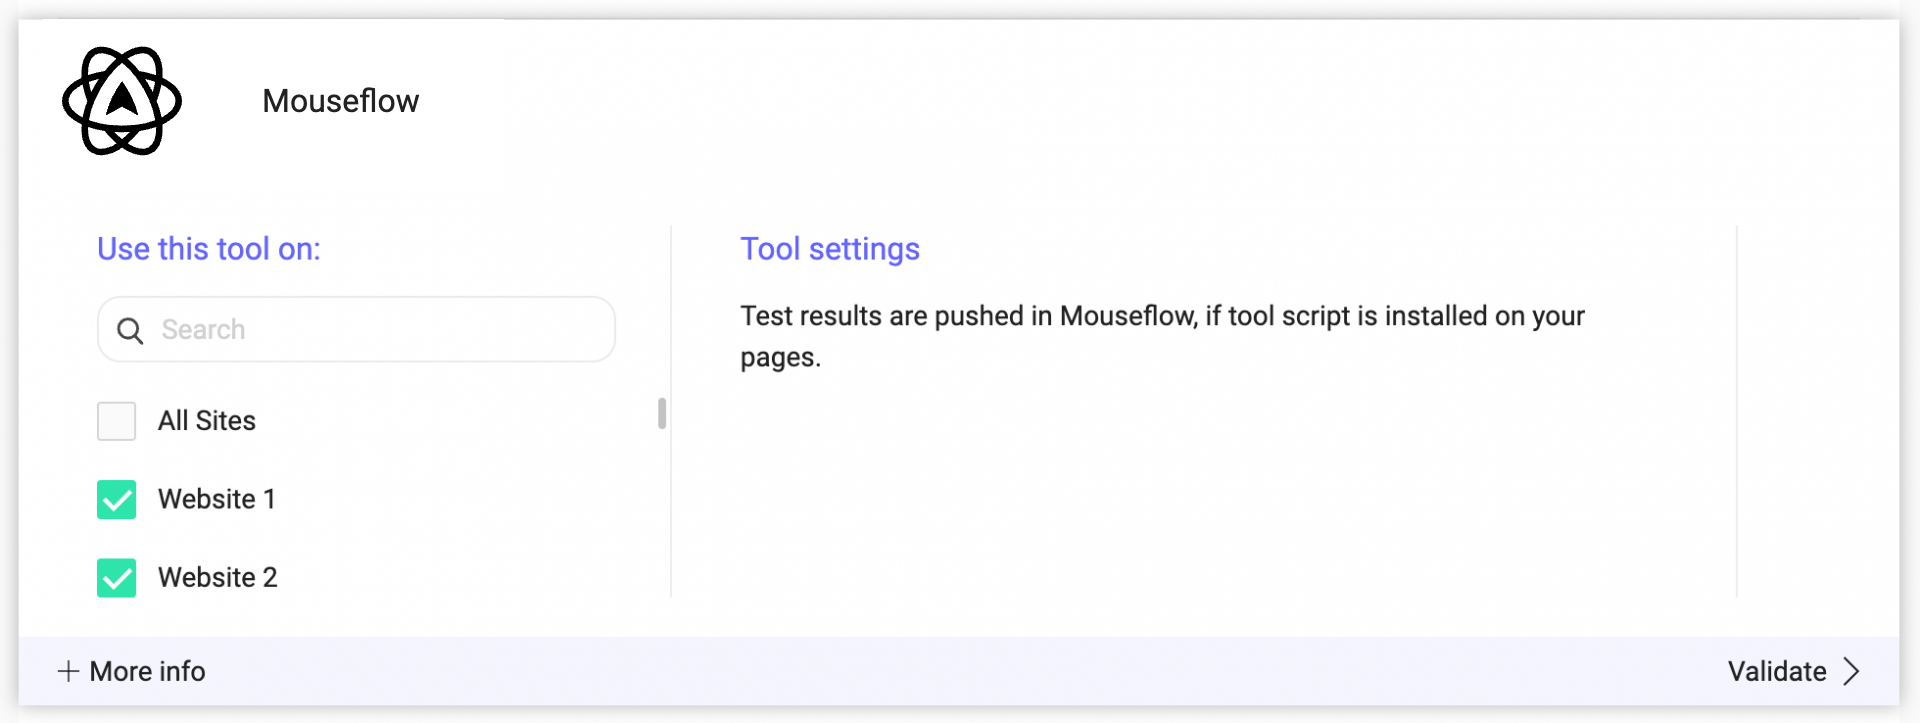
Once you have configured the tool, click on Validate in the bottom-right corner: the configuration panel will close. You will then see an ON toggle to the right of the tool’s logo, as well as the number of projects the tool is configured on.

The data will be automatically pushed to Mouseflow if this is installed on your pages.
Please note that if you need to slightly change the behavior of our native bridge, you can create a custom analytics bridge and use our Mouseflow sample code you can take from our Github repository.
Associate Mouseflow with a Kameleoon campaign
In the Graphic/Code editor
When finalizing your experiment, click the Integrations step to configure Mouseflow as a tracking tool.
Select Mouseflow.

Mouseflow will be mentioned in the summary pop-in before going live. Kameleoon will automatically transmit the data to Mouseflow and you will be able to view your results directly in the tool.
On the personalization creation page
In the same way as A/B testing, you can select Mouseflow among the reporting tools for a personalization.

On the results page
Once Mouseflow is set as a reporting tool for an experiment, you can select (or unselect) it via the Kameleoon results page. To do this, click on Reporting Tools in the panel on the right to open the corresponding menu.
The reporting tools associated with the experiment are displayed. Click Edit to edit this selection.
You can then select or unselect Mouseflow. Then click on Validate and continue to finalize or update your campaign.
