
In this article:
– How to choose a type of personalization
– How to define your personalization goal(s) and target audience
– How to set up display rules to ensure the right content is displayed to the right users
– How to launch and monitor your personalization
– How to measure the success of the campaign and iterate based on results
In order to launch your personalization, you must first be connected to your Kameleoon App.
Access the personalization creation page
You can create a new personalization from the Personalization dashboard page of your personalizations.
From this page, click on the New Personalization button located at the top right of this page.

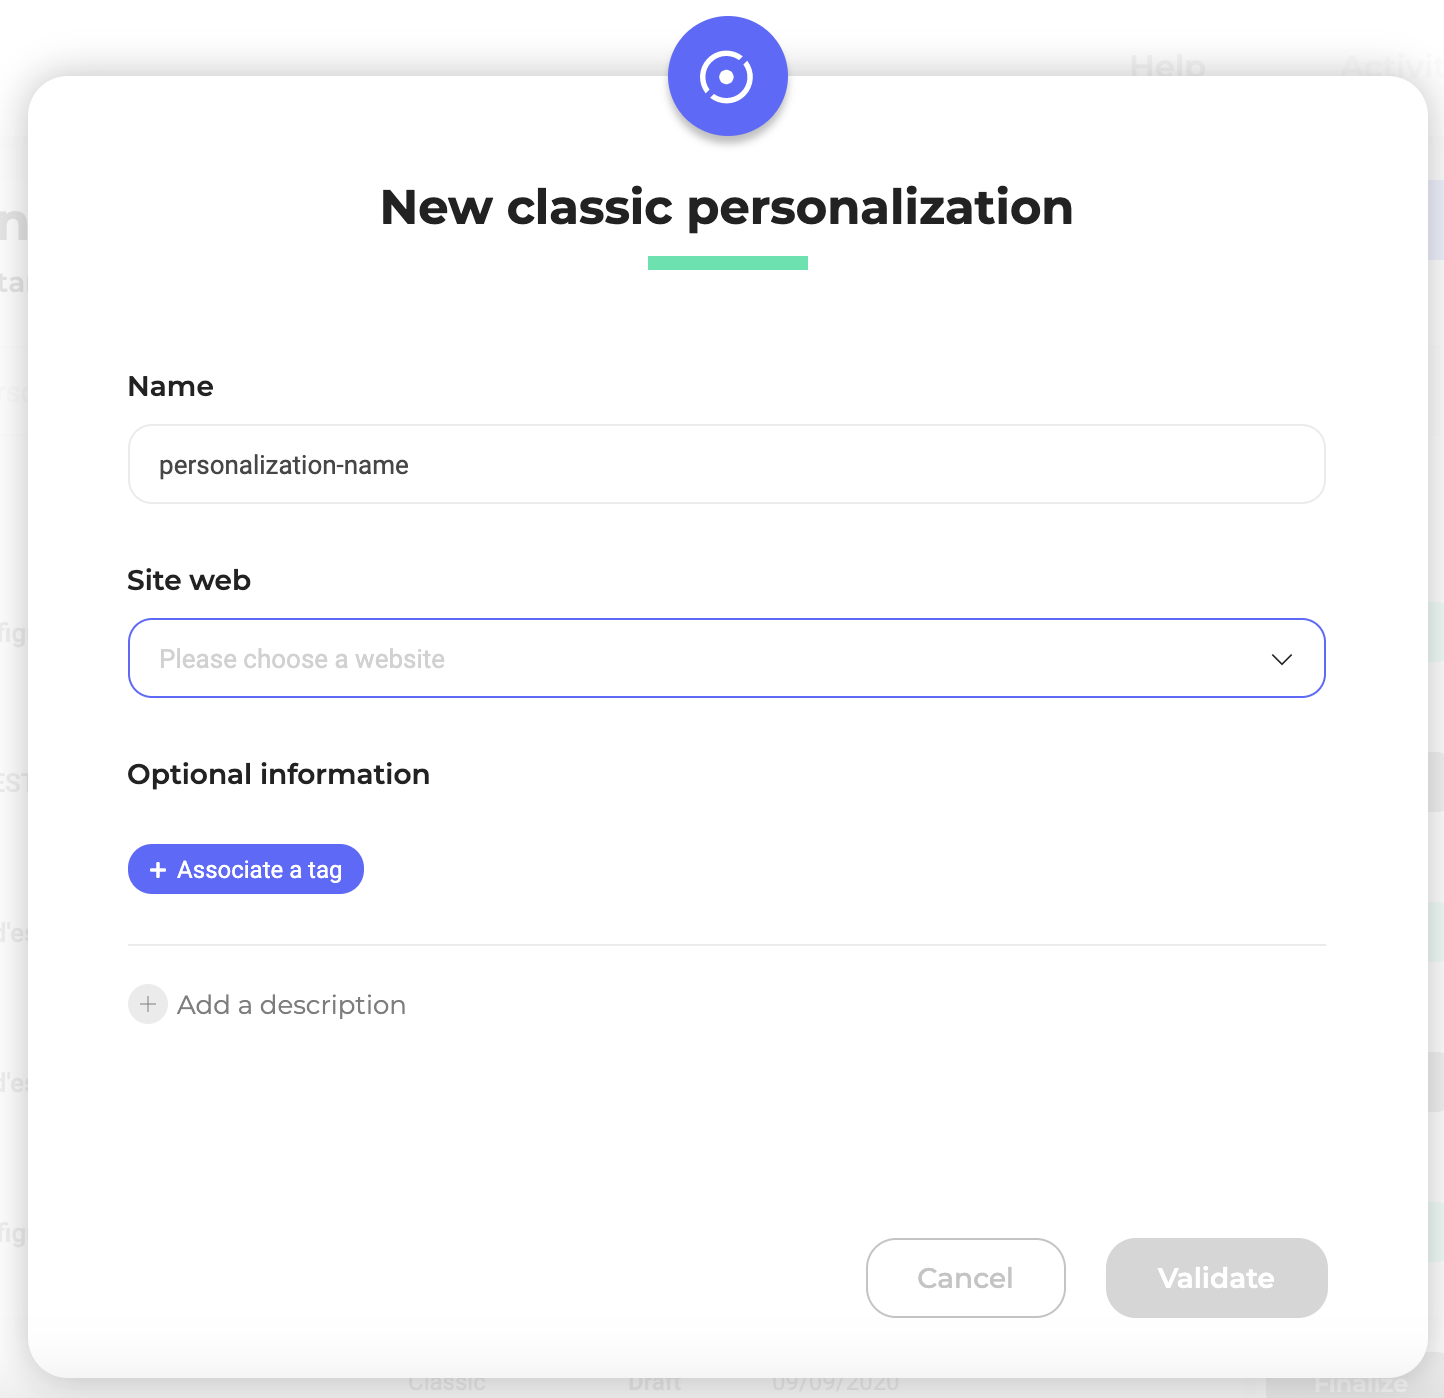
After clicking on the New Personalization button, a pop-in opens. This allows you to specify the name of your new personalization, as well as the website for which you want to create this personalization if you have set up multiple websites on your account.
Name your personalization
At the top of the page, you find the name of the personalization indicated in the previous step.

You can also specify a description, as well as one (or more) tag(s), which will allow you to easily find your personalization.
Tip: Assigning tags to your personalizations will allow you to find them easily from your Dashboard.The number of personalizations can quickly become important, we advise you to use tags so you can find them easily.
Define an exposed segment
When creating your personalization, you must already know exactly which segment will be exposed to it.
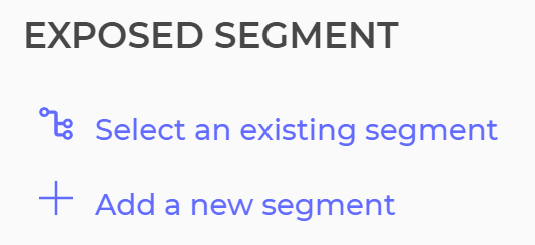
You must choose the segment that will be exposed to your personalization. Click on Choose Existing Segment to display the list of available segments. If you have not created your segment yet, click on Add new segment to open the segment builder.
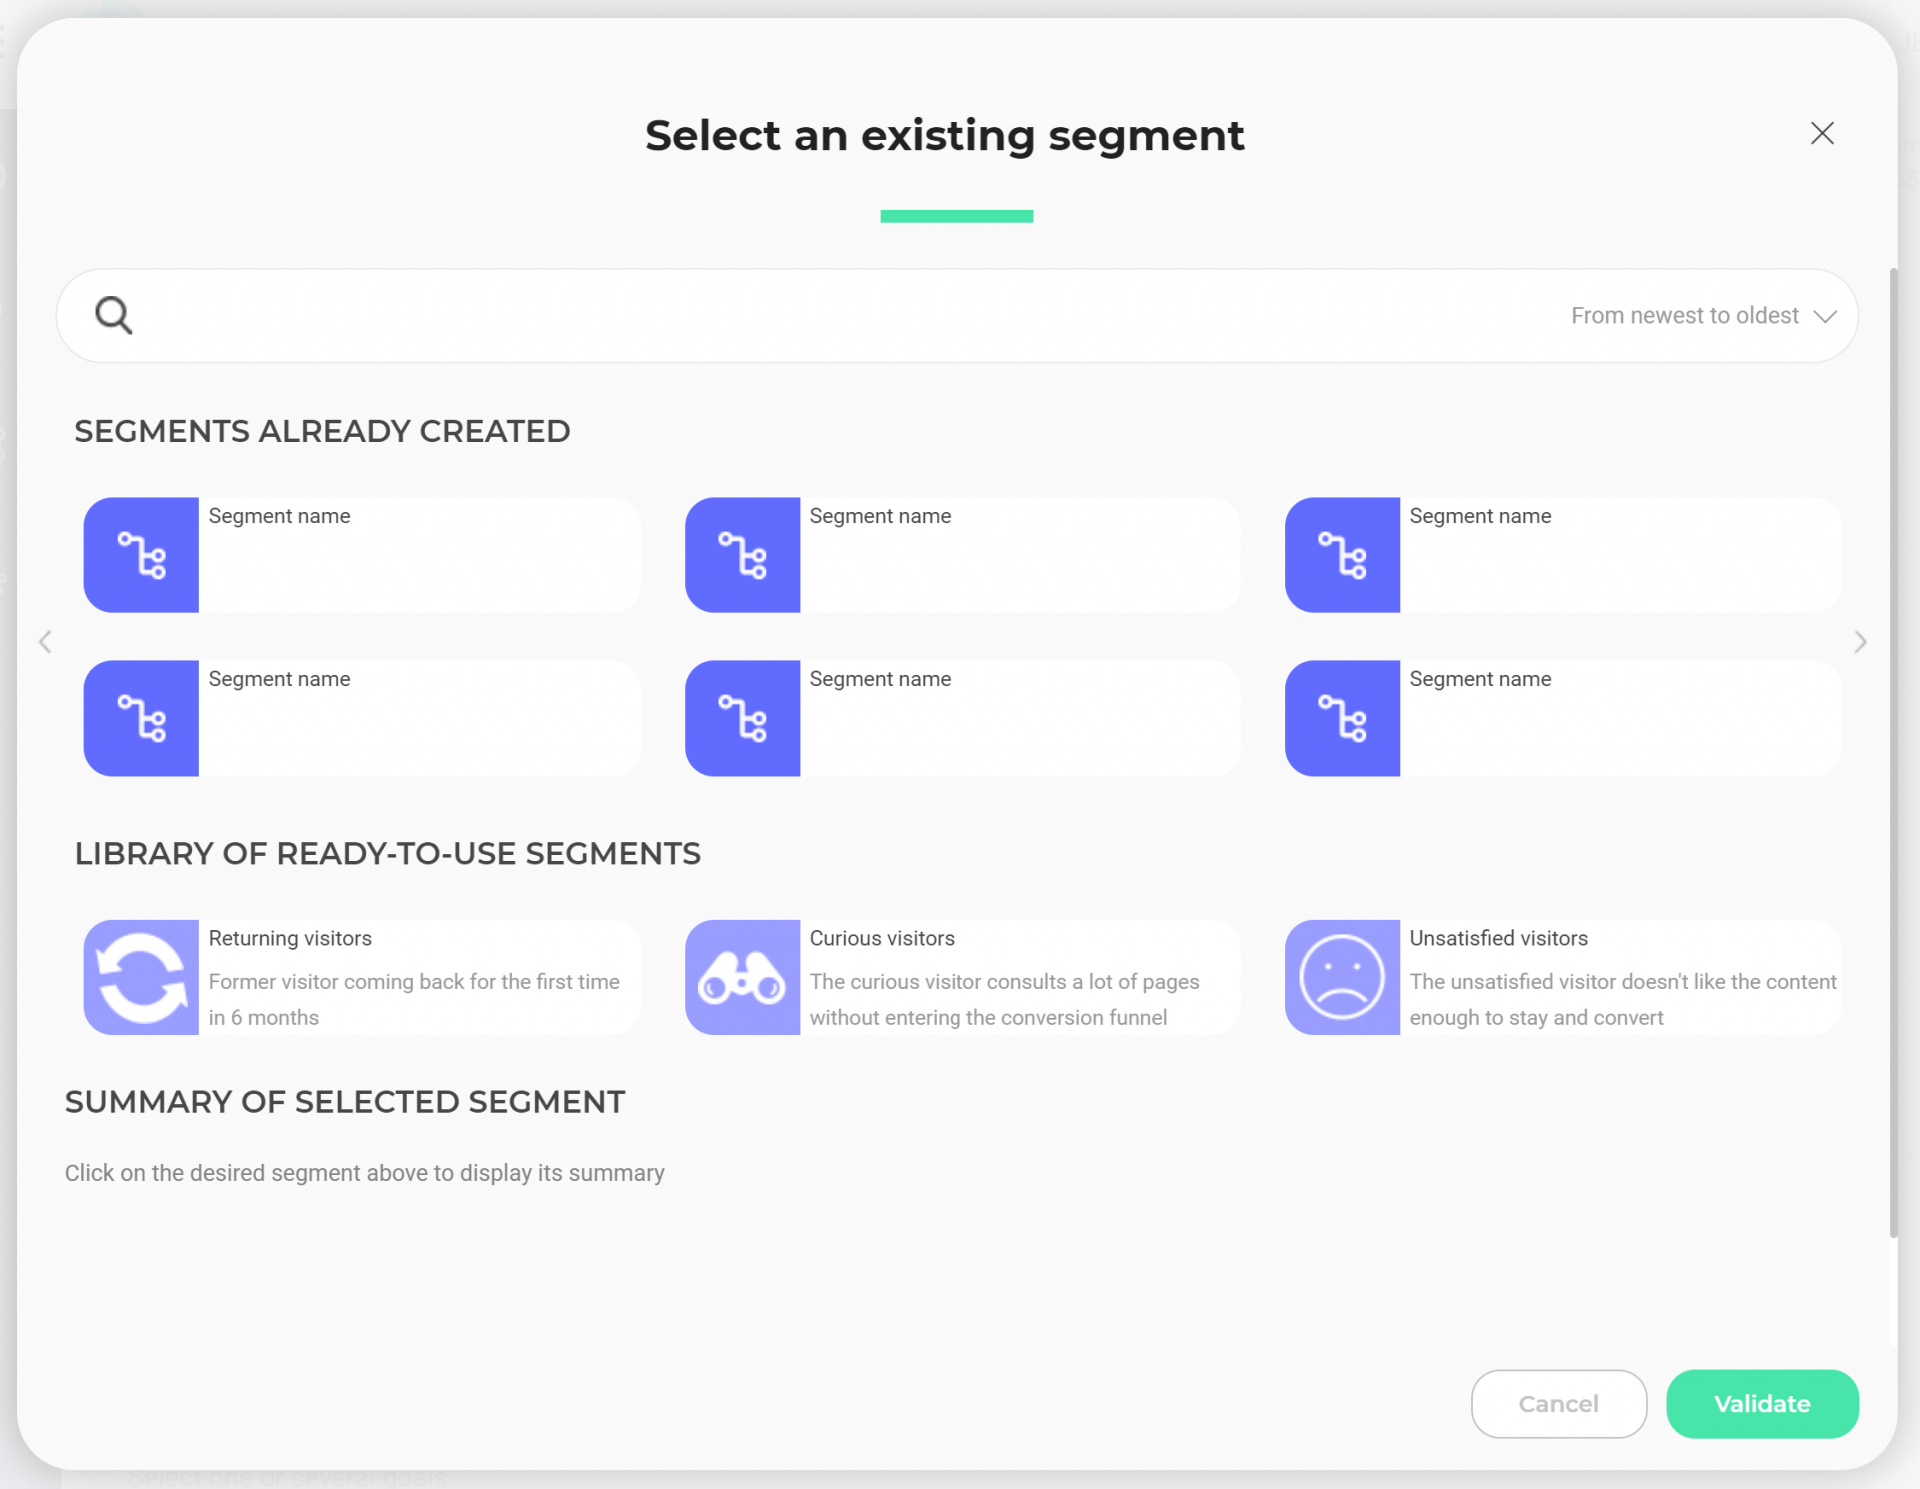
Once you have selected a segment, its conditions are displayed at the bottom of the pop-in.
For more information on creating segments, you can read our article about segment configuration.
Choose a type of personalization
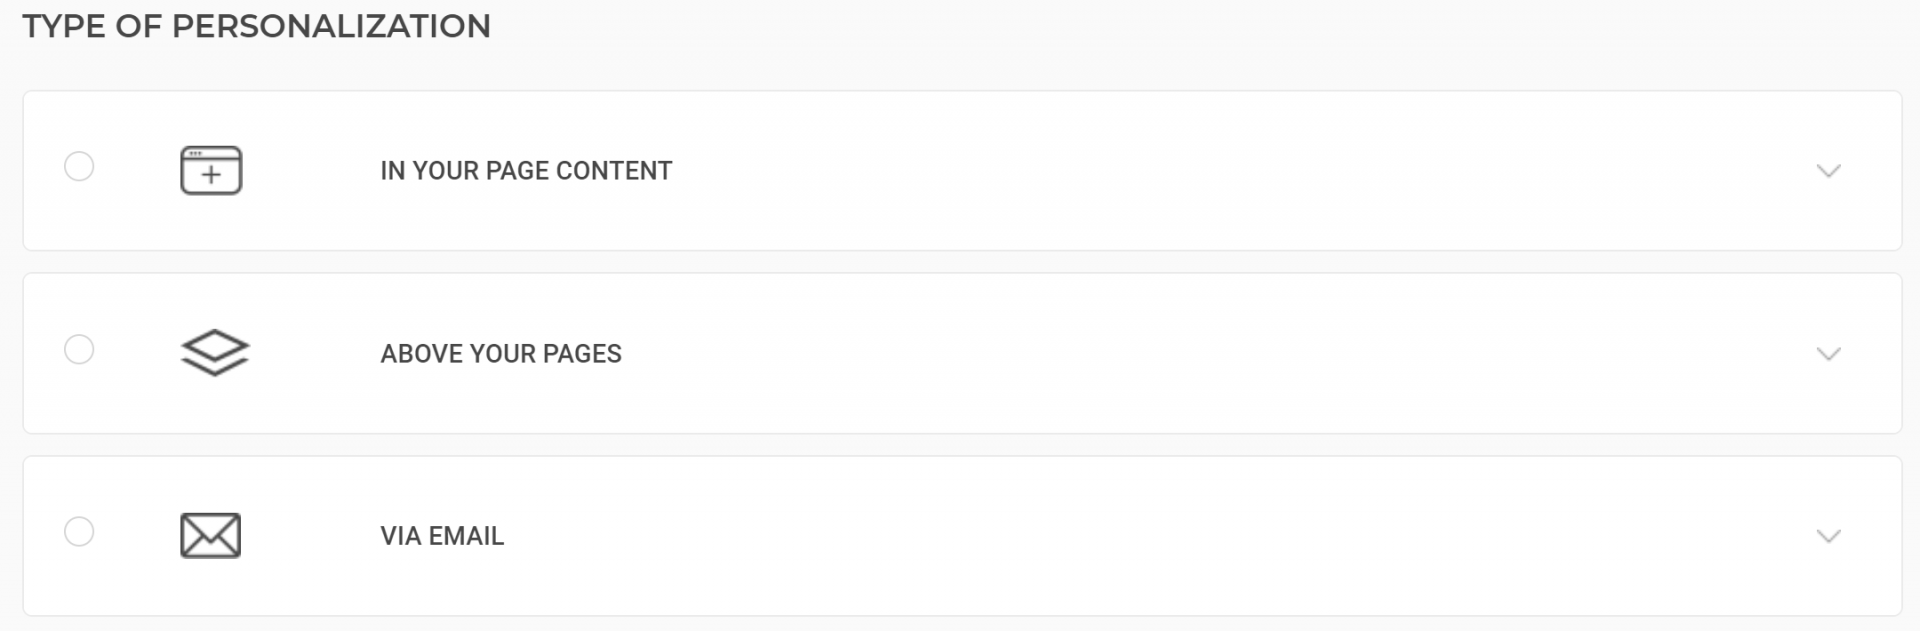
You have three options: create personalization in your page content, above your pages or via email. Just click on one of these options in order to unroll the associated menu.
In your page content
To display your personalization directly in the content of your pages, several options are available:
- via an image;
- via the graphic editor;
- via HTML;
- via CSS/JavaScript;
- using a widget.
Via an image
Kameleoon gives you the possibility to import an image, from your computer or from the Internet.
Image selection
To select an image, type its URL in the corresponding field, or import a file from your computer.
To delete an already selected image, click on the Delete button that appears on hover.

Image size
If the chosen image is exactly the size you want, check the box next to Conform to source image, the image will not be resized.
If you want to resize the image, check the box Resize the source image. The Image width and Image height fields appear, enabling you to adjust the image format.
Warning: The two fields are independent. To resize an image homothetically, be careful to fill both fields correctly.

Warning: If you check the Resize source image box without changing the dimensions, the personalization will not be activated.
Via the graphic editor

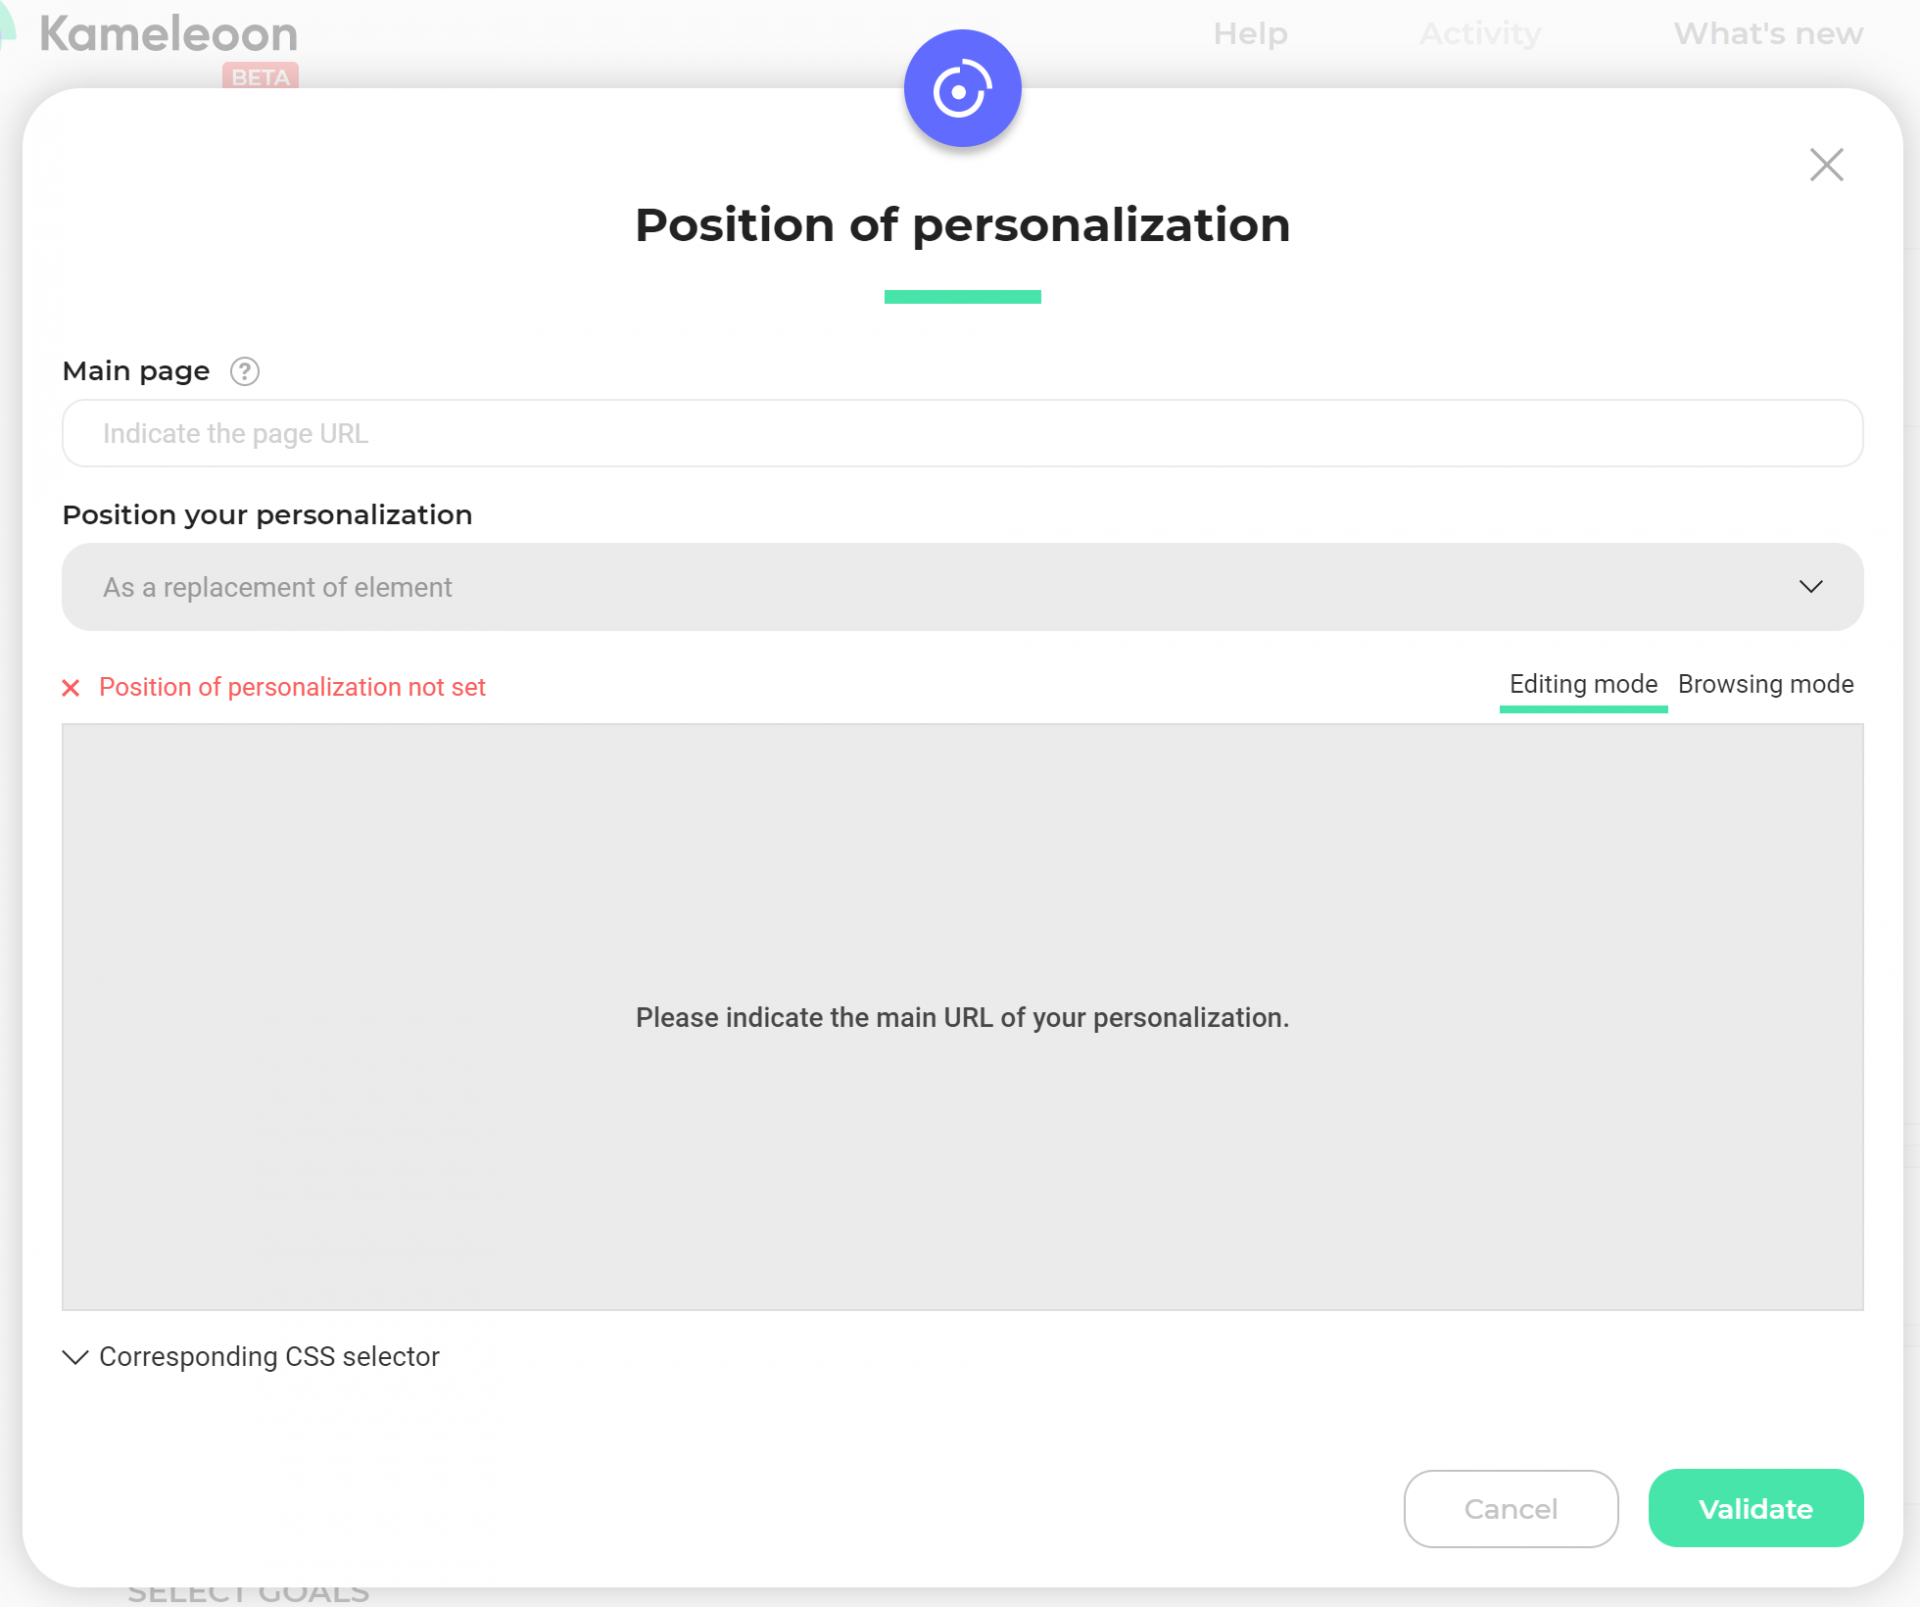
CSS Selector of the position
To define the position of your image on the page, you must specify a CSS selector.
To create a CSS selector, you can ask your developer for help or use Kameleoon’s graphic editor. For more information, see our articles Creating a new CSS selector (A/B testing).
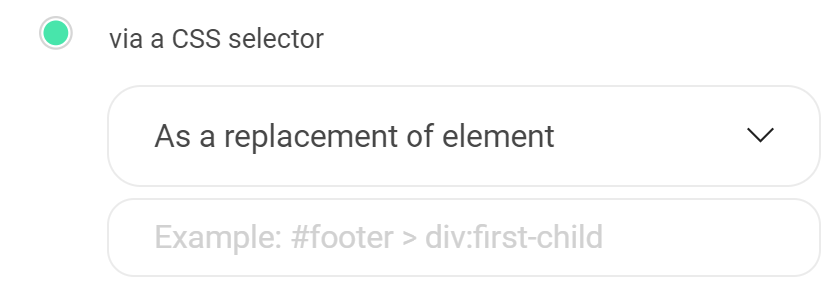
Position relative to the selector
You can also choose the position of your image :
- as a remplacement of element(selected by default);
- before the element;
- after the element.

Redirection URL after click
To add a link to your image, simply indicate the URL in the corresponding field.

The URL you enter will open in a new window if the visitor clicks anywhere on your image.
Via the graphic editor
If you are also using Kameleoon for A/B testing , you can use variations created as part of your A/B experiments for your personalization. Simply select the variation you want to use from the drop-down list.
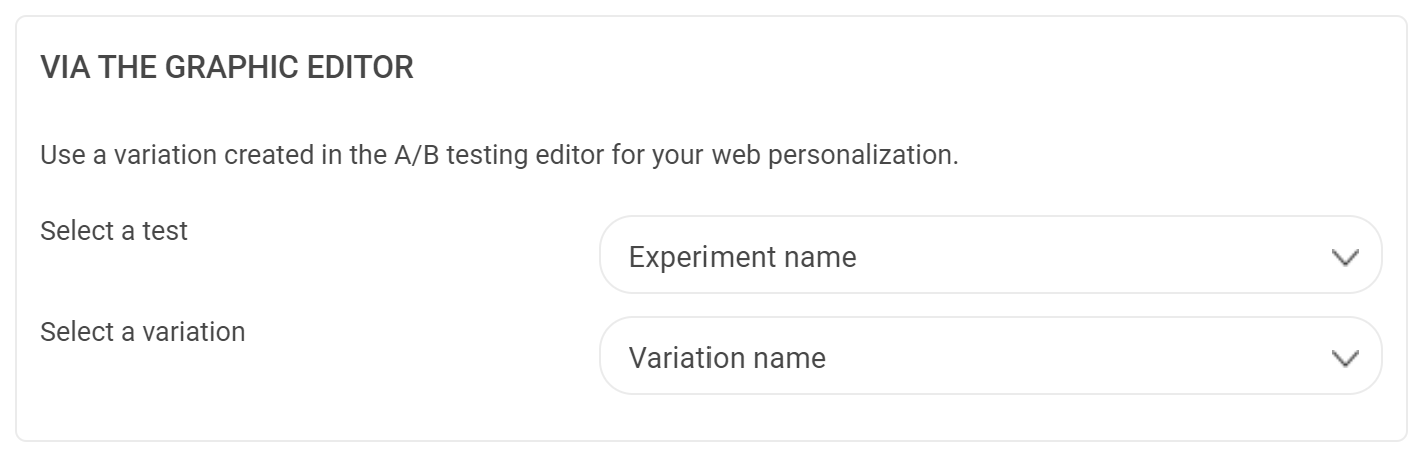
If you are not an A/B testing customer and do not want to do an A/B experiment, you can still access the graphic editor and create variations to use only for your personalizations.
If you need help with the Kameleoon editor, consult our guide Using the graphic editor.
Via HTML
Your HTML code
In order to make advanced changes to your page, it is possible to add HTML code directly.

Via the graphic editor
CSS selector
To set the location of your item on the page, you must specify a CSS selector.

To create a CSS selector, you can ask your developer for help or use Kameleoon’s graphic editor. For more information, see our articles Creating a new CSS selector (A/B testing).
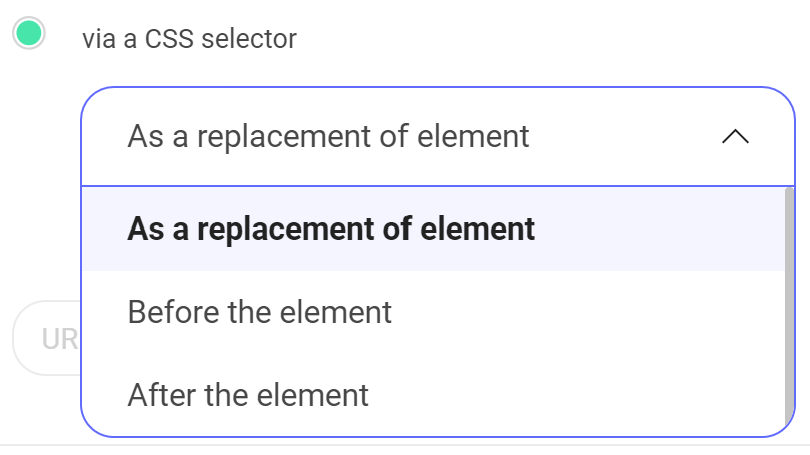
Position relative to the selector
You can also choose the position relative to the selector:
- replacing a selected element (selected by default);
- before an element;
- or after an element.
Redirection URL after click
If you want, you can add a link to your element. Simply indicate the URL in the corresponding field.

The URL you enter will open in a new window if the visitor clicks anywhere on your element.
Via CSS/JavaScript
If you want to create a more complex personalization, it may be necessary to make far-reaching modifications in your website’s pages.
You can add CSS or JavaScript code directly in the HTML code of your Internet page. This enables you to create any type of personalization.
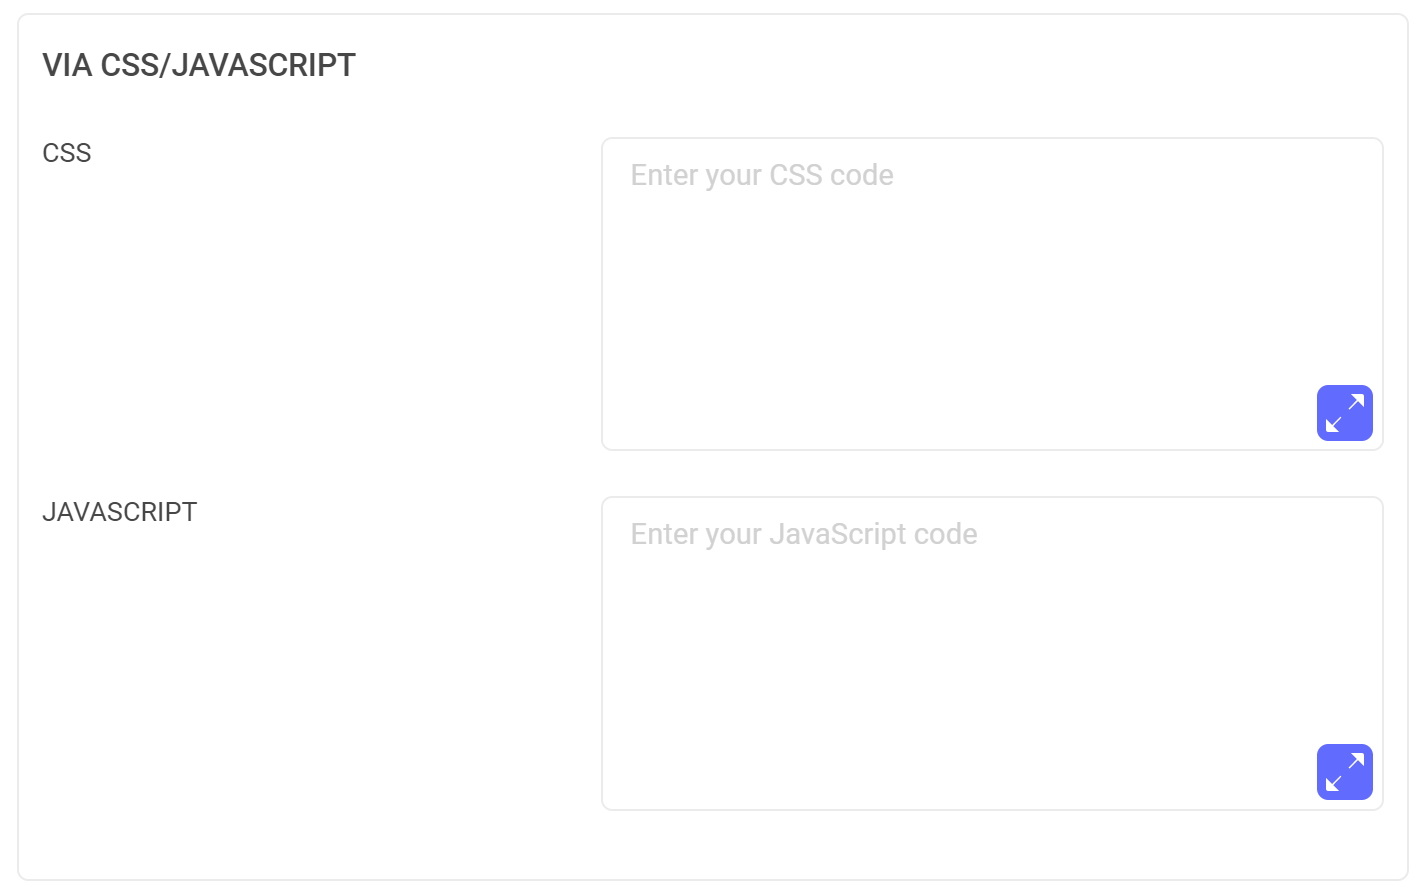
CSS
Warning: Kameleoon can load before your CSS style sheet, and the CSS rule you added might be crushed by the existing one. To avoid this, you need to add an!important attribute to the CSS rules of your choice to make sure it will load before the existing one.
For example: div#button{background-color : red !important;}
JavaScript
Kameleoon also provides an API and some features we strongly recommend for writing your JavaScript code. Please note that Kameleoon does not include jQuery, therefore the one already on your website will be used. Kameleoon might load before jQuery, bur it is necessary to wait for jQuery to load to run your variation’s JavaScript code . To make sure jQuery has loaded, you can use this piece of code:
  Kameleoon.API.Core.runWhenConditionTrue(function(){
 return typeof jQuery != "undefined";
 //allows to check that jQuery is loaded. Returns True if it is, or False otherwise. Kameleoon will execute this condition again every 200ms.

}, function(){
 //Enter here the code you want to execute in your variation. For example if you want to change the text of a block and this block has the id "block-2345", you can use the following Kameleoon API function

 Kameleoon.API.Core.runWhenElementPresent("#bloc-2345", function(){

 //Enter here your JavaScript code
 jQuery("#bloc-2345").text("My new text");

 });

}, 200);
If you want more information about Kameleoon.API.Core, you can read our documentation for developers:
- Find out more about the runWhenElementPresent() method
- Find out more about the runWhenConditionTrue() method
Above your pages
This type of personalization allows you to add a popin, a sticky block or a widget.
When you create a web personalization, three choices are available: you can display the personalization inside the content of your pages, above your pages or via an email.
In this article, we will explain how to display a web personalization above your pages. You can also read our article about personalization inside your pages.
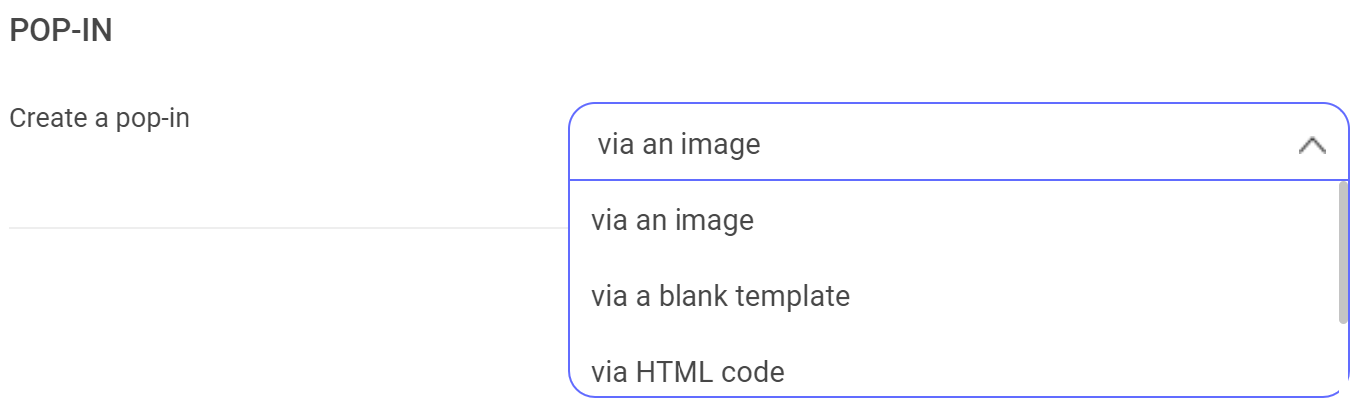
Pop-in
A pop-in is a window opening in your webpage, above its content. It can appear when the page loads or after an event (for example, a click on the Add to basket button).
Choose which method to use in the drop-down menu:
- From an image
- From a blank template
- From HTML code
- From Target2sell
From an image
- Image selection
You can use an image as a pop-in on your website. To do so, choose the option From an image.
To select an image, fill in its URL or select a file on your computer.
To delete an image you already selected, place your cursor above your image and click on the Delete button.

- Pop-in location on the page
By default, the pop-in is located at the center of the page, but you can choose its location by clicking on one of the arrow on the diagram. You can also choose the position more precisely on the X axis (horizontal) and the Y axis (vertical).

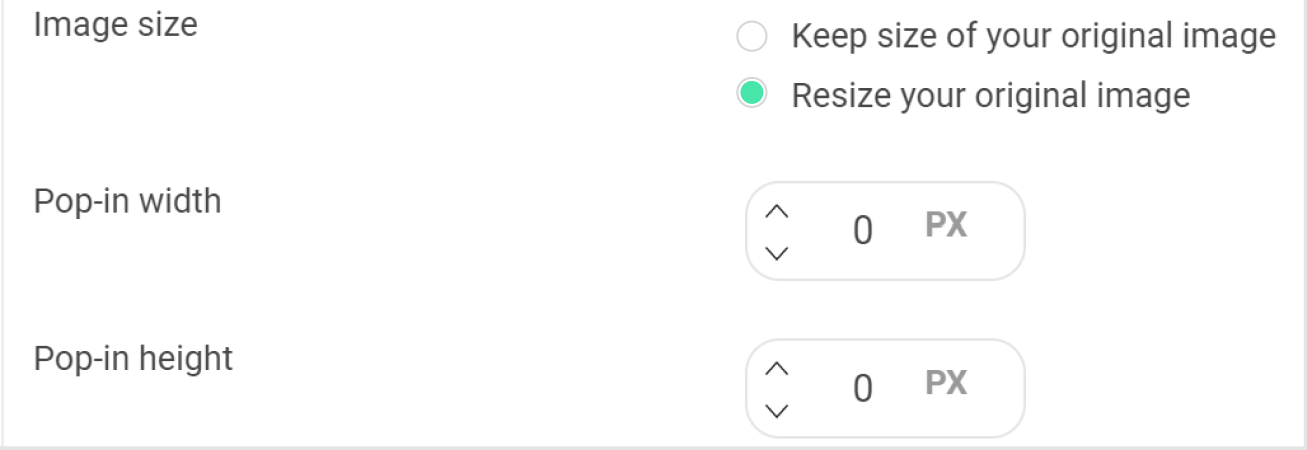
- Image size
To keep the dimensions of your file, check the box Identical to source image. However, if you want to resize it, check Resize source image. The fields Image width and Image height will appear, allowing you to set up the new size.
Warning: these fields are separated. To resize an image homothetically, make sure you filled in these fields correctly.
- Display for the following devices
In a few clicks, you can decide on which devices you want to display your web personalization: computer, smartphone or tablet. By default, all devices are selected. Click on the icon of your choice to unselect adevice.
Once a device is unselected, a new line appears allowing you to select a specific image for this device. If you do not add an image, your personalization will not display for visitors using this device.

Note: You can also include or exclude devices when you create your segment.
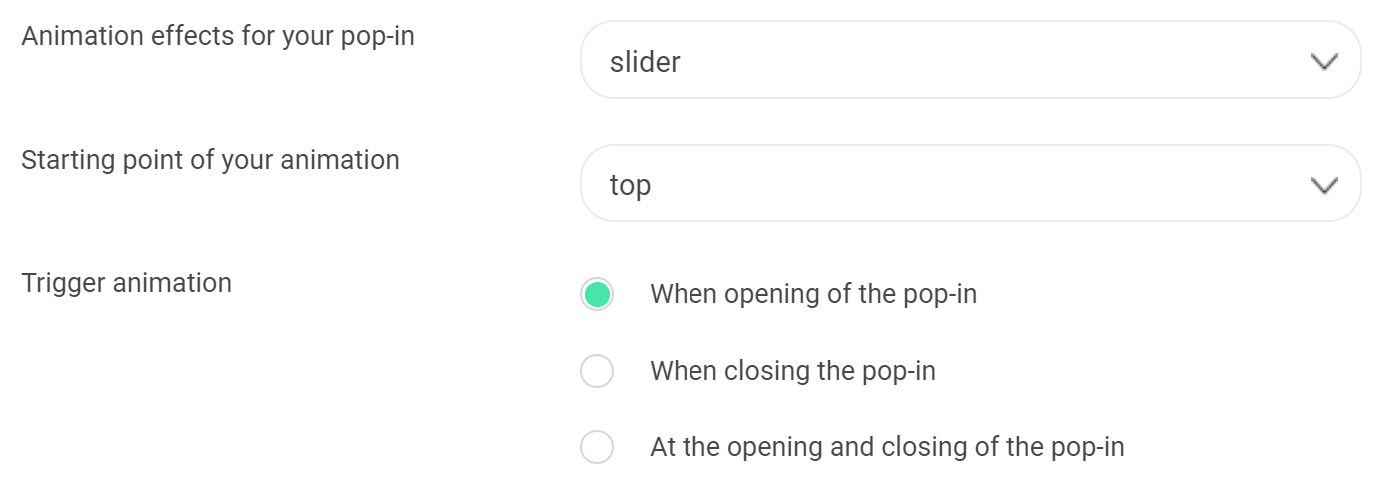
- Animation effects for your pop-in
You can add several animation effects to your pop-in: fade, slider, zoom in, zoom out, shaker. You can also choose when to trigger the animation: when the pop-in opens, when it closes or both. If you select Slider as an animation, you also need to choose its starting point.
- Redirection URL after click
If you want, you can determine a URL. Users clicking anywhere on your pop-in will be redirected to this URL. To do so, simply fill in the URL in the corresponding field.

The link will open in a new window if the visitor clicks anywhere on your pop-in.
- Options
Two options are available and already checked by default, but you can disable them if you want to.
Add a semi-translucent background: the background will be darkened to make the pop-in more visible.
Close pop-in if visitor clicks outside: the user will be able to close the pop-in with the close icon or by clicking anywhere outside the pop-in.

From a blank template
- Template type
Two basic templates are available, both consisting of an image and some text. Click on the template of your choice to select it.

- Image selection
To select an image, type in its URL or import it from your computer.

To delete an image already selected, place your cursor above your image and click on the Delete button.
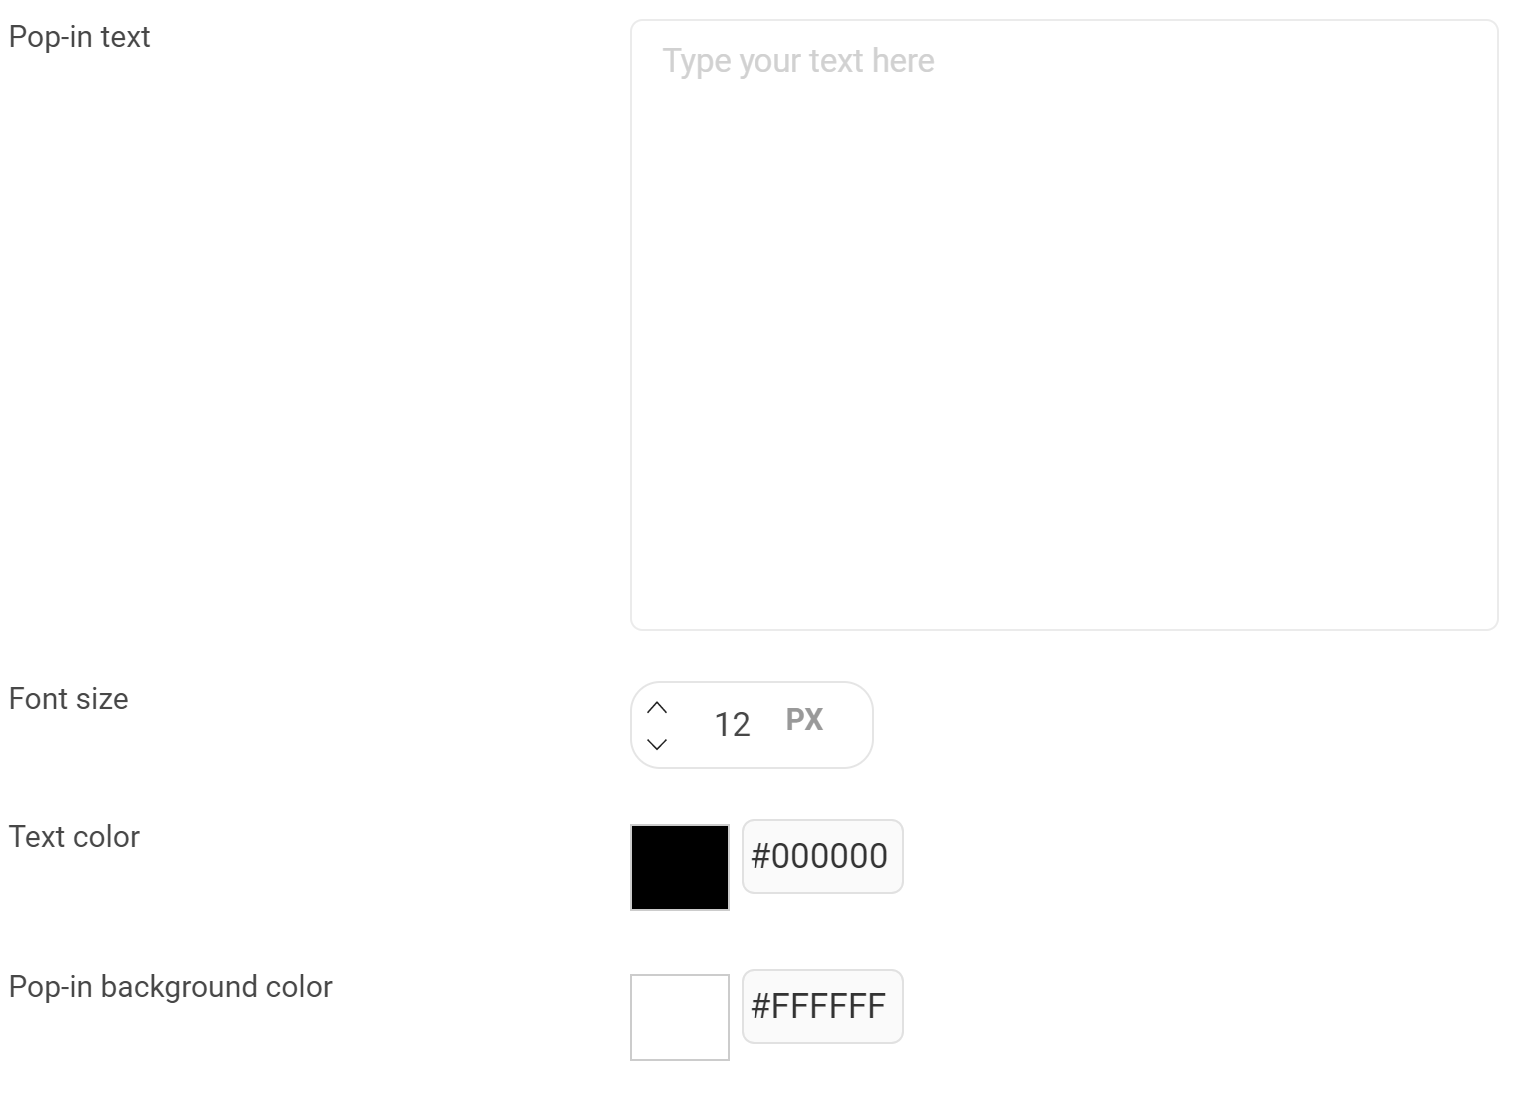
- Pop-in text
Fill in your text in the text field. You can choose the size and the color of your text, as well as the background color.
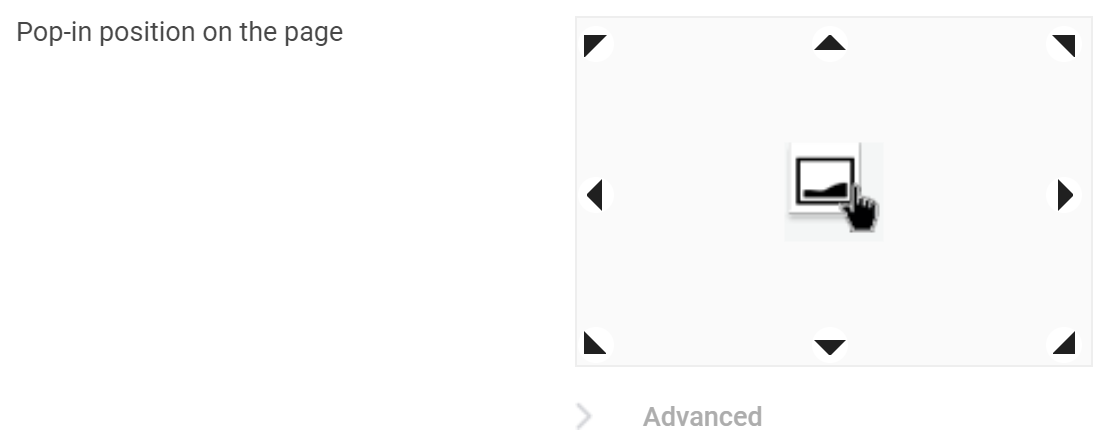
- Pop-in location on the page
By default, the pop-in is located at the center of the page, but you can choose its location by clicking on one of the arrow on the diagram. You can also choose the position more precisely on the X axis (horizontal) and the Y axis (vertical).

- Image size
To keep the dimensions of your file, check the box Identical to source image. However, if you want to resize it, check Resize source image. The fields Image width and Image height will appear, allowing you to set up the new size.
Warning: these fields are independants. To resize an image homothetically, make sure you filled in the fields correctly.

- Display for the following devices
In a few clicks, you can decide not to display your web personalization on a type of device. By default, all types of devices are selected. Click on the icon of your choice to unselect this device.
Once a device is unselected, a new line appears allowing you to select a specific image for this device. If you do not add an image, your personalization will not display on this device.

Note: You can also include or exclude devices when you create your segment.
- Animation effects for your pop-in
You can add several animation effects to your pop-in: fade, slider, zoom in, zoom out, shaker. You can also configure when to trigger the animation: when the pop-in opens, when it closes or both. You can also choose the starting point of the slider animation.

- Redirection URL after click
If you want, you can choose a URL: users clicking anywhere on your pop-in will be redirected to this URL. To do so, simply fill in the URL in the field.

The link will open in a new window if the visitor clicks anywhere on your pop-in.
- Options
Two options are available and already checked by default, but you can disable them if you want to.
Add a semi-translucent background: your website on the background will be darkened to make the pop-in more obvious.
Close pop-in if visitor clicks outside: the user will be able to close the pop-in with the close icon or simply by clicking anywhere outside the pop-in.

From HTML code
- Your HTML code
Type in or copy and paste the HTML code for your pop-in.
- Pop-in location on the page
By default, the pop-in is located at the center of the page, but you can choose its location by clicking on one of the arrow on the diagram. You can also choose the position more precisely on the X axis (horizontal) and the Y axis (vertical).

- Animation effects for your pop-in
You can add several animation effects to your pop-in: fade, slider, zoom in, zoom out, shaker. You can also configure when to trigger the animation: when the pop-in opens, when it closes or both. You can also choose the starting point of the slider animation.

- Redirection URL after click
If you want, you can choose a URL: users clicking anywhere on your pop-in will be redirected to this URL. To do so, simply fill in the URL in the field.

The link will open in a new window if the visitor clicks anywhere on your pop-in.
- Options
Two options are available and already checked by default, but you can disable them if you want to.
Add a semi-translucent background: your website on the background will be darkened to make the pop-in more obvious.
Close pop-in if visitor clicks outside: the user will be able to close the pop-in with the close icon or by clicking anywhere outside the pop-in.
From Target2Sell
If you want to use Target2Sell, you can simply fill in your identifier. Then, Target2Sell will determine automatically which product will be highlighted.
- Pop-in location on the page
By default, the pop-in is located at the center of the page, but you can choose its location by clicking on one of the arrow on the diagram. You can also choose the position more precisely on the X axis (horizontal) and the Y axis (vertical).
- Animation effects for your pop-in
You can add several animation effects to your pop-in: fade, slider, zoom in, zoom out, shaker. You can also configure when to trigger the animation: when the pop-in opens, when it closes or both. You can also choose the starting point of the slider animation.

Warning: if you want to use an animation effect, you must check the Allow the injection of jQuery box on your configuration options, accessible via the Preferences page.
To do so, go to the Personalization module in the Configuration part. If you are having trouble to find this option, you can read our article How to allow jQuery injection?
- Redirection URL after click
If you want to you can choose a URL: users clicking anywhere on your pop-in will be redirected to this URL. To do so, simply fill in the URL in the field.

The link will open in a new window if the visitor clicks anywhere on your pop-in.
- Options
Two options are available and already checked by default, but you can disable them if you want to.
Add a semi-translucent background: your website on the background will be darkened to make the pop-in more obvious.
Close pop-in if visitor clicks outside: the user will be able to close the pop-in with the close icon or by clicking anywhere outside the pop-in.

Sticky block
A sticky block is a banner on all you page width, usually located in or above the header or the footer.
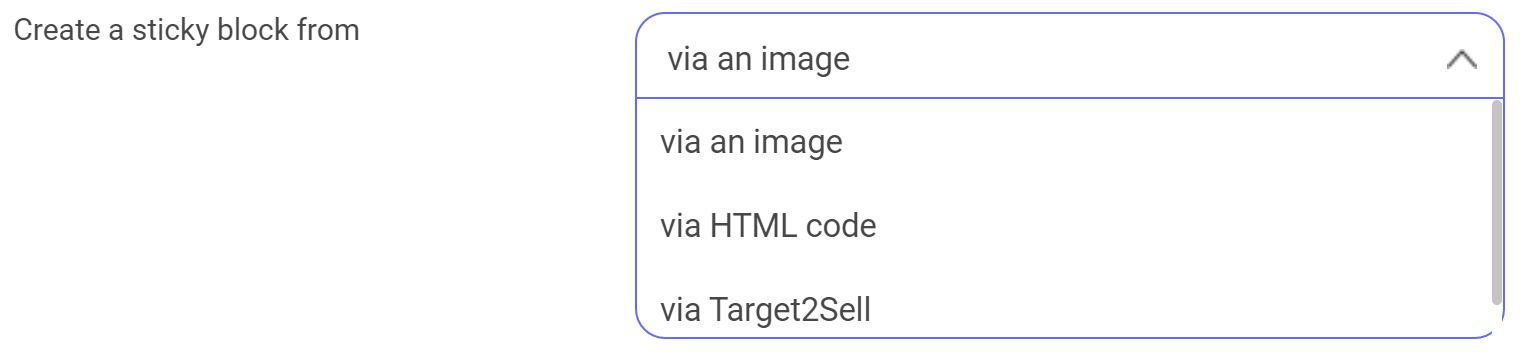
Choose which method to use in the trop down menu:
- From an image
- From HTML code
- From Target2Sell
From an image
- Image selection
To use an image as a sticky block, select From an image.
To select your image, type in its URL or import a file from your computer.
The image will take the entire page width: if your image is too high, it will take too much space on your webpages.
To delete an image already selected, place your cursor above your image and click on the Delete button.
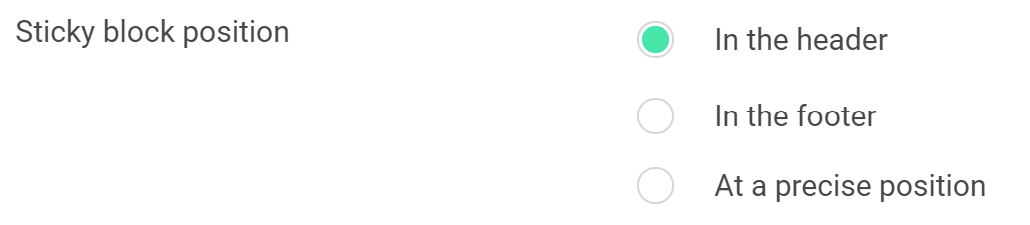
- Sticky block position
Three options are available:
- In the header
- In the footer
- At a precise position
- Display for the following devices
In a few clicks clicks, you can decide not to display your web personalization on a type of device. By default, all type of devices are selected. Click on the icon of your choice to unselect this device.
Once a device is unselected, a new line appears allowing you to select a specific image for this device. If you do not add an image, your personalization will not display on this device.

Note: You can also include or exclude devices when you create your segment.
- Redirection URL after click
If you want, you can choose a URL: users clicking anywhere on your pop-in will be redirected to this URL. To do so, simply fill in the URL in the field.

The link will open in a new window if the visitor clicks anywhere on your pop-in.
- Options
Two options are available, they are disabled by default but can be activated if you wish:
Show the sticky block on scroll: the sticky block will appear only when the user scrolls the page.
Shift the content to avoid overlay: the sticky block will not be positioned above your content. For example, if you use a sticky block in header, the top of your page will be offset from the height of the sticky block in order to be fully visible.

From HTML code
- Your HTML code
Type or paste the HTML code of your pop-in into the field shown.
- Redirection URL after click
You can add a link on your sticky block. Simply indicate the link in the corresponding field.

The link will open in a new window if the visitor clicks anywhere on your pop-in.
- Options
Two options are available. They are enabled by default:
Show the sticky block on scroll: the sticky block will appear only when the user scrolls the page.
Shift the content to avoid overlay: the sticky block will not be positioned above your content. For example, if you use a sticky block in header, the top of your page will be offset from the height of the sticky block in order to be fully visible.

From Target2Sell
If you want to use Target2Sell, you can simply fill in your identifier. Then, Target2Sell will determine automatically which product will be highlighted.
- Redirection URL after click
If you want, you can choose a URL: users clicking anywhere on your pop-in will be redirected to this URL. To do so, simply fill in the URL in the field.

The link will open in a new window if the visitor clicks anywhere on your pop-in as soon as the visitor clicks on the sticky block.
- Options
Two options are available. They are enabled by default:
Show the sticky block on scroll: the sticky block will appear only when the user scrolls the page.
Shift the content to avoid overlay: the sticky block will not be positioned above your content. For example, if you use a sticky block in header, the top of your page will be offset from the height of the sticky block in order to be fully visible.

Widgets
You can also use widgets for your web personalizations.
Select the widget of your choice by clicking on the Add button on the bottom right of each widget.

Once you have selected a widget, you can unselect it by clicking on Widgets in the path on the top of the window.
For further information about widgets, please read our documentation on widgets.
Via email
This type of personalization allows you to send an email to your visitors if they fulfill specific targeting conditions.
Warning: You can only create one personalization at a time. For example, it is not possible to add a popin and a sticky block at the same time, or a popin and a variation configured via the graphic editor.
Set up conversion goals
You can either create a new goal and associate it with your personalization, or associate an existing goal.
Create a new goal
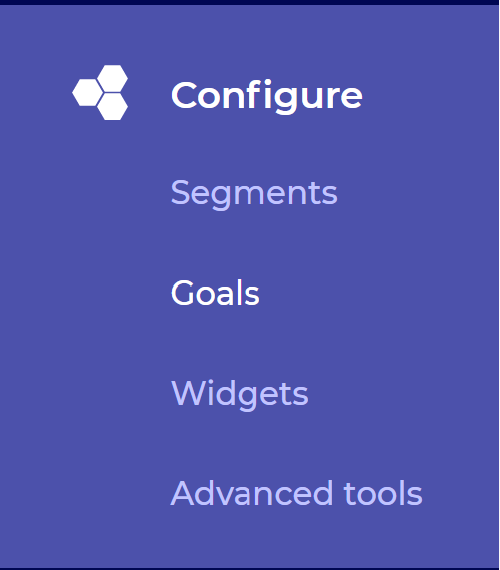
To create a new Kameleoon goal, go to the Goals page via the left side menu.
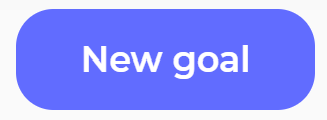
By default, the Engagement goal is already created. To add an additional goal, click on the New Goal button.
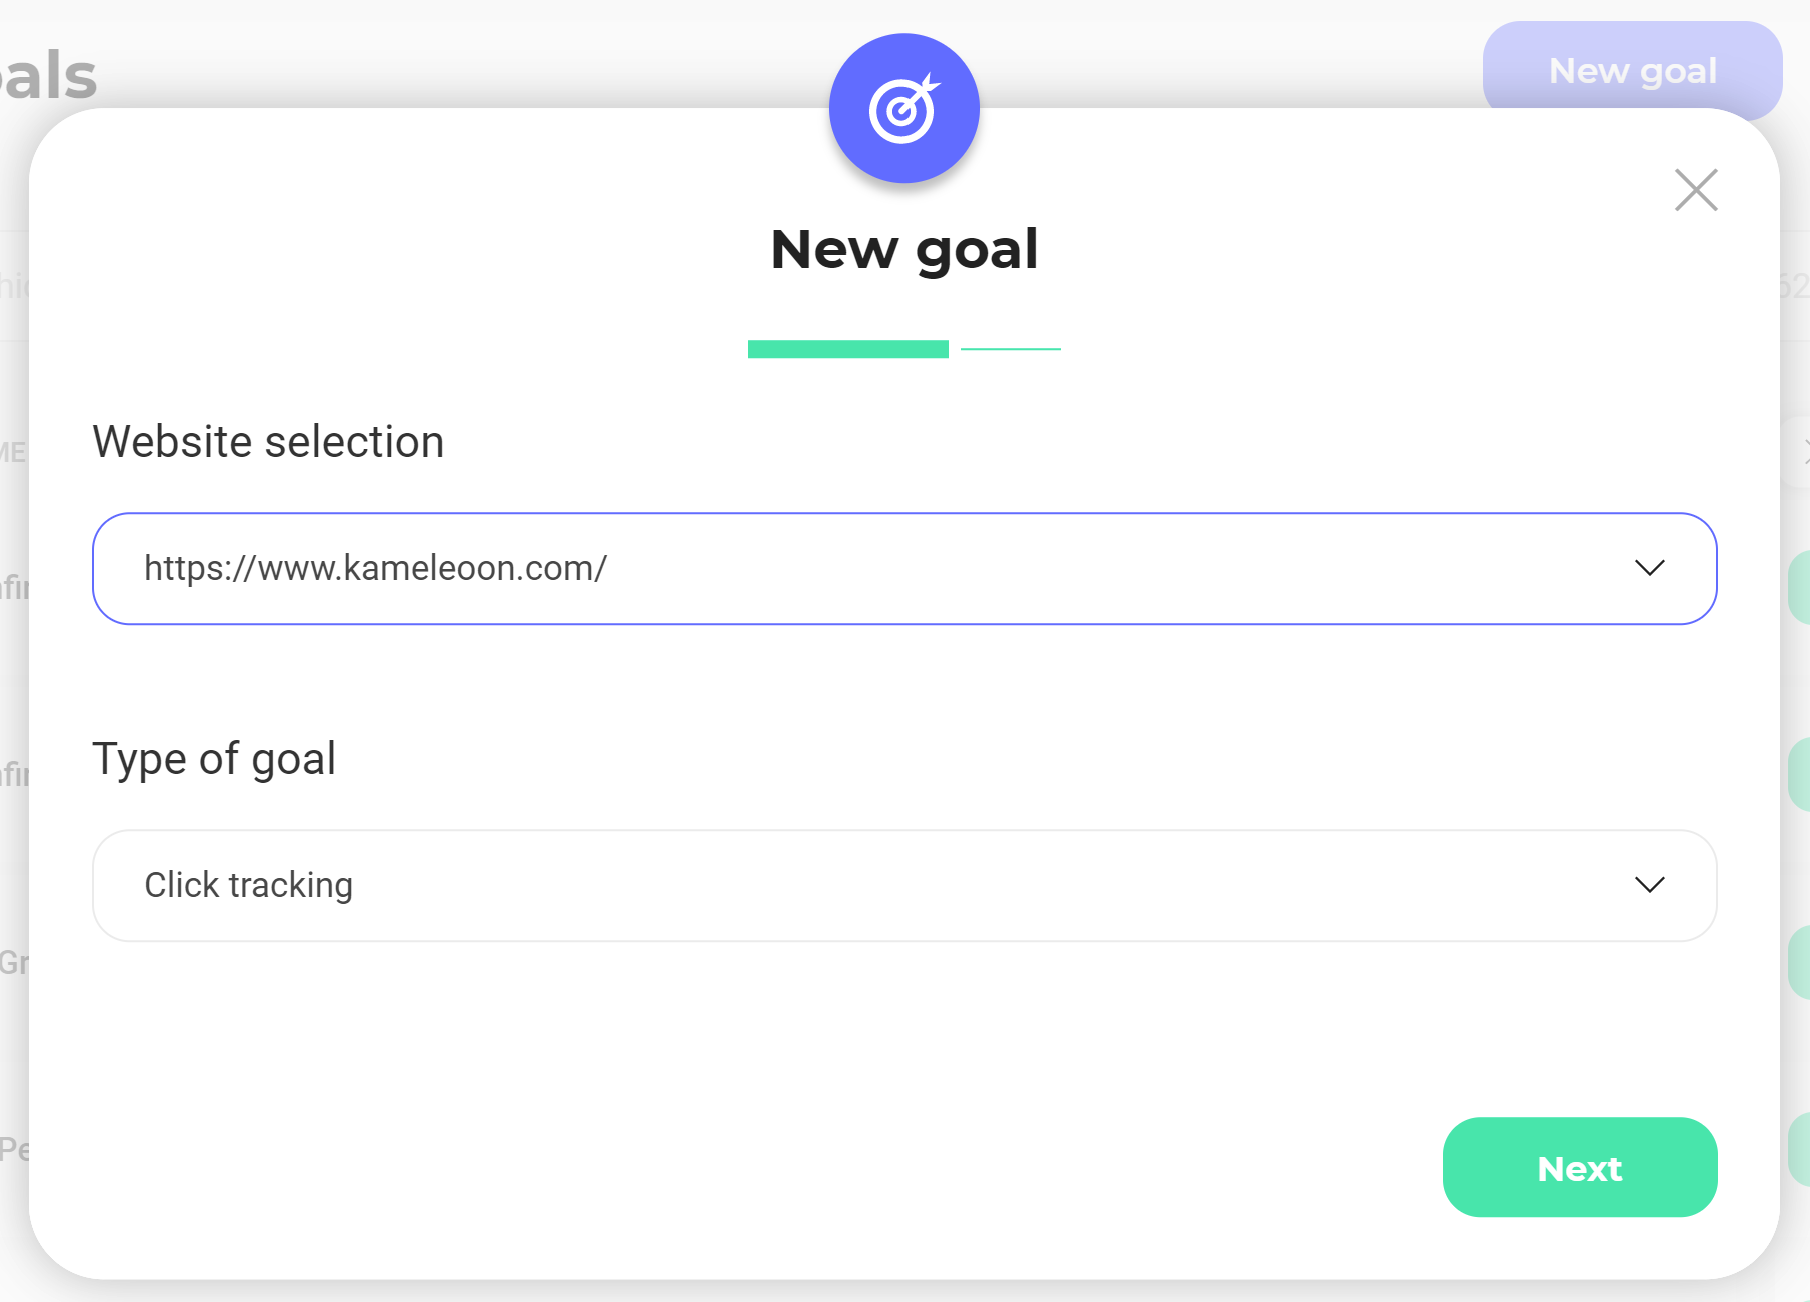
In the pop-in that opens, several goals are available:
- Engagement: this goal is achieved if the visitor visits other pages after the landing page;
- Click tracking: this goal is achieved if the visitor clicks on a specific element you defined;
- Scroll tracking: this goal is achieved if the visitor scroll beyond a specific part of your page;
- Access to a page: this goal is achieved if the visitor reaches a page of your choice;
- Number of page viewed: this goal is achieved if the visitor visits the number of pages of your choice;
- Time elapsed: this goal is achieved if the visitor spends a predefined amount of time on your website;
- Custom goal: for more complex goals, you can create custom goals via a Kameleoon API call.
For further information about Kameleoon goals, please read this article.
Select the website for which you want to create a goal, then the type of goal you want to create. Click on the Next button to go to the next step.
Enter the name of your goal and all the parameters related to the type of goal selected. For example, if you chose the Access to a page goal, the following pop-in will display:
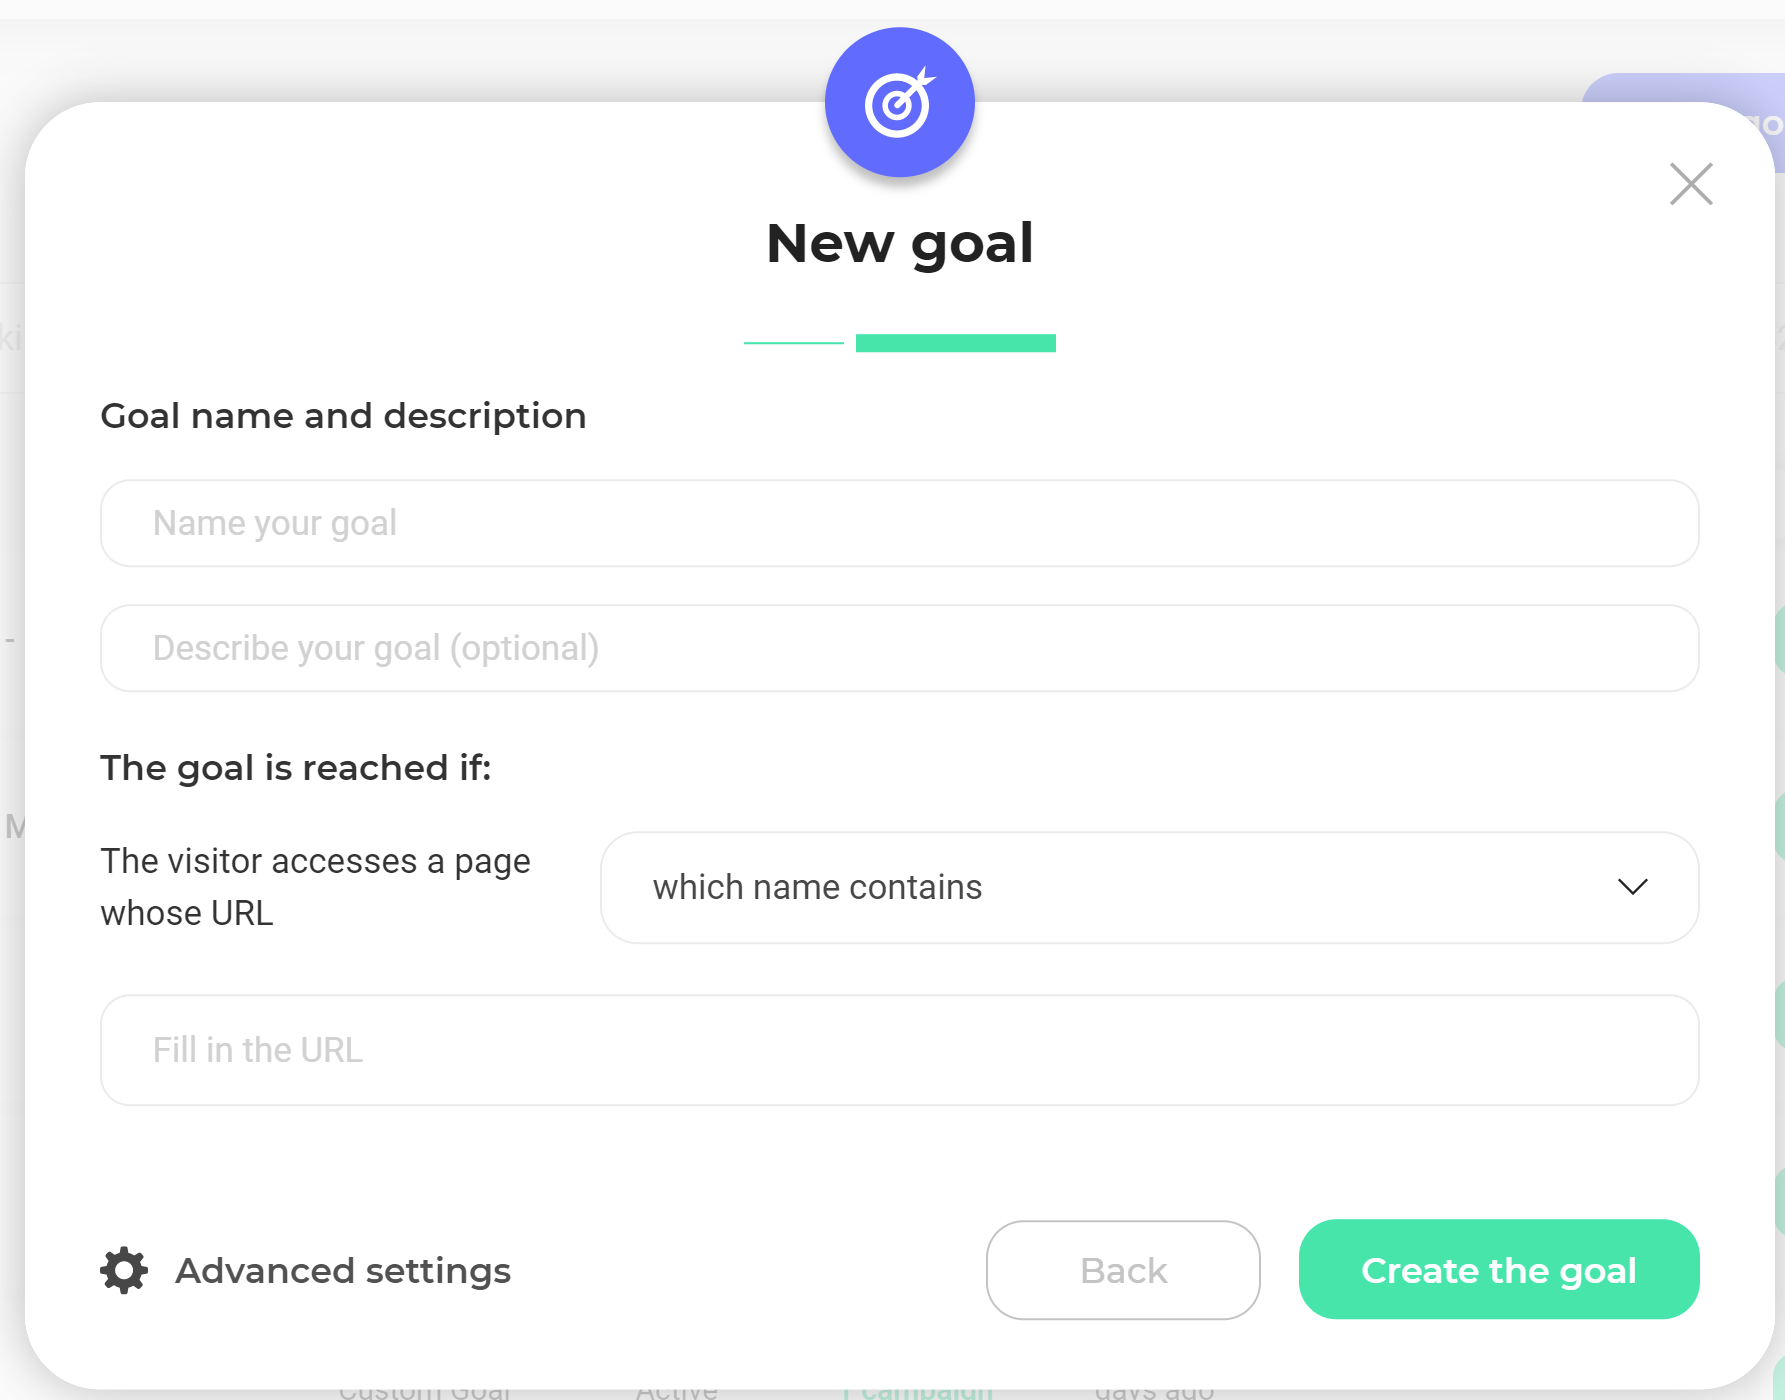
Once your goal is created, you can select it when creating or activating your personalization.
Associate an existing goal
As for the segment, the choice of the goal is done by selecting one in the drop-down list.
You can associate one or more goal(s) with your personalization. If you select multiple goals, one of them must be set as the primary goal.
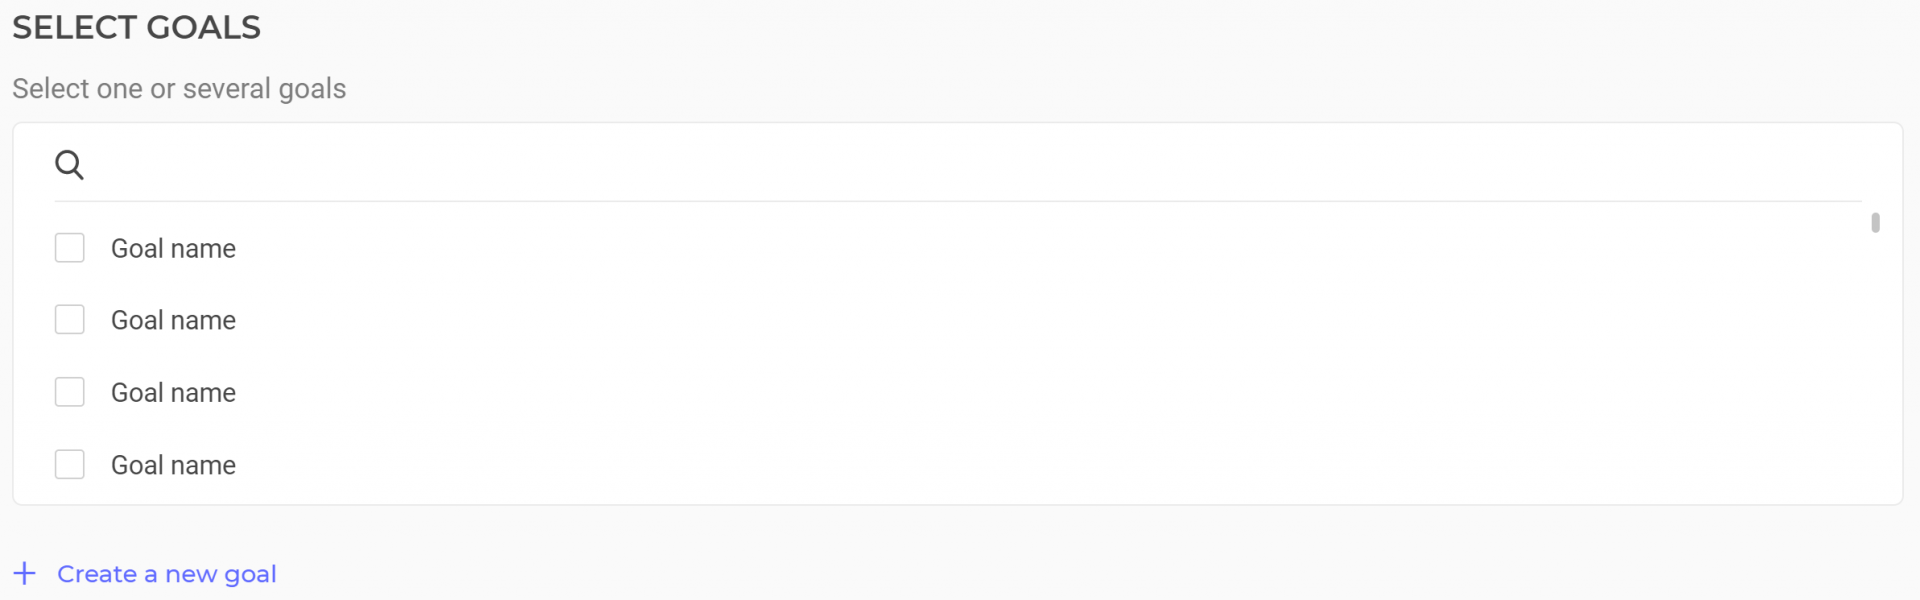
If you have not yet created the goal of your personalization, click Create a new goal. This action will open a pop-in and let you create a new goal.
For more information on goal creation, see Setting a goal in a personalization.
Set up reporting tools
Select the reporting tools in which you want to see the results of your personalization.
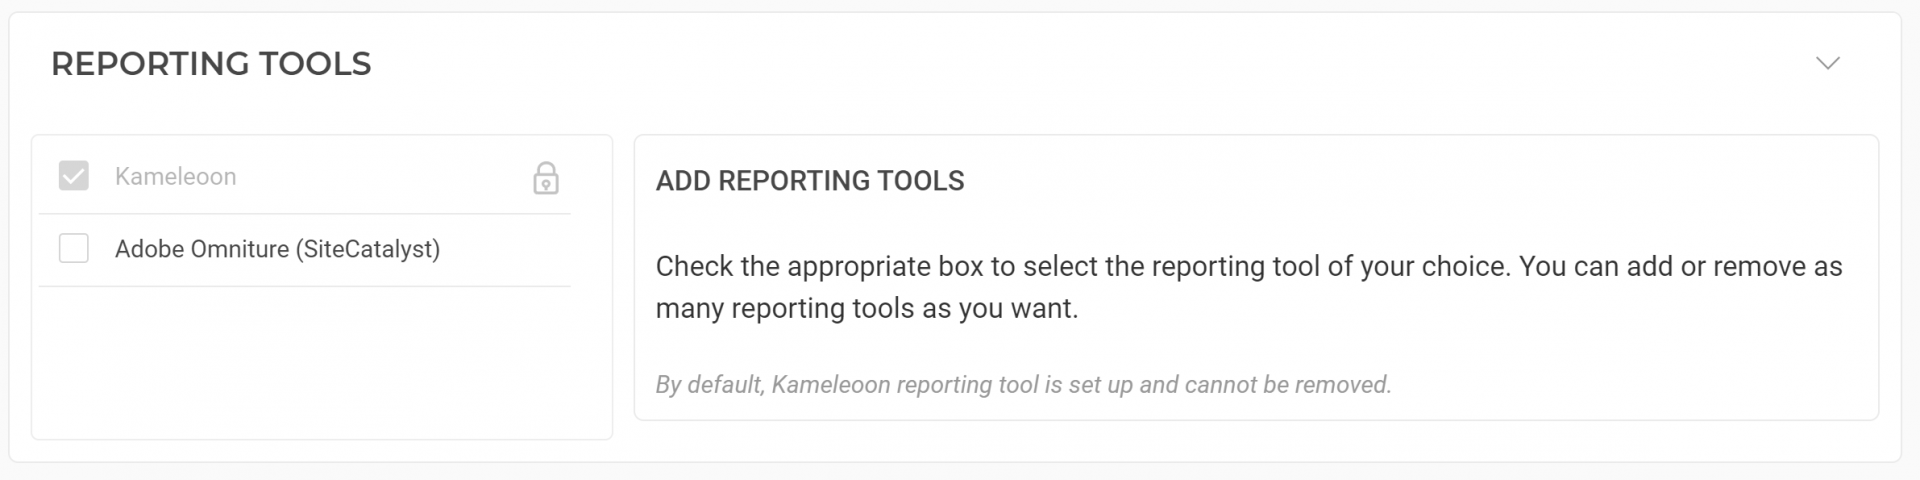
By default, Kameleoon is already set up as a reporting tool and cannot be deleted.
Define display settings
Several more advanced settings are available to set the exposure of your personalization.
Five parameters are available:
- capping
- planning
- micro-targeting
- prioritization
- scenarization.
If you do not set up these parameters, Kameleoon will use the settings by default.
Capping
The capping allows you to limit the display of your personalization in order to manage marketing pressure on your visitors.
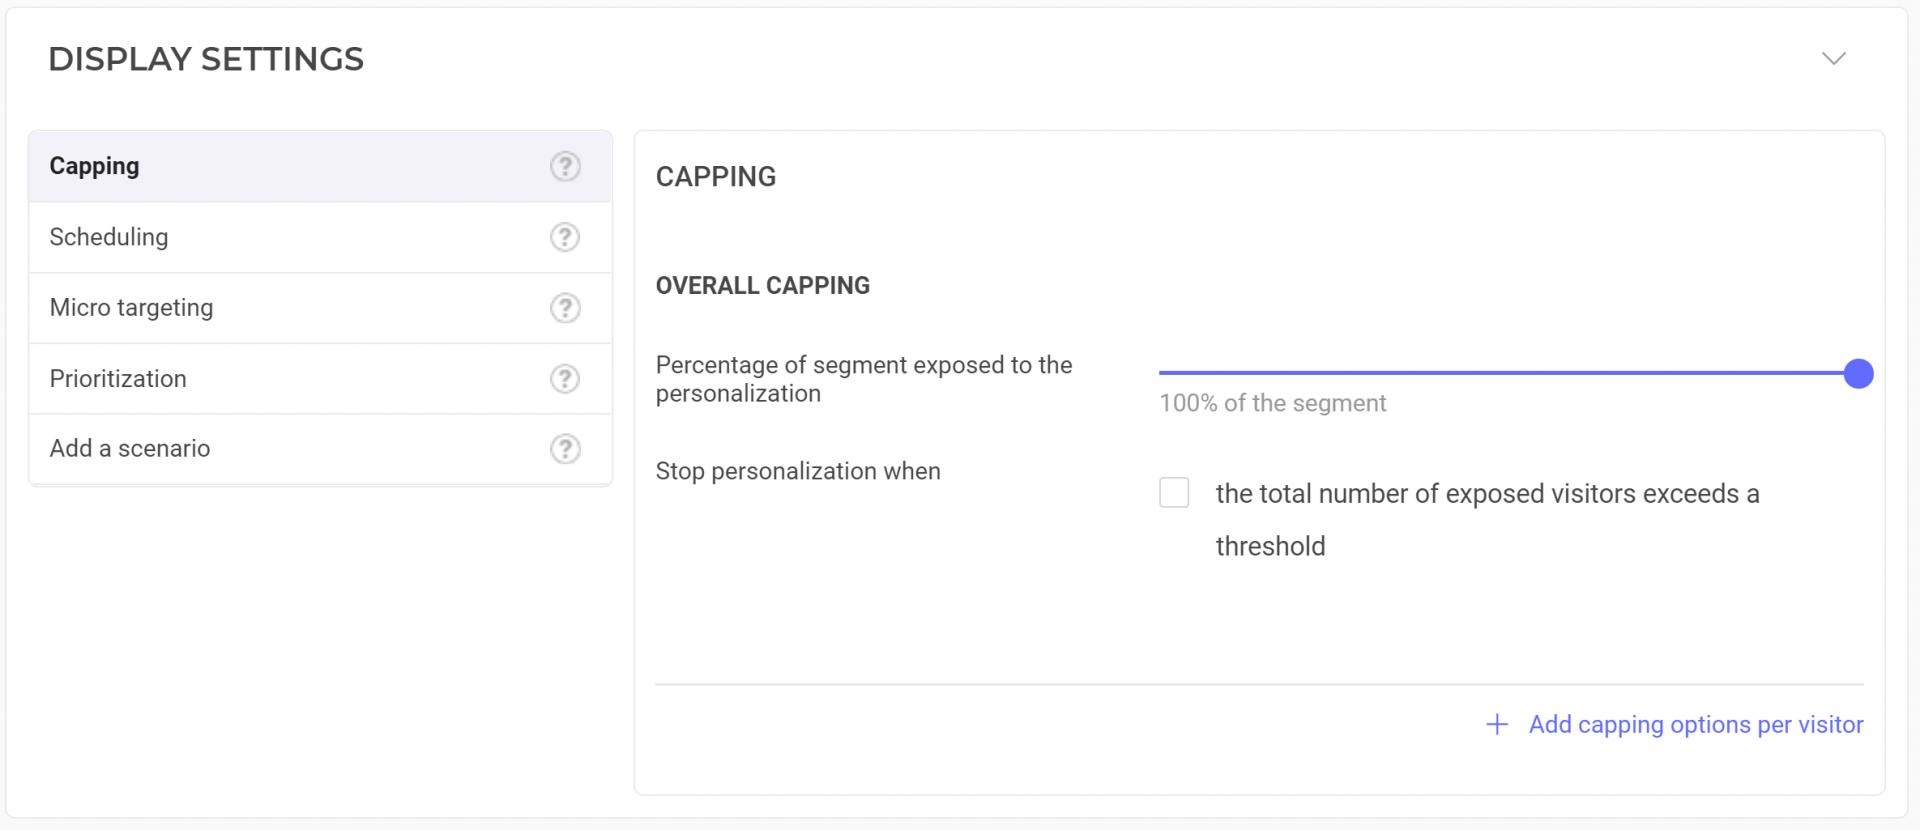
Overall capping
Here, you can choose the percentage of your segment exposed to your personalization. By default, 100% of the segment is exposed, in other words all the visitors included in your segment.

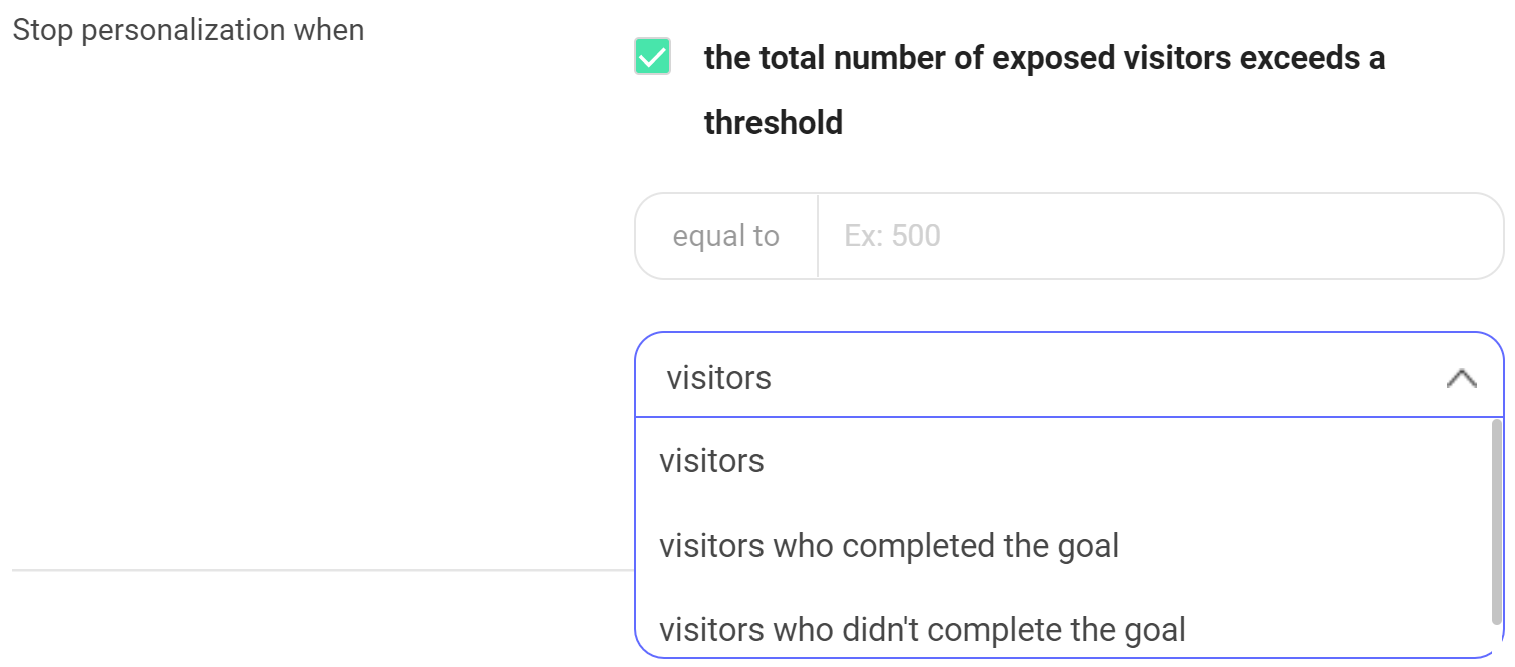
You can also decide to stop your personalization when a certain amount of visitors would have been exposed to it.
To do so, select The total number of visitors is above, then define:
- The number of visitors
- If it is all visitors, only the ones that converted to a specific goal or only the ones that did not convert to a specific goal.
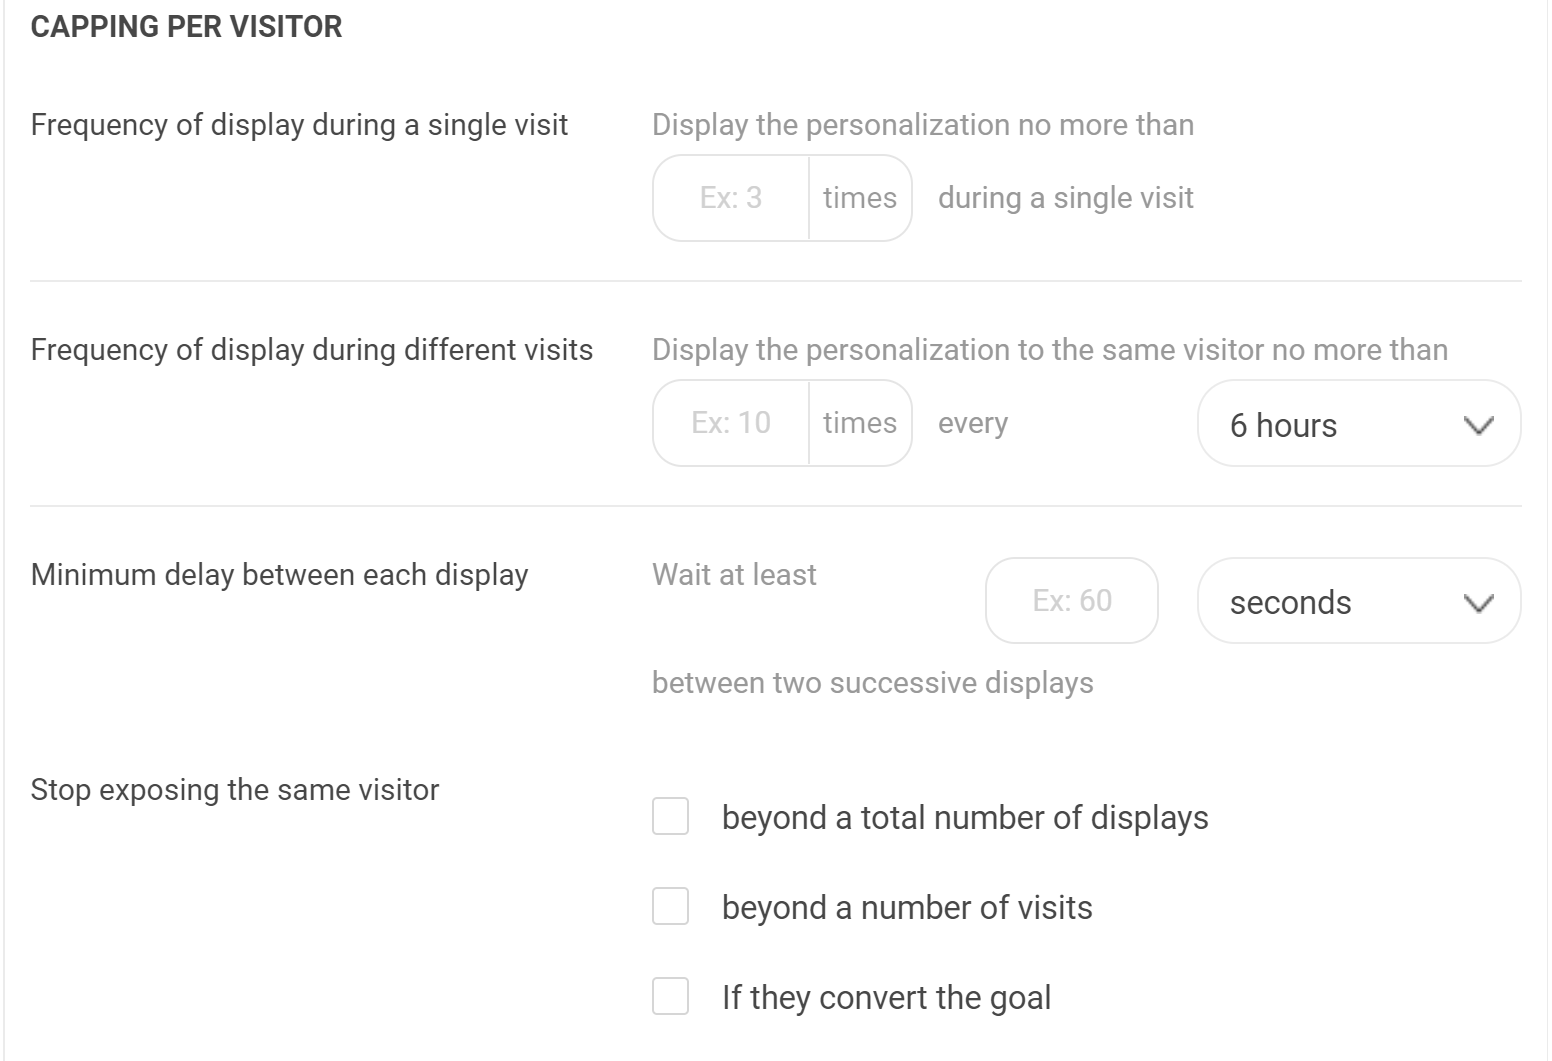
Capping by visitor
You can also set up the capping by visitor by clicking on + Add capping options per visitors.

By default, there is no capping by visitor, which means that the targeted visitors are systematically exposed to your personalization.
- The capping by visitor allows you to:
- Limit the exposition frequency for each unique visit
- Limit the exposition frequency in time, whatever is the number of visits
- Establish a minimum delay between two expositions
- Stop exposing a visitor if the visitor has been exposed to a certain amount of time or has converted a specific goal.
You can use several capping by visitor options. To cancel the capping by visitor, click on Reset frequency capping options per visitor on the bottom of the page.

Note: When you set up a visitor-based capping (e.g., limiting exposure to one display per visitor), you may observe discrepancies in the results, such as not having the exact same number of visits and visitors. This occurs because Kameleoon stores capping information in the Local Storage of the browser, and various factors related to visitor browsing behavior may affect this data. For instance, the local storage may be cleared after the visitor closes their browsing session on your website, or if they prevent Kameleoon from writing to the local storage. We usually observe a discrepancy up to 10%, depending on the website.
Example
Here is an example:
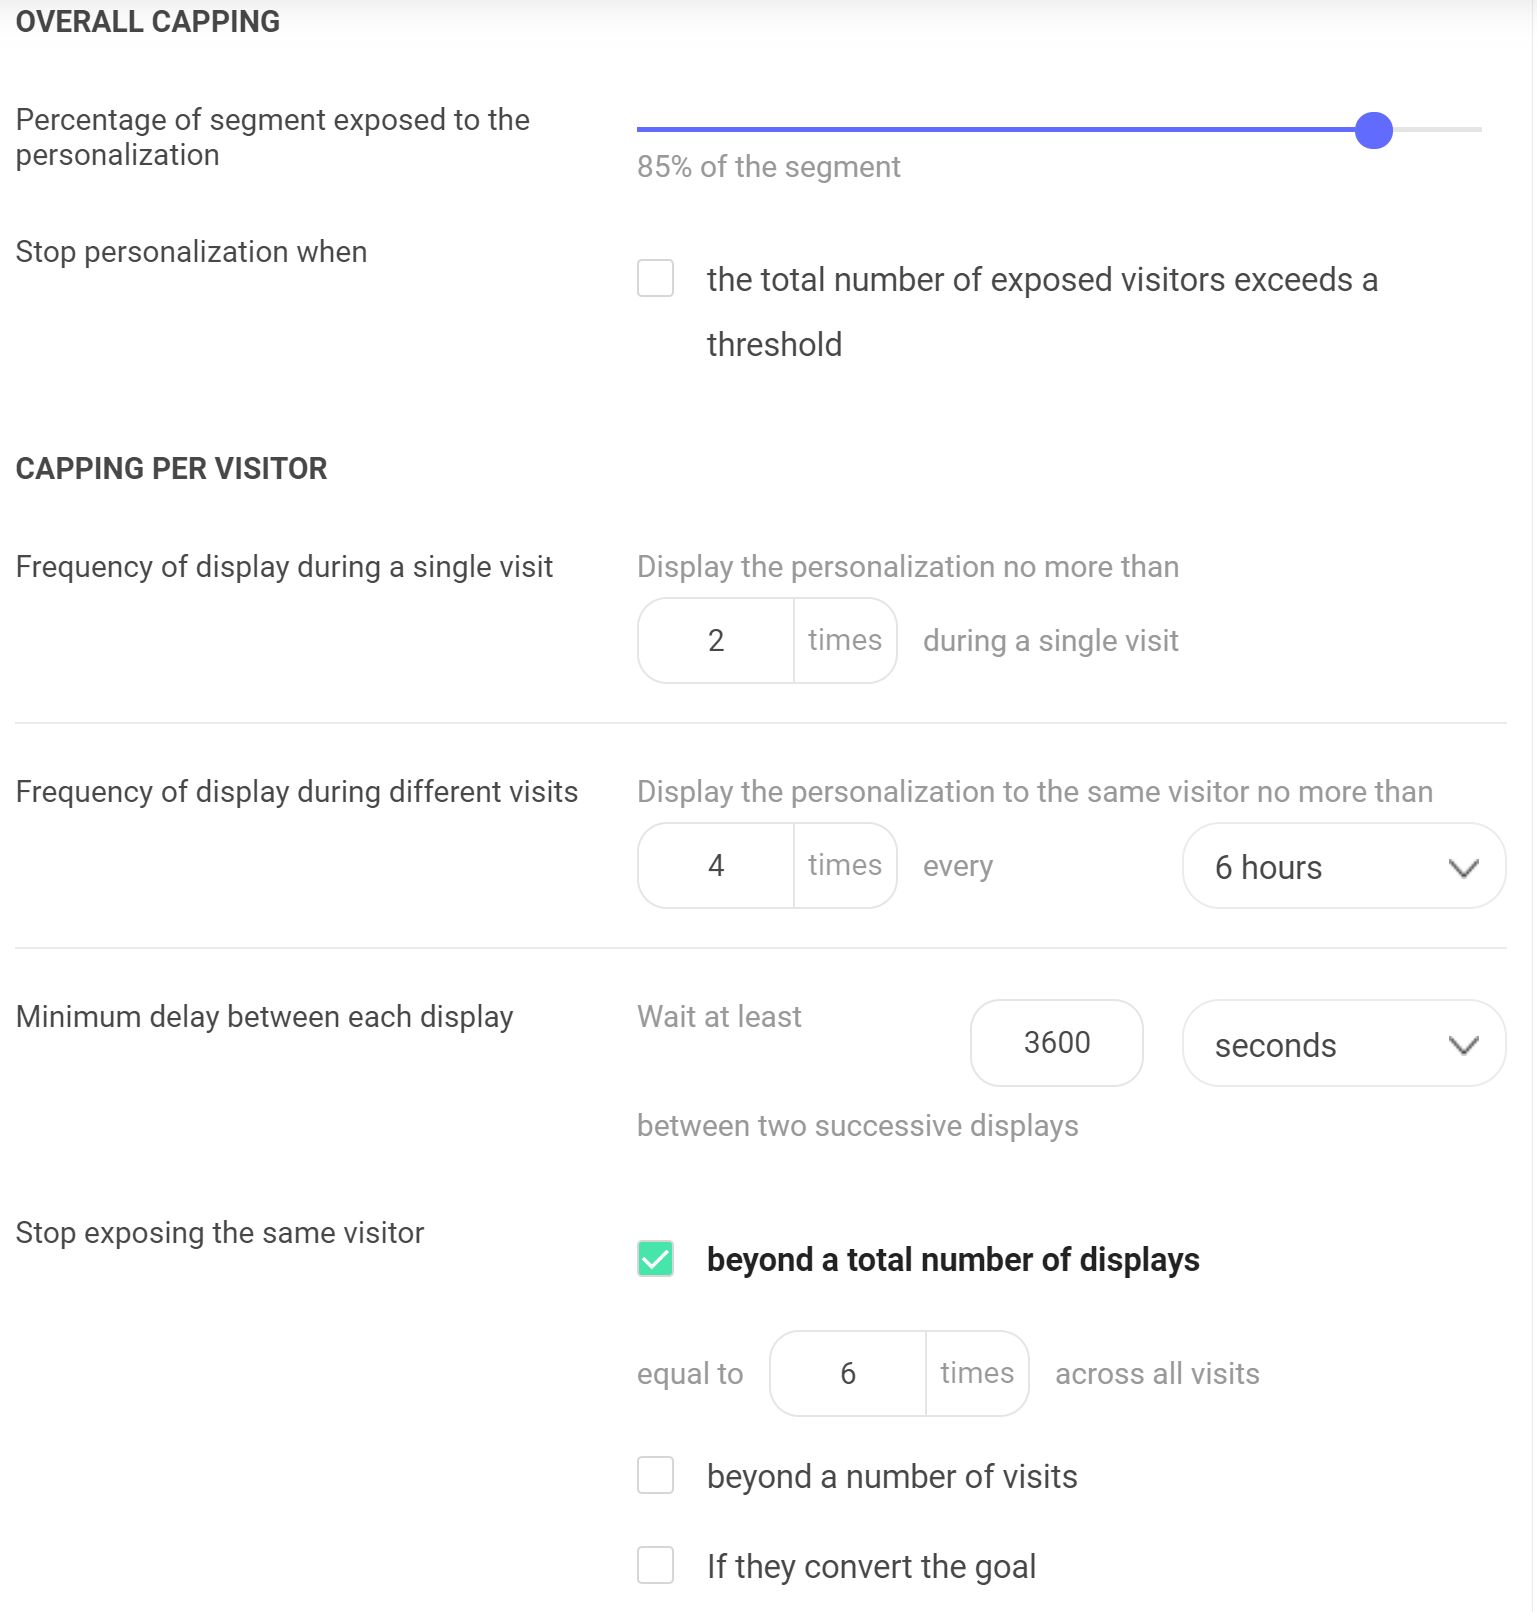
In this example:
- Only 85% of the segment is exposed to the web personalization
A single visitor will be exposed on maximum:
- 2 times during the same visit
- 4 times every 6 hours
- 1 time every 3,600 seconds (=1 time per hour)
- 6 times in total
Scheduling
You can plan your personalization to one or several specific date range. By default, the personalization is displayed all the time.
In the Planning part, click on + Add a schedule. You can add as many range dates as you want to.

Start/end date
If you intend to plan your personalization, you must add a start date.
You can also add an end date, but this is not mandatory. If you want to add an end date, click on the Edit button. To delete an end date, click on the red cross that will appear on the right when you add your date.
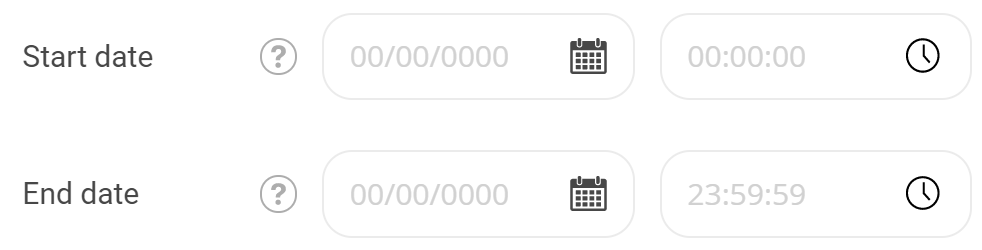
Personalization schedule
The personalization schedule will allow you to choose dates and hours on which your personalization will be displayed or not. Click on Edit to create your schedule.
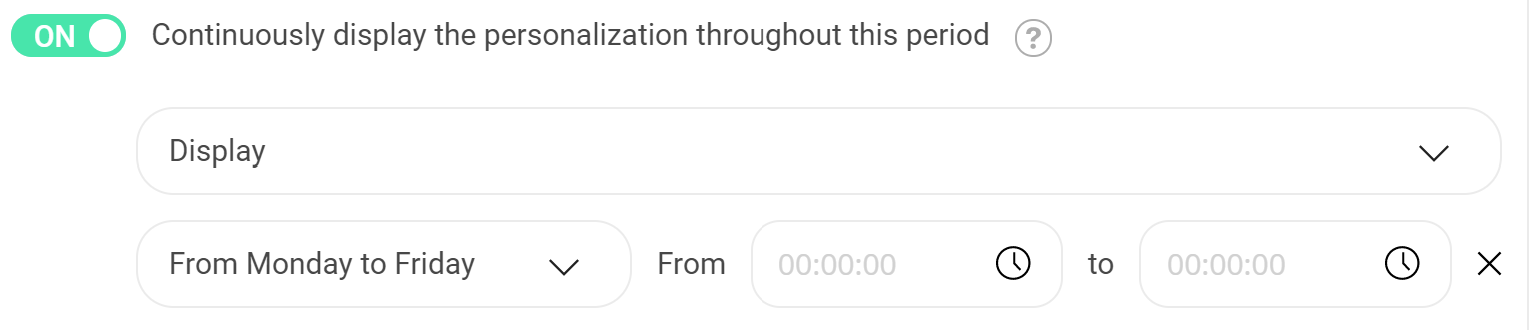
By default, the hours are set up from 00:00 to 00:00. It is a whole day (from midnight to midnight).
You can add several schedules on your date range. To do so, click on Add a date range.
Example
Here is an example:
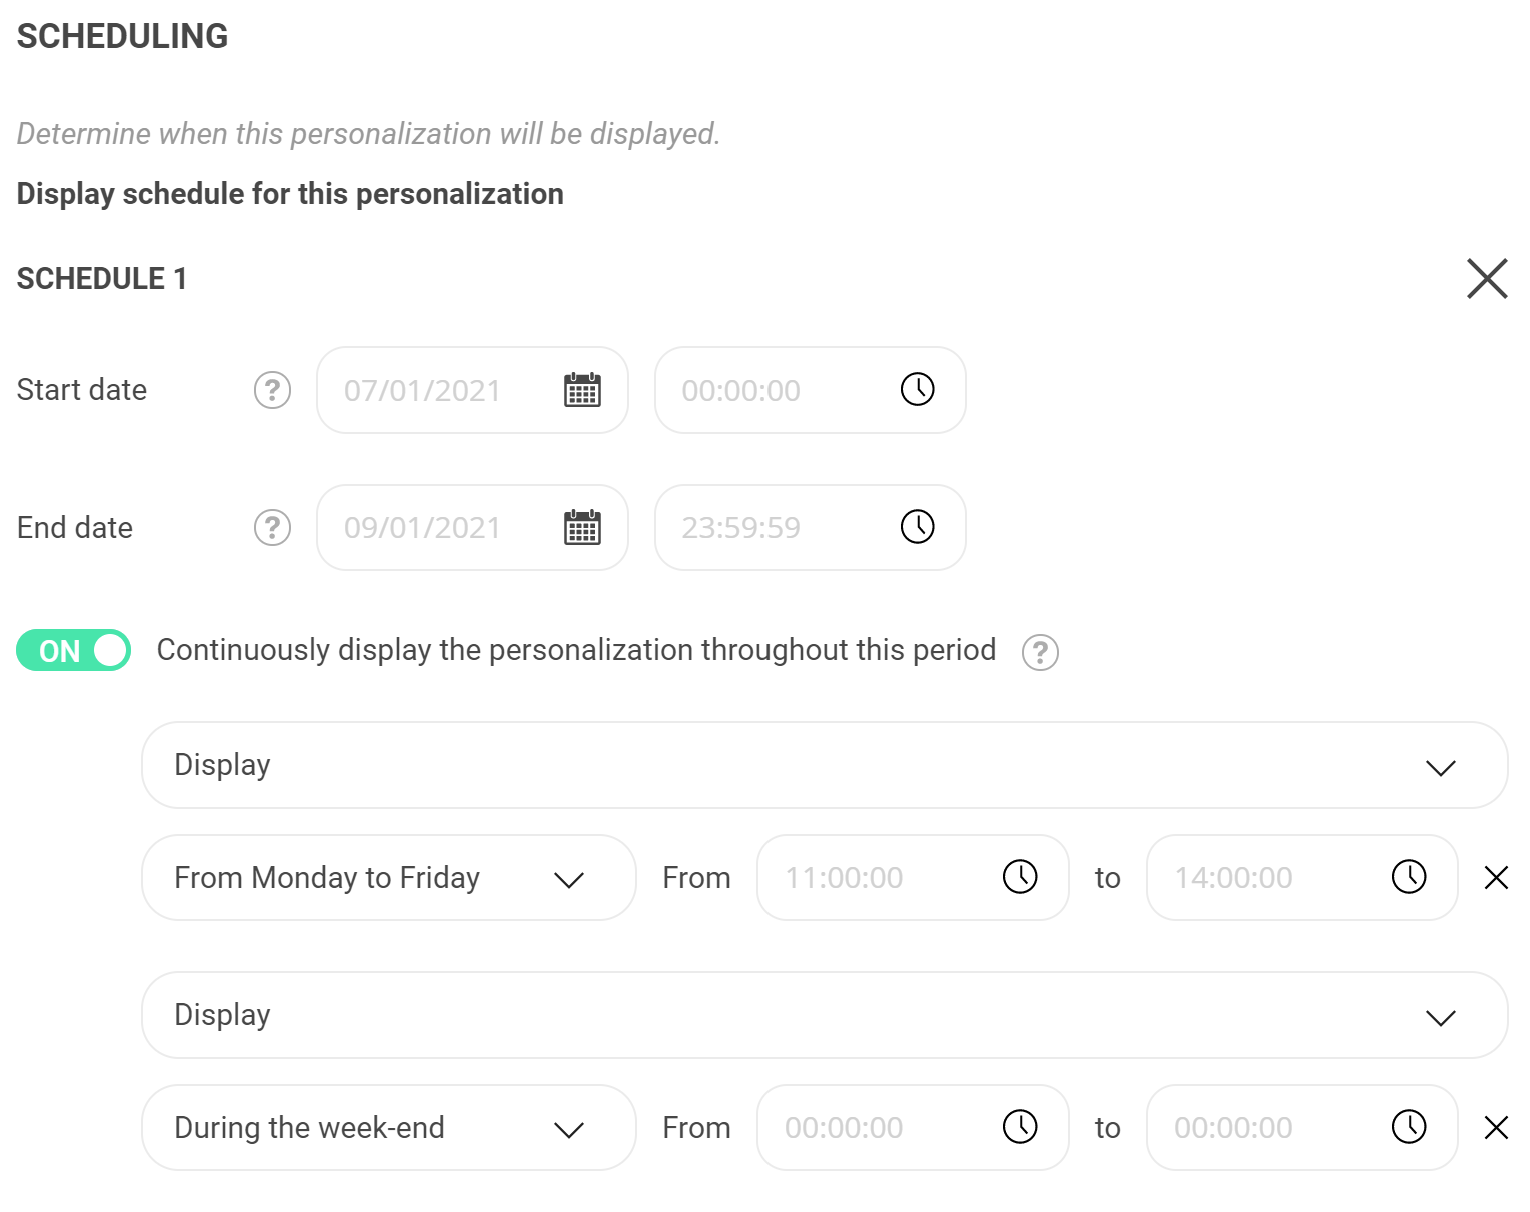

In this example, the personalization is planned from july 1st to september 30th 2021 (3 months).
Within this date range, the personalization will be active:
- Monday to friday from 11 am to 2 pm
- The week end all day long
The date ranges and the end date can be deleted by clicking on the red crosses. Only the start date is mandatory.
Once a schedule has been defined, the Launch button at the bottom of the page becomes Plan.

Micro-targeting
You might want to display your personalization not if all conditions are gathered but if enough of them are. To do so, use the Micro-targeting option.
Two options are available:
- Enable the display when all targeting conditions of your segment are observed (by default)
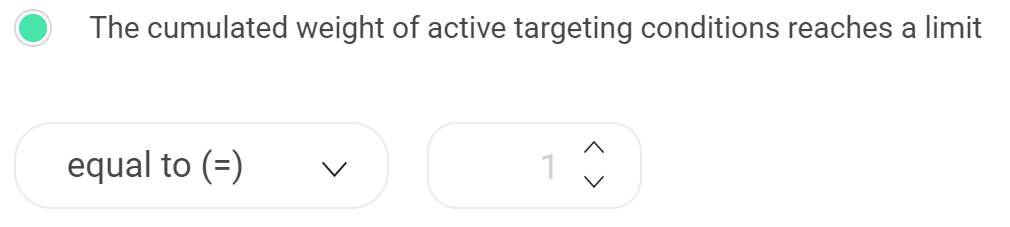
- Enable the display when the cumulative weight of the active targeting condition is enough.
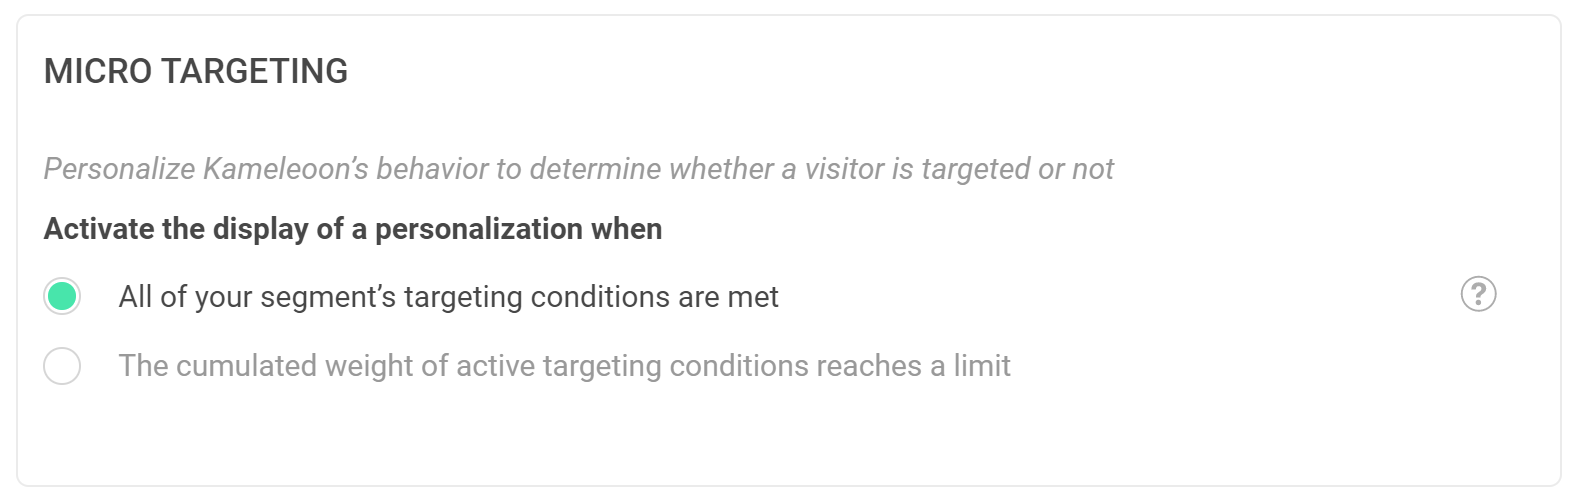
All targeting conditions of your segment are observed
This is the option by default. If a visitor does not fill all the targeting conditions that you chose while creating your segment, this visitor will not be exposed to the personalization.
The cumulative weight of the active targeting conditions is sufficient
When you create your targeting segment, you can add a weight to each of your conditions. By default, each condition has a weight of 1, but you can custom this value to rank your conditions. For further information about the segment creation, your can read our article Configuring a segment.
This option will allow you to define the minimum weight needed to activate your personalization.
Example
For our example, we will set up our segment with these parameters:
- Condition A – weight 1
- Condition B – weight 4
- Condition C – weight 2
- Condition D – weight 2
If you define ‘7’ as cumulated weight, the amount of the active conditions weight should be at least 7 to activate the web personalization.
In our example, the conditions A+B+C has a cumulated weight of 7 and would be enough to activate the personalization. It is also the case for conditions B+C+D (8) and A+B+D (7), and of course A+B+C+D (9). All other combinations do not have a cumulated weight big enough.
Prioritization
Some visitors can be part of different segments. For instance, if one of your personalization is a pop-in displaying for new visitors while another personalization is a pop-in displaying when the weather is bad. In this case, a visitors visiting your website for the first time on a rainy day could be exposed to both personalizations.
Priority
The Prioritization option allows you to choose which personalization should be displayed in case of conflict.
By default, all personalizations have the same priority, 1, but you can choose a higher priority for the more important personalizations.
In case of conflict, if all personalizations have the same priority, they will simultaneously display.

Note: the prioritization applies to personalization of the same type. Two personalizations of different types (for example: a pop-in image and a pop-in html) will display simultaneously, even if they have not the same priority. If you want to reduce the marketing pressure on your visitors, you must set up the Capping.
See the priority of other personalizations
In order to define easily the priority of your personalization, you can take a look to the priority of your other active personalizations without leaving the page.
To do so, click on See the priority of other personalizations.
A pop-in opens, allowing you to consult the list of your active personalizations and their priorities.
Note: These priorities apply when a visitor is exposed to the same personalizations at the same time. If it is not the case, you can use the scenarization.
Example
To define which personalization should display, the active personalizations are ranked by priority and type. The personalizations with the highest priority will display.
For example:
- Personalization 1 : priority 1 type A
- Personalization 2 : priority 2 type A
- Personalization 3 : priority 1 type B
The web personalizations 2 and 3 will display: the personalization 2 has the highest priority for type A and personalization 3 is the only one of type B.
If we add to the example:
- Personalization 4 : priority 2 type A
Personalizations 2, 3 and 4 will be displayed. However, you can, in the personalization module, select the option Disable simultaneous display of personalizations of the same type. In this case, one of the personalizations will be randomly chosen. Priorities apply when a visitor is exposed to multiple personalizations at the same time.
To select this option, you have to go to the left sidebar of the app. In the Administrate menu, click on Site.
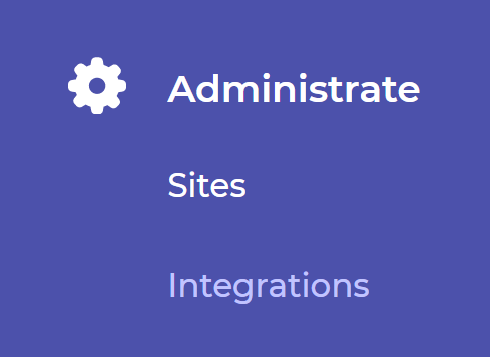
On the card of your website, click on Configuration to modify it. Then click on the insert dedicated to personalization.
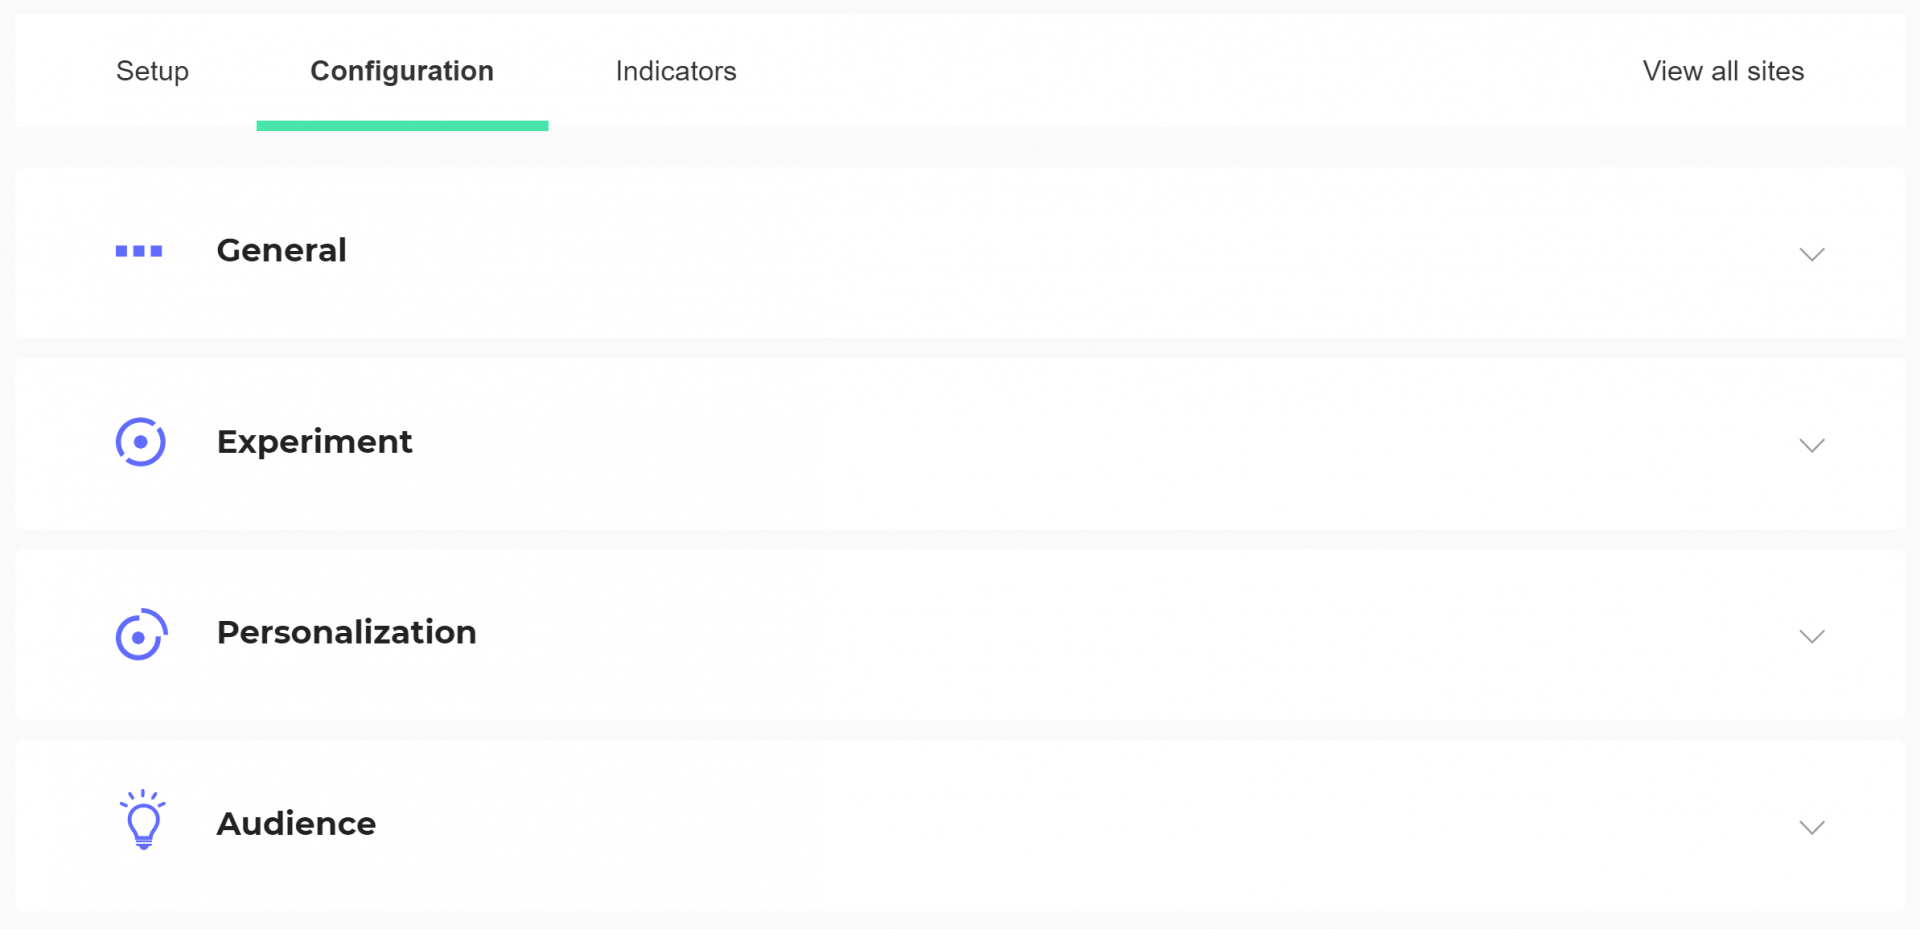
At the very bottom, a switch button allows you to activate the option.

Don’t forget to validate!
Add a scenario
You can define if a personalization will be displayed or not according to the previous personalization displayed.
Add a condition
To define a new scenario, click on + Add a condition.
You can add as many conditions as you want to.
If you want to delete a condition, click on Delete this condition below the condition you want to delete.
Set up a condition
Choose the settings of your condition to create your scenarization.
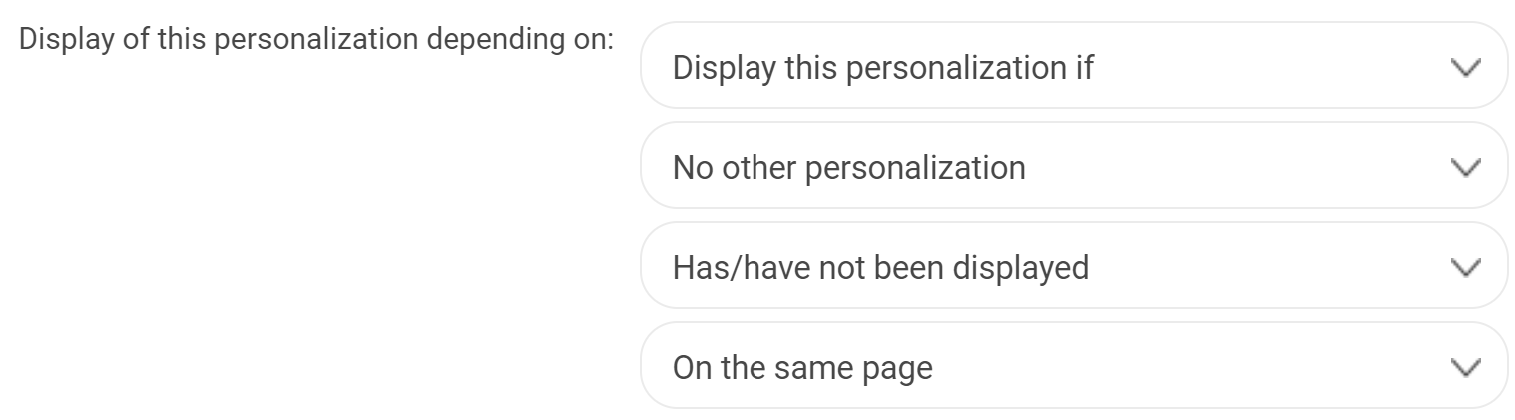
Example

Here is an example:
In this example, the personalization will only display if:
- At least one other personalization has already been displayed during this visit.
- There was not more than 2 other personalizations displayed on this page.
Launch
When you have entered all the parameters, several choices are possible:
- Save: allows you to save a draft of your personalization. You will find it on the page My Personalizations.
- Simulate: allows you to preview your personalization before uploading it to your website. To learn more about simulation, you can read our article Simulate your campaign.
- Launch: once the personalization is online, you can find it in the tab My Personalizations.
- Plan: if you have set up a schedule, the Launch button becomes Schedule.

Note: There may be a short latency time (up to 10 minutes) between the launching of a personalization and its visibility on the website. Don’t worry if your experiment does not appear immediately!
